Settings
The Settings page is where administrators configure how Knocknoc behaves across the whole deployment: sign-in methods, the server's public address, TLS certificates, logging, threat intelligence, optional access features, and branding. It is only available to administrators, under Admin > Settings.
A few sections are hidden on Knocknoc Cloud, where they are managed for you.
License
The Knocknoc license can be set via the support page (previously located on the settings page). To set the license, paste your license key from the license portal into the "License Key" box in the "License & Plan" section. This requires the Knocknoc server to have outbound internet access.
Settings page:

Support page:
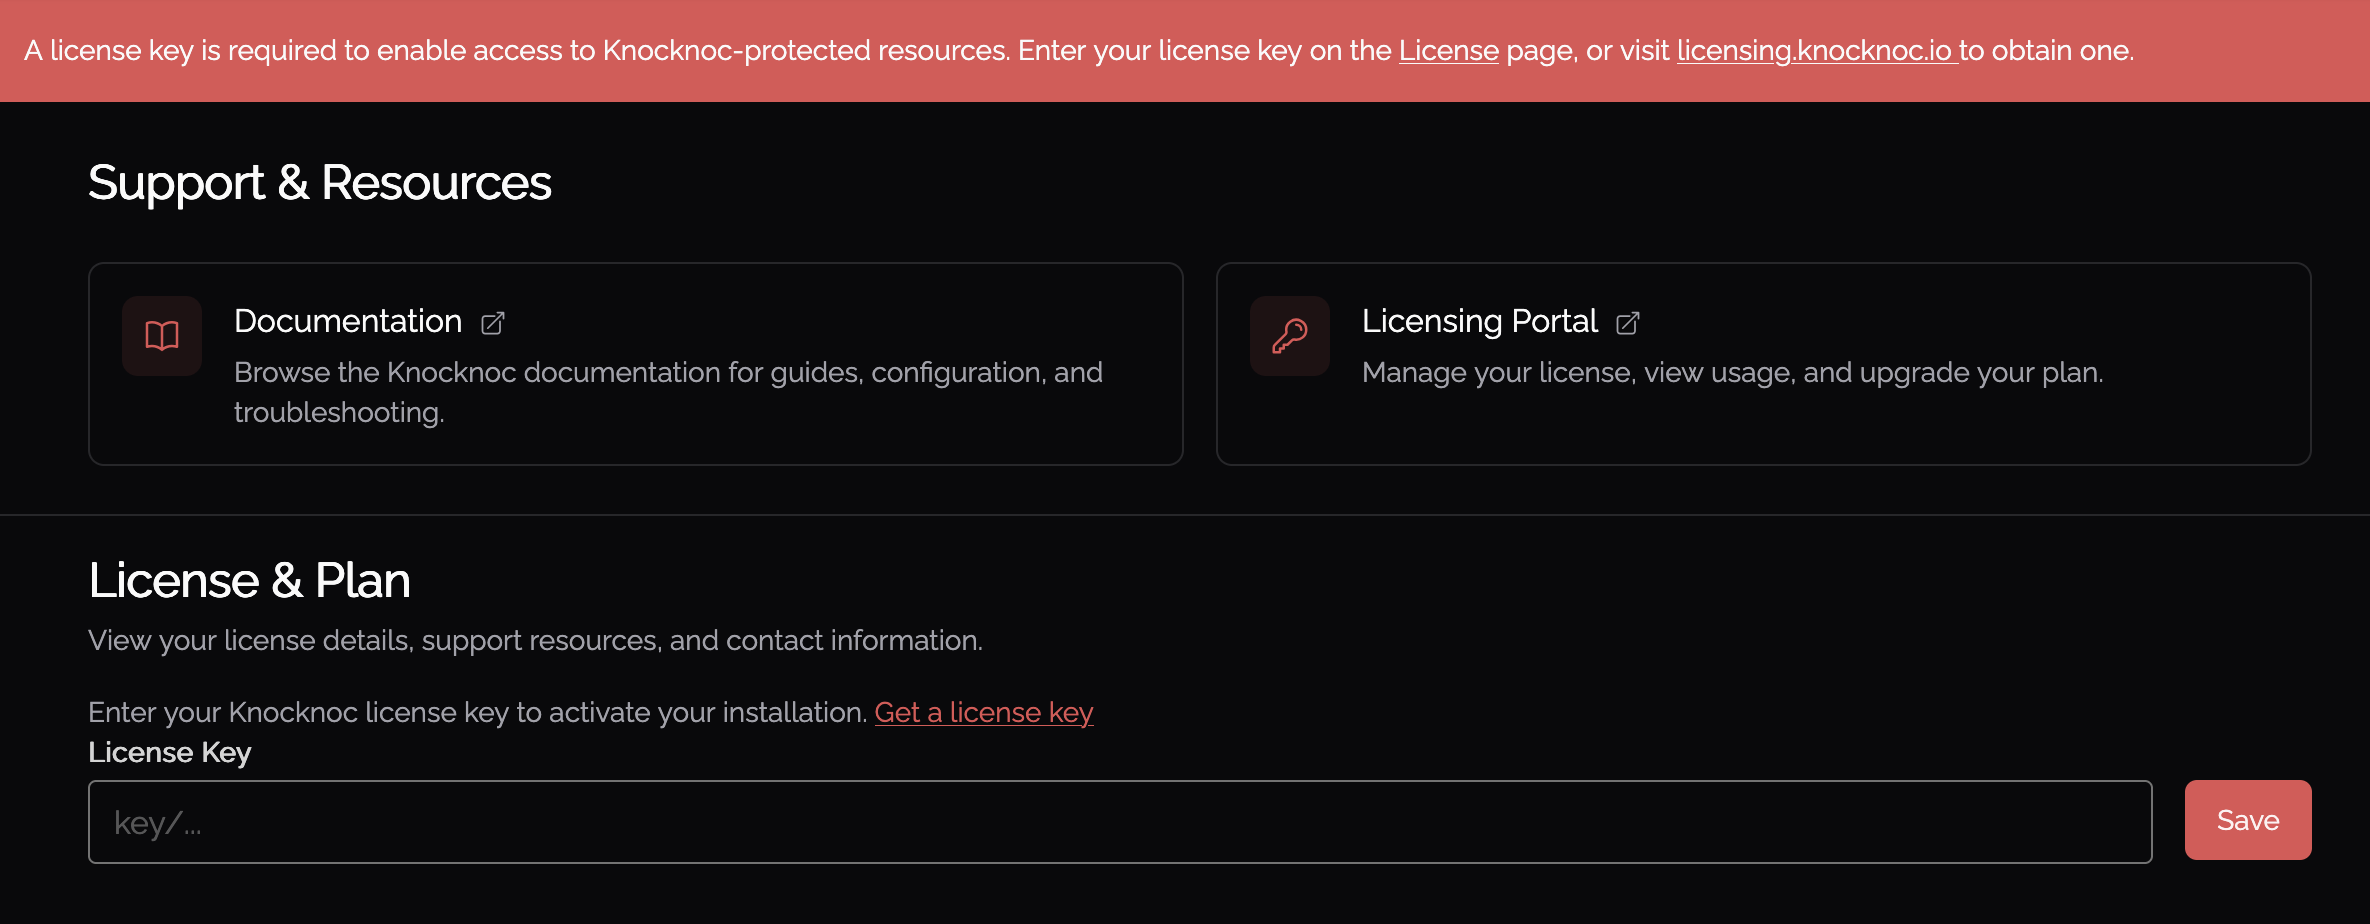
The License section displays the current server version. To view full license details (entitlements, expiry, support status), view the Support page.
Authentication
The Authentication section controls how users and administrators sign in to Knocknoc: local passwords, an LDAP directory, or SAML single sign-on through your identity provider.
At the top of the section are three cards, one for each sign-in method, showing its current status and a button to edit or set it up. Provider-specific setup steps (Entra ID, Okta, Google, Keycloak, ADFS, and others) are in the Authentication chapter, which the cards link to.

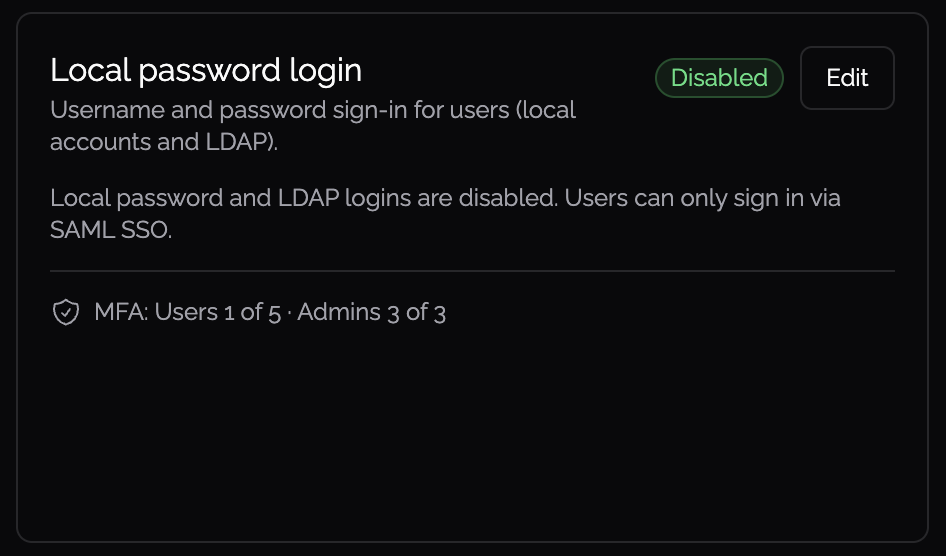
Local password login
Username-and-password sign-in for users, covering both local accounts and LDAP. The card shows whether local login is Enabled or Disabled.
- LDAP is set up from this card's Edit button. Once an LDAP server is configured, its address is shown here. Knocknoc authenticates users against your directory, such as Active Directory, when they sign in with their directory credentials. Follow the LDAP documentation here.
- Multi-factor authentication (MFA) adoption is shown on a single line, listing how many users and administrators have MFA set up.
- If you turn local password and LDAP login off, the card makes clear that users can then only sign in via SAML single sign-on.
User SAML (SSO)
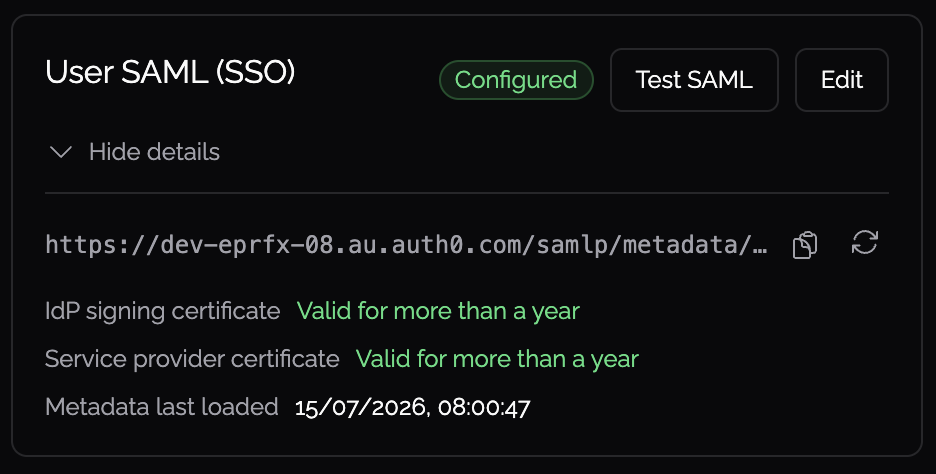
Single sign-on for regular users through your identity provider. The card shows Configured, Not configured, or Error.
- Select Set up, or Edit, to open the SAML editor. We recommend configuring SAML with your identity provider's metadata URL so certificate details stay up to date automatically. You can also upload a metadata file. You are able to provide your own key pair if you want, otherwise they will be generated automatically for you.
- Test runs a live connectivity check. It signs in against your identity provider and reports whether it succeeded, along with the groups the user would be assigned.
- Show details reveals where the metadata came from, URL or file, and the current certificate status. This includes the identity provider's signing certificate validity and when the metadata was last loaded. When metadata comes from a URL, a Reload metadata control re-fetches the latest details from your provider.
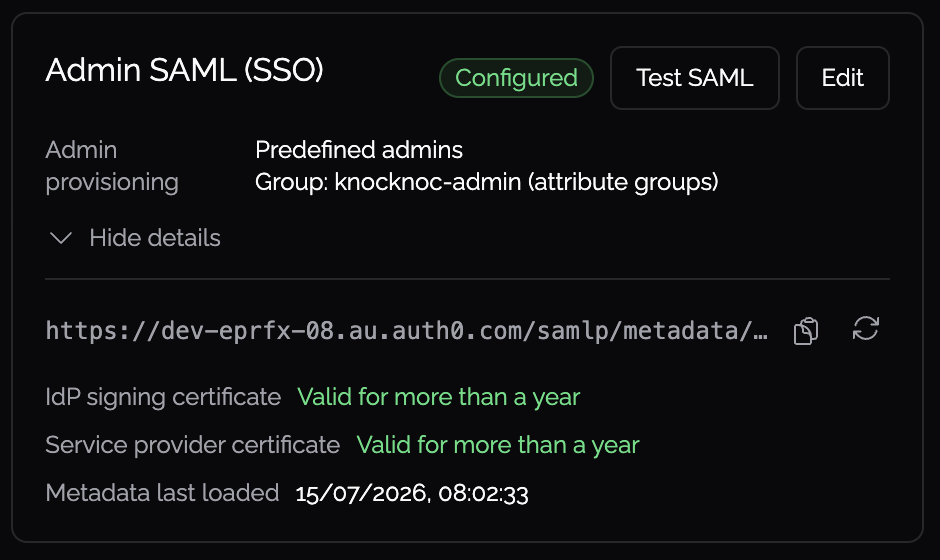
Admin SAML (SSO)
Single sign-on for administrators, configured the same way as User SAML. The card also shows how administrators are provisioned: either from a predefined list of admins, or automatically for anyone in a nominated group, along with the SAML attribute that group is read from. Its Test result confirms whether the signed-in user matches the configured admin group.
Public URL
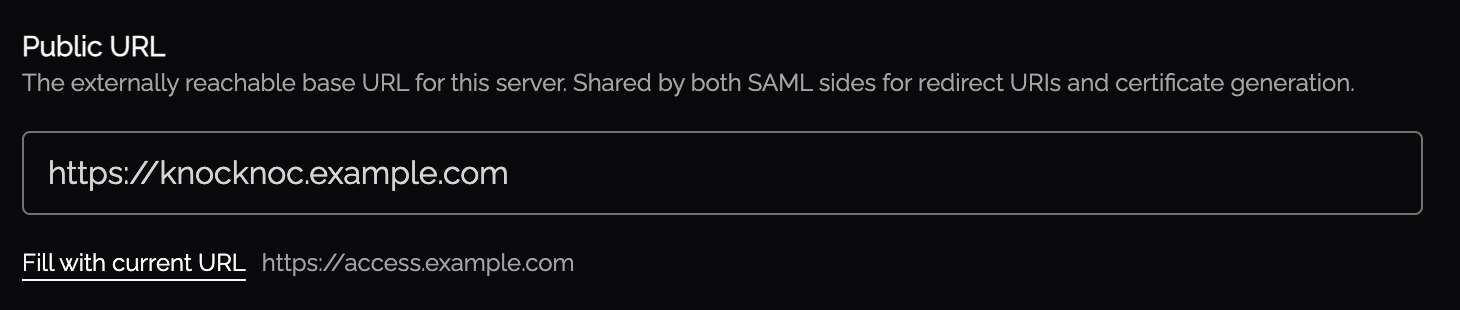
The Public URL is the externally reachable base address of your Knocknoc server, for example https://knocknoc.example.com. It is the address your users and identity provider use to reach it.
This single setting is shared by both the user and admin SAML configurations, for their redirect URIs and certificate generation, so it is important to set it correctly. Enter the URL and select Save. If Knocknoc detects that the address you are currently browsing from differs from the saved value, it offers a Fill with current URL shortcut so you can adopt it in one click.
Server Configuration
SSL/TLS Certificates
You can manage your Knocknoc server SSL certificates directly via the admin portal.
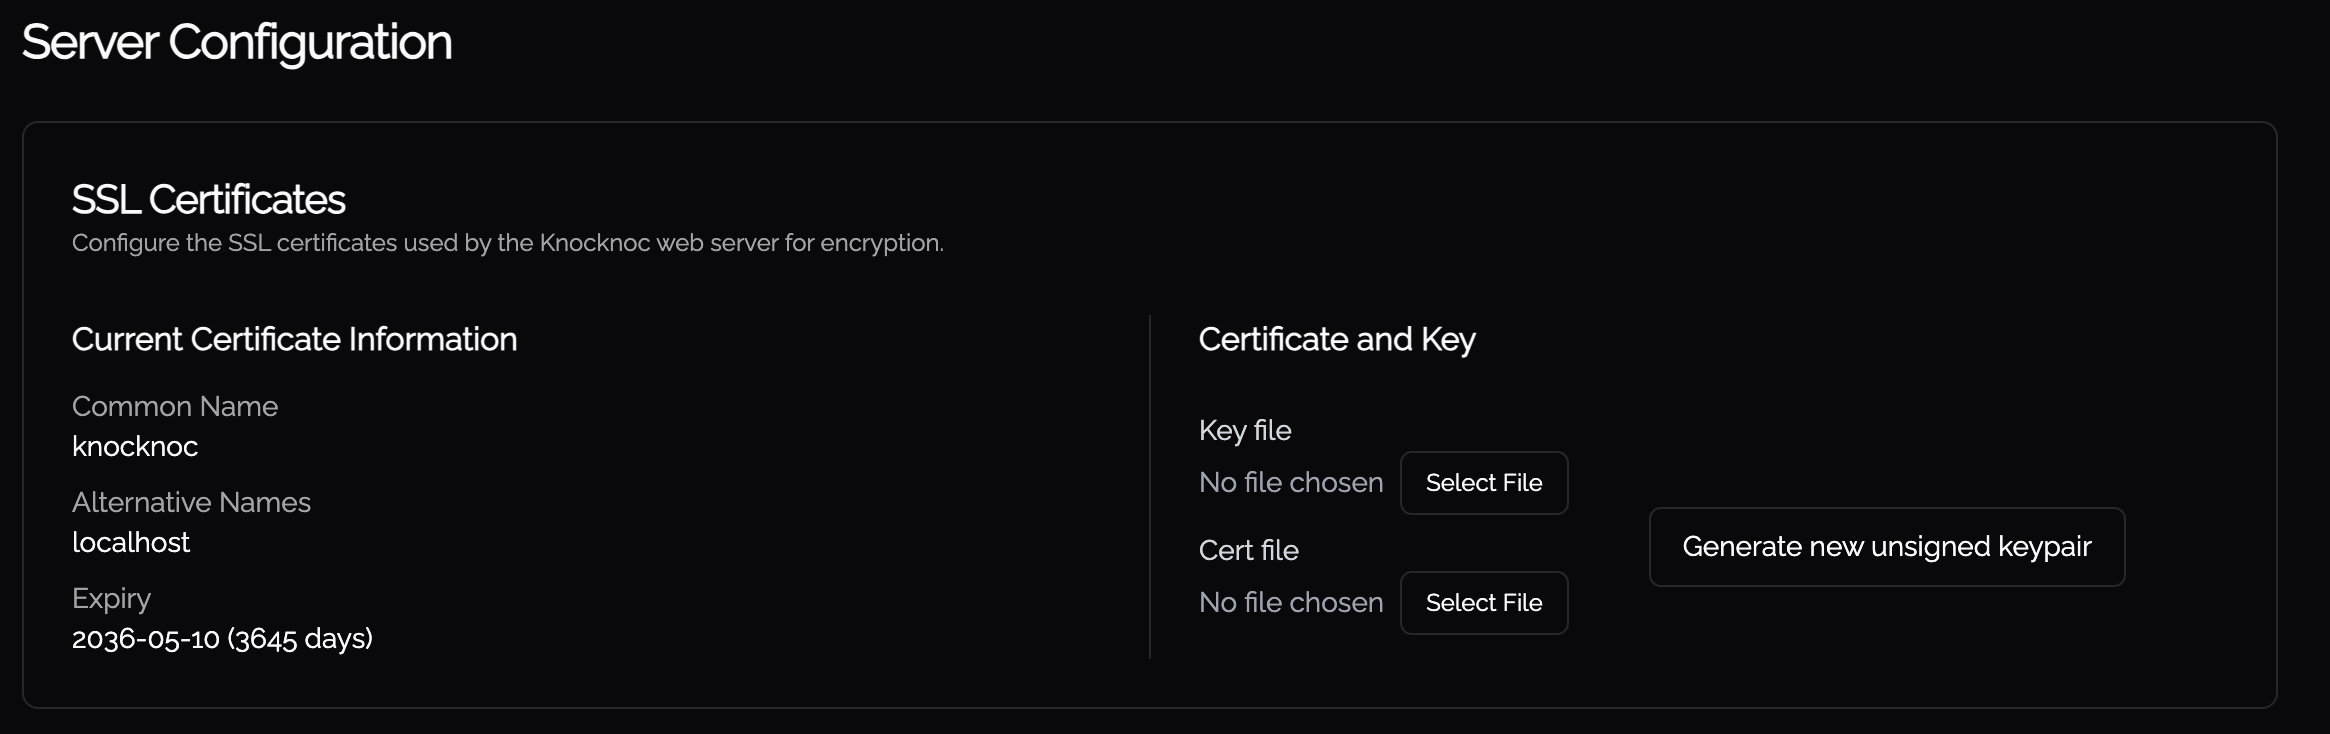 You may upload new key files and certificate files in this UI. The certificate and key file will be validated against each other, so there is no risk of uploading an invalid pair. If the server has multiple certificates (e.g. from a certificate chain), a dropdown lets you select which certificate to inspect.
Logging & Diagnostics
| Field | Description |
|---|---|
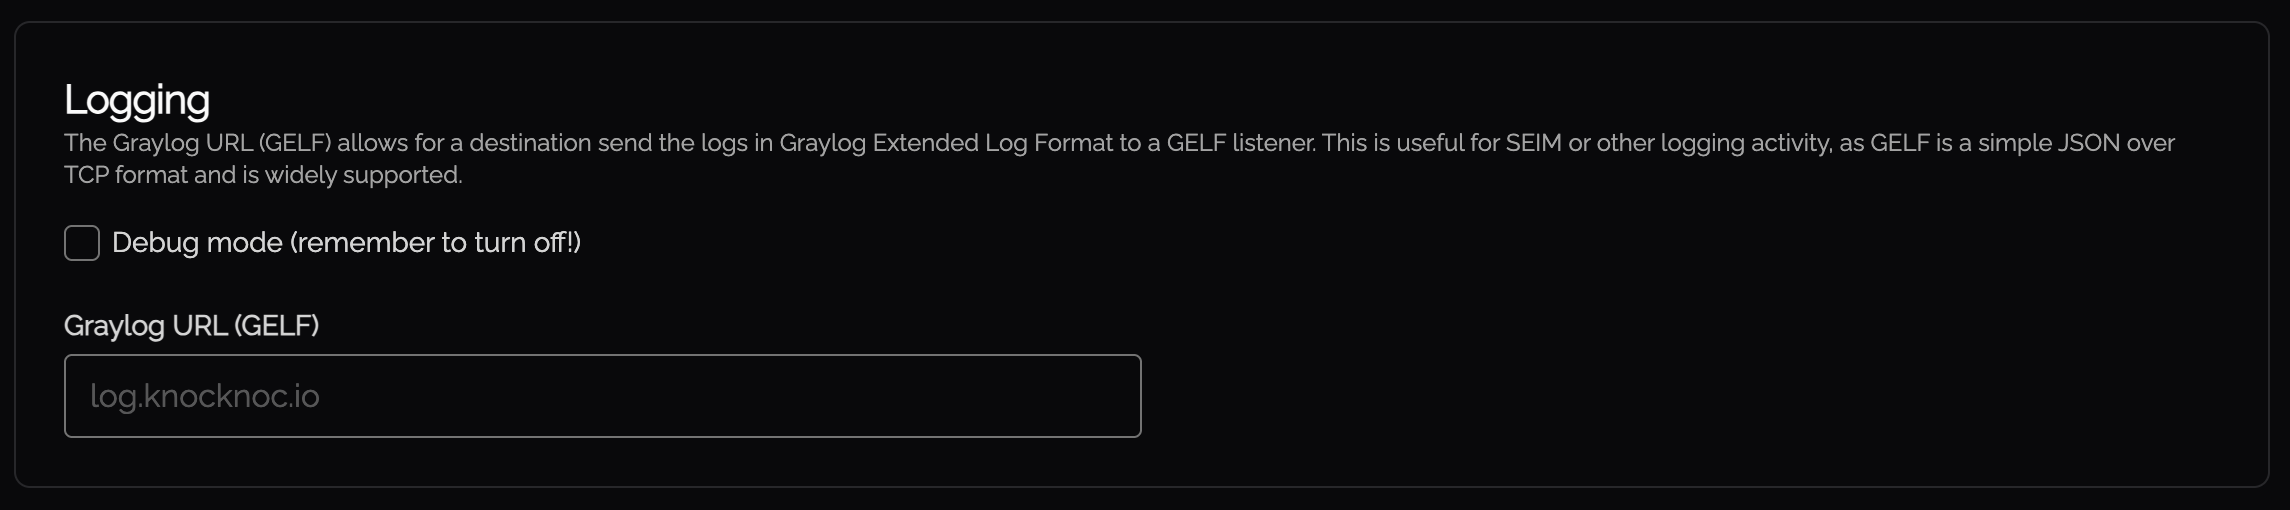
| Debug mode | Enables verbose debug logging on the server. Turn this off after troubleshooting, as it produces a large volume of log output. |
| GELF Listener URL | Sends structured log events in Graylog Extended Log Format (GELF) to an external log collector. Supported protocols: udp://, tcp://, tls://. Example: tcp://log.example.com:12201. Use this to forward logs to a SIEM, Graylog, or any system that accepts GELF input. |
Threat Intelligence
Knocknoc integrates with GreyNoise for IP reputation lookups. When configured, Knocknoc checks connecting IP addresses against GreyNoise's threat intelligence database.
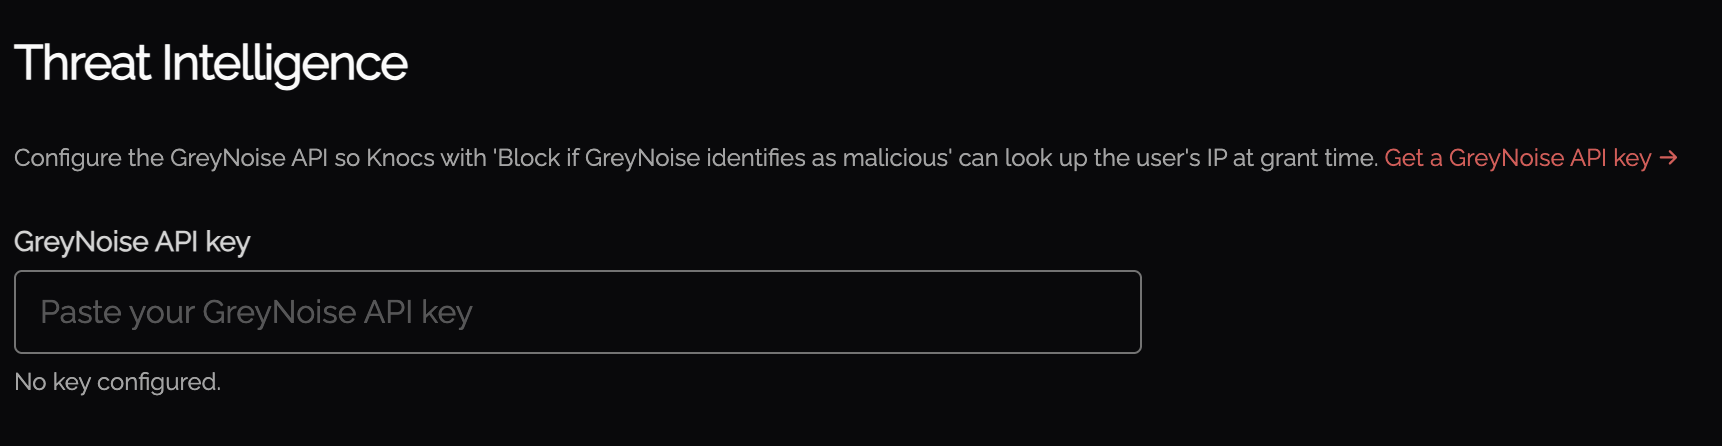
This allows Knocknoc to block access attempts from malicious IPs.
Agentic and Companion Access
A global master switch for agentic access and companion devices across the whole deployment. It gates the feature everywhere. Individual Knocs also have their own agentic and companion settings, which this switch overrides while it is off.
When the switch is on, Knocs configured for agentic or companion access work as normal. When it is off, no new agentic access or companion devices can be created anywhere, whatever an individual Knoc is set to.
Disabling is immediate and destructive. Turning this off revokes all active agentic access links and companion grants straight away. Each Knoc's own agentic and companion settings are kept, so turning the switch back on restores them without any reconfiguration.
Client IP Discovery
Some users reach your network from more than one IP address, for example separate addresses for IPv4 and IPv6, or a split-tunnel VPN. When enabled, Knocknoc can discover these additional client addresses so all of them are granted.
- Turn on Discover additional IP addresses.
- Set the IP Discovery API URL the client probes, and optionally the Discovery ports. Leave the ports empty to use the defaults.
- Use the Test button to check that discovery is working. The results list each port probed and the address discovered.
Kiosk Settings
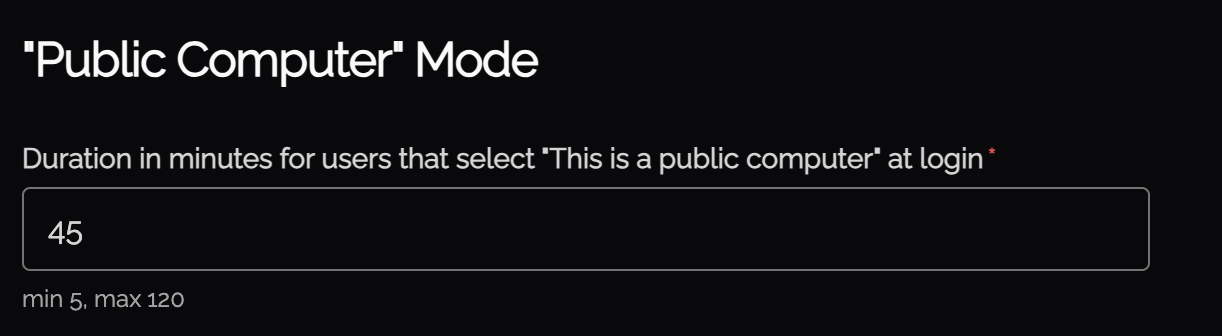
Kiosk mode (also called "Public Computer" mode) sets a shorter session duration for users on shared or public computers. When a user logs in from a kiosk, their session expires after the configured duration regardless of activity.
Branding
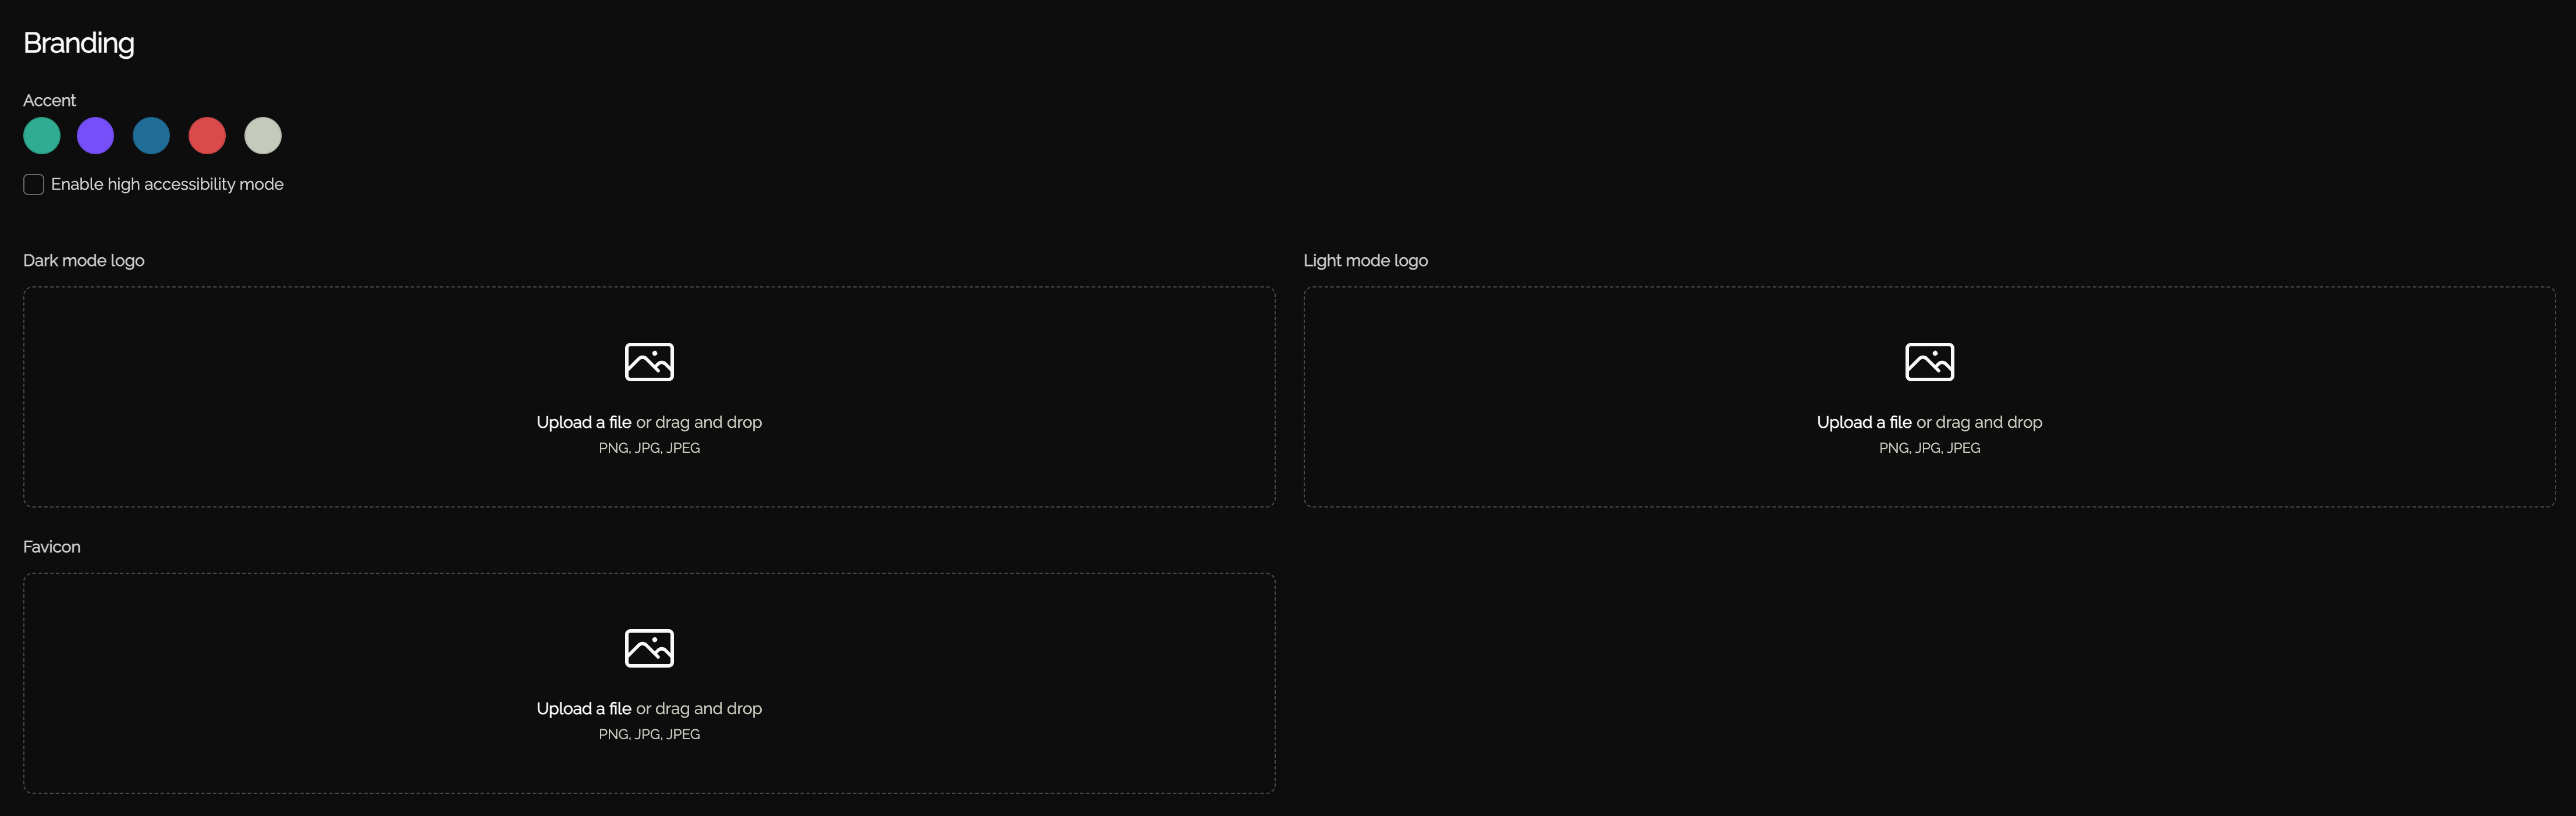
Customise the look of the Knocknoc portal:
- Accent colour: choose the accent used throughout the interface.
- High accessibility mode: switches to slightly higher-contrast accent colours and adds extra accessibility options, such as a Hide Timer button.
- Logos: upload separate logos for dark and light mode.
- Favicon: upload the icon shown in the browser tab. A square image works best.