
Kemp LoadMaster
Knocknoc integrates with the Kemp LoadMaster to dynamically control network access. Knocknoc dynamically manages the LoadMaster's global allowlist. As users authenticate and grants expire, Knocknoc adds and removes entries in the allowlist, so access is granted in seconds.
This is an active integration: Knocknoc pushes changes to the LoadMaster directly. If you would prefer a poll-based setup where a device fetches a Knocknoc-hosted feed on its own schedule, use the EDL (Passive) Knoc type instead.
Requirements
- A LoadMaster running firmware with the RESTful API (LMOS 7.x or newer).
- The API Interface enabled so Knocknoc can reach the LoadMaster API.
- A LoadMaster user account (username and password) with permission to manage the global ACL.
- Network reachability from the host running Knocknoc to the LoadMaster management address.
Step 1: Enable the API Interface
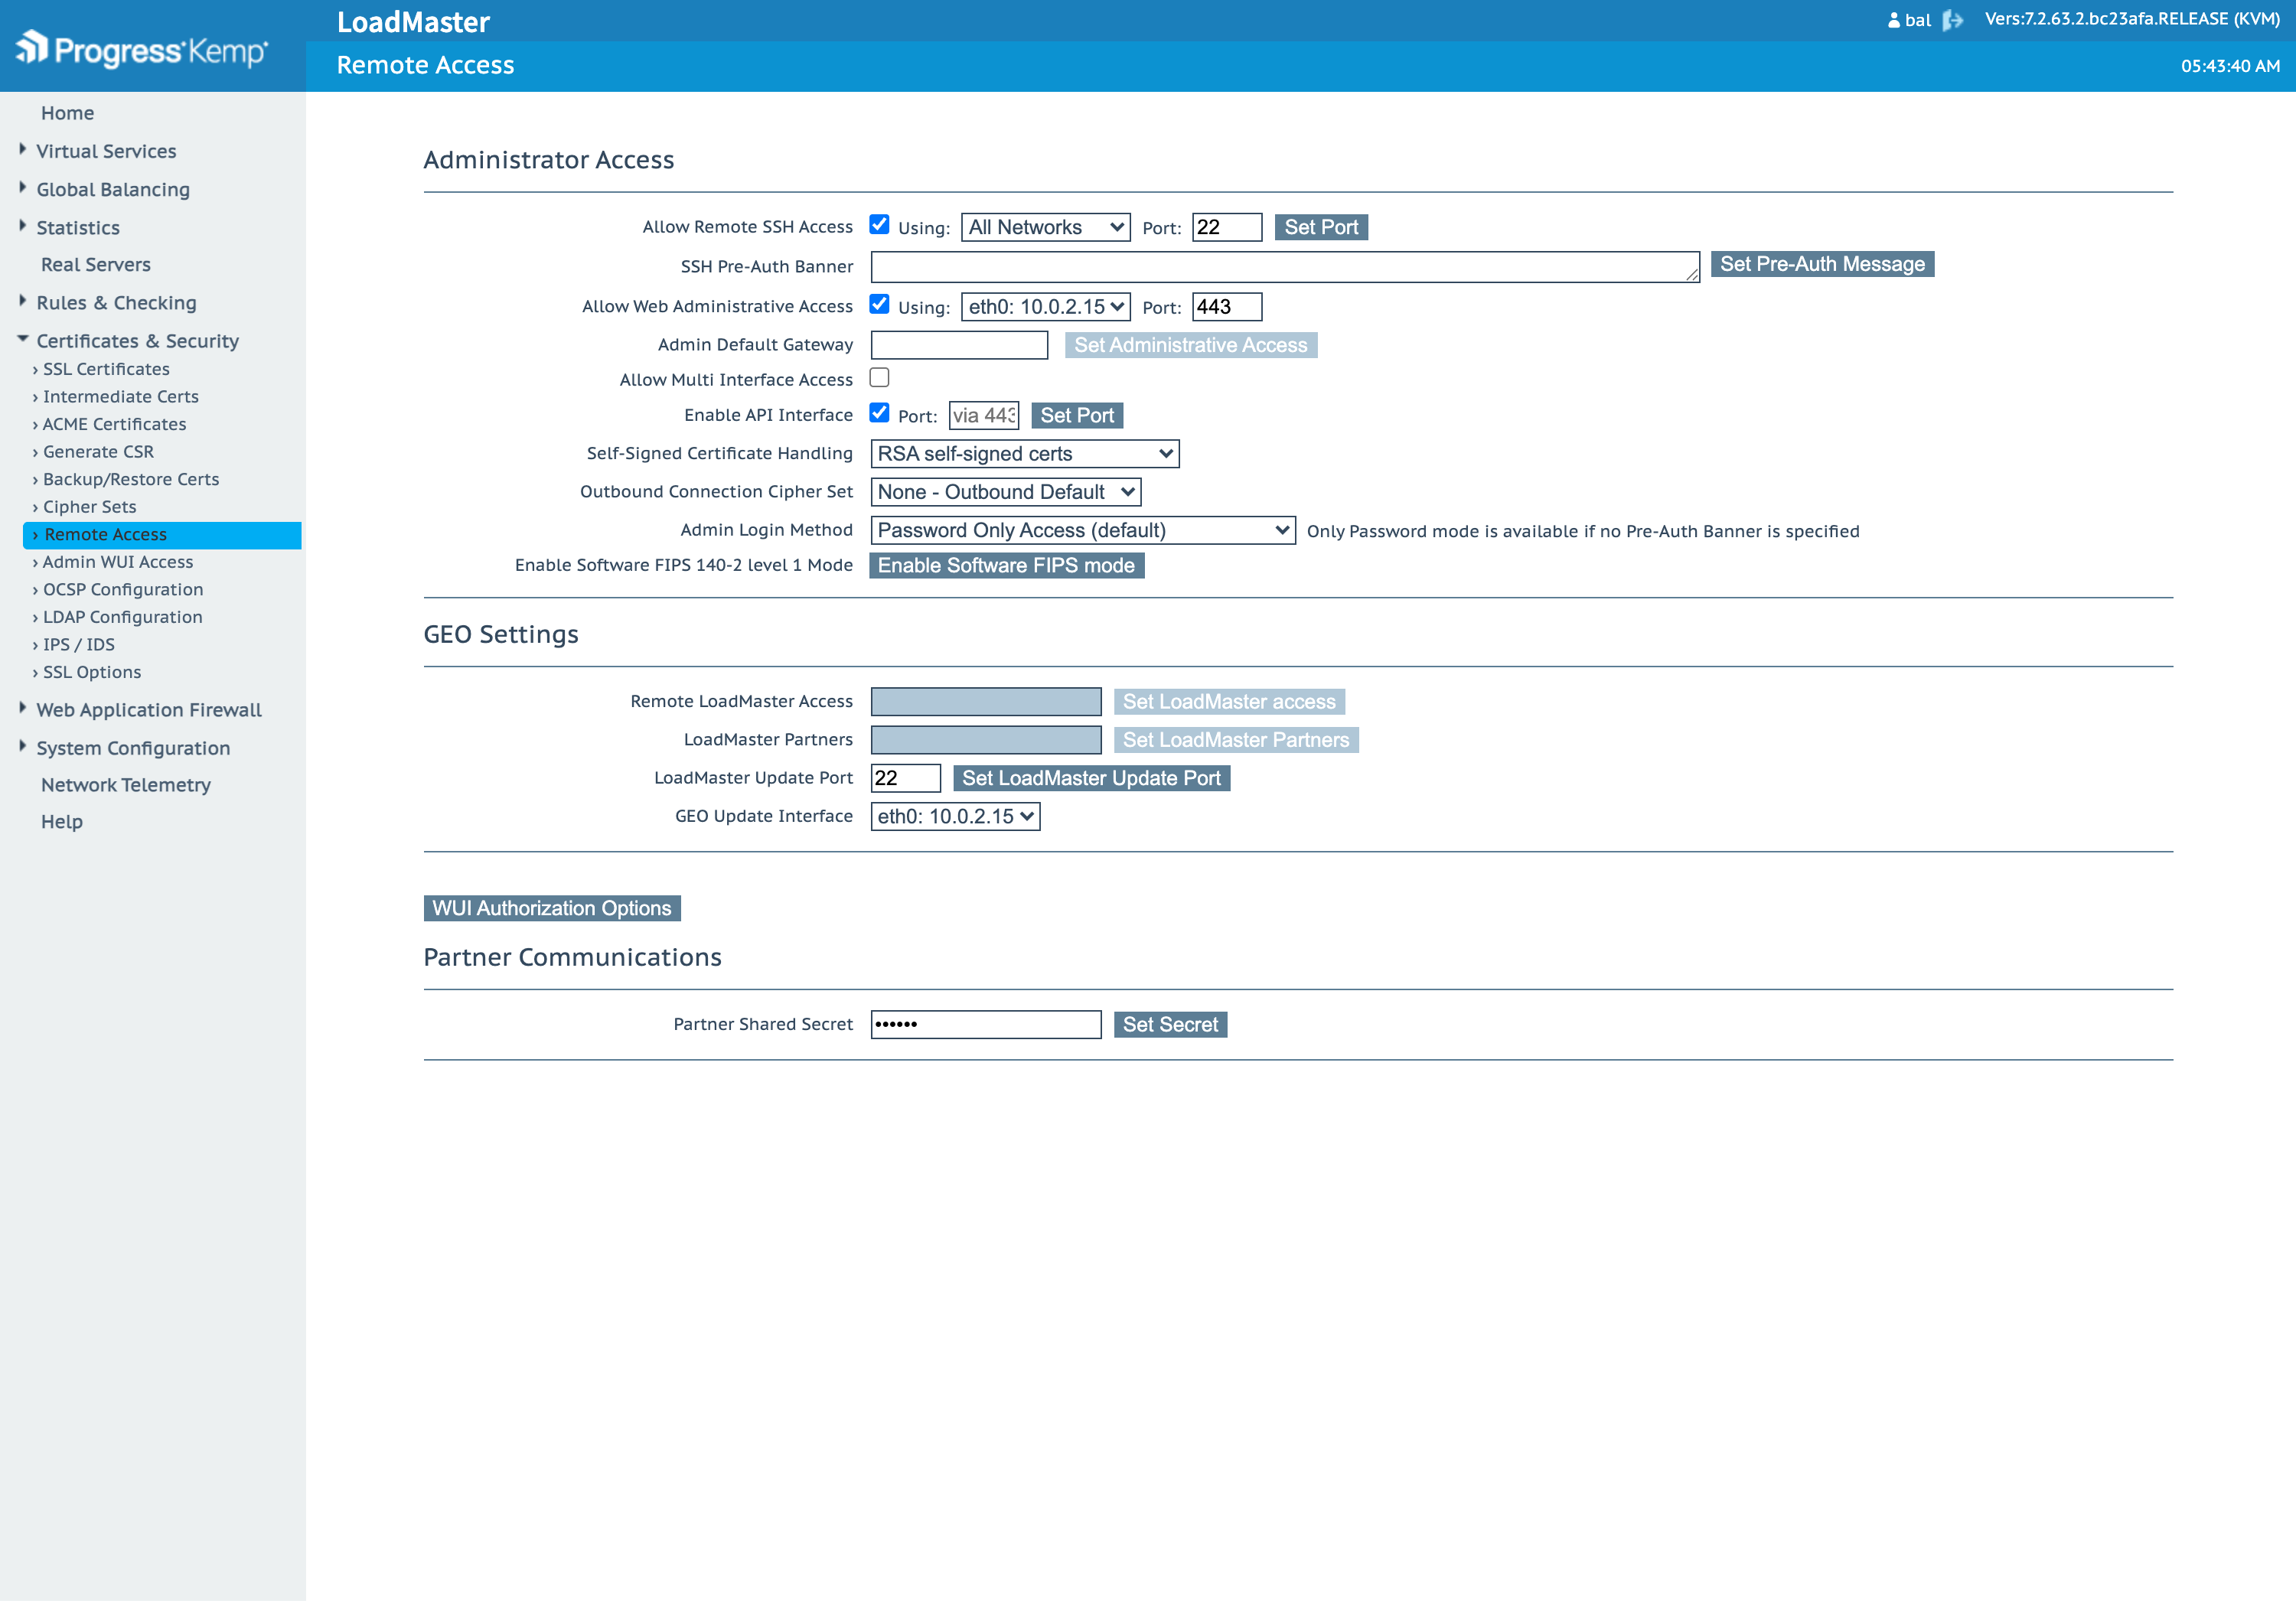
- In the WUI, go to Certificates & Security > Remote Access.
- Enable the API Interface.
- If you restrict management access by source address, allow the IP that Knocknoc connects from.
Step 2: Enable the Packet Routing Filter
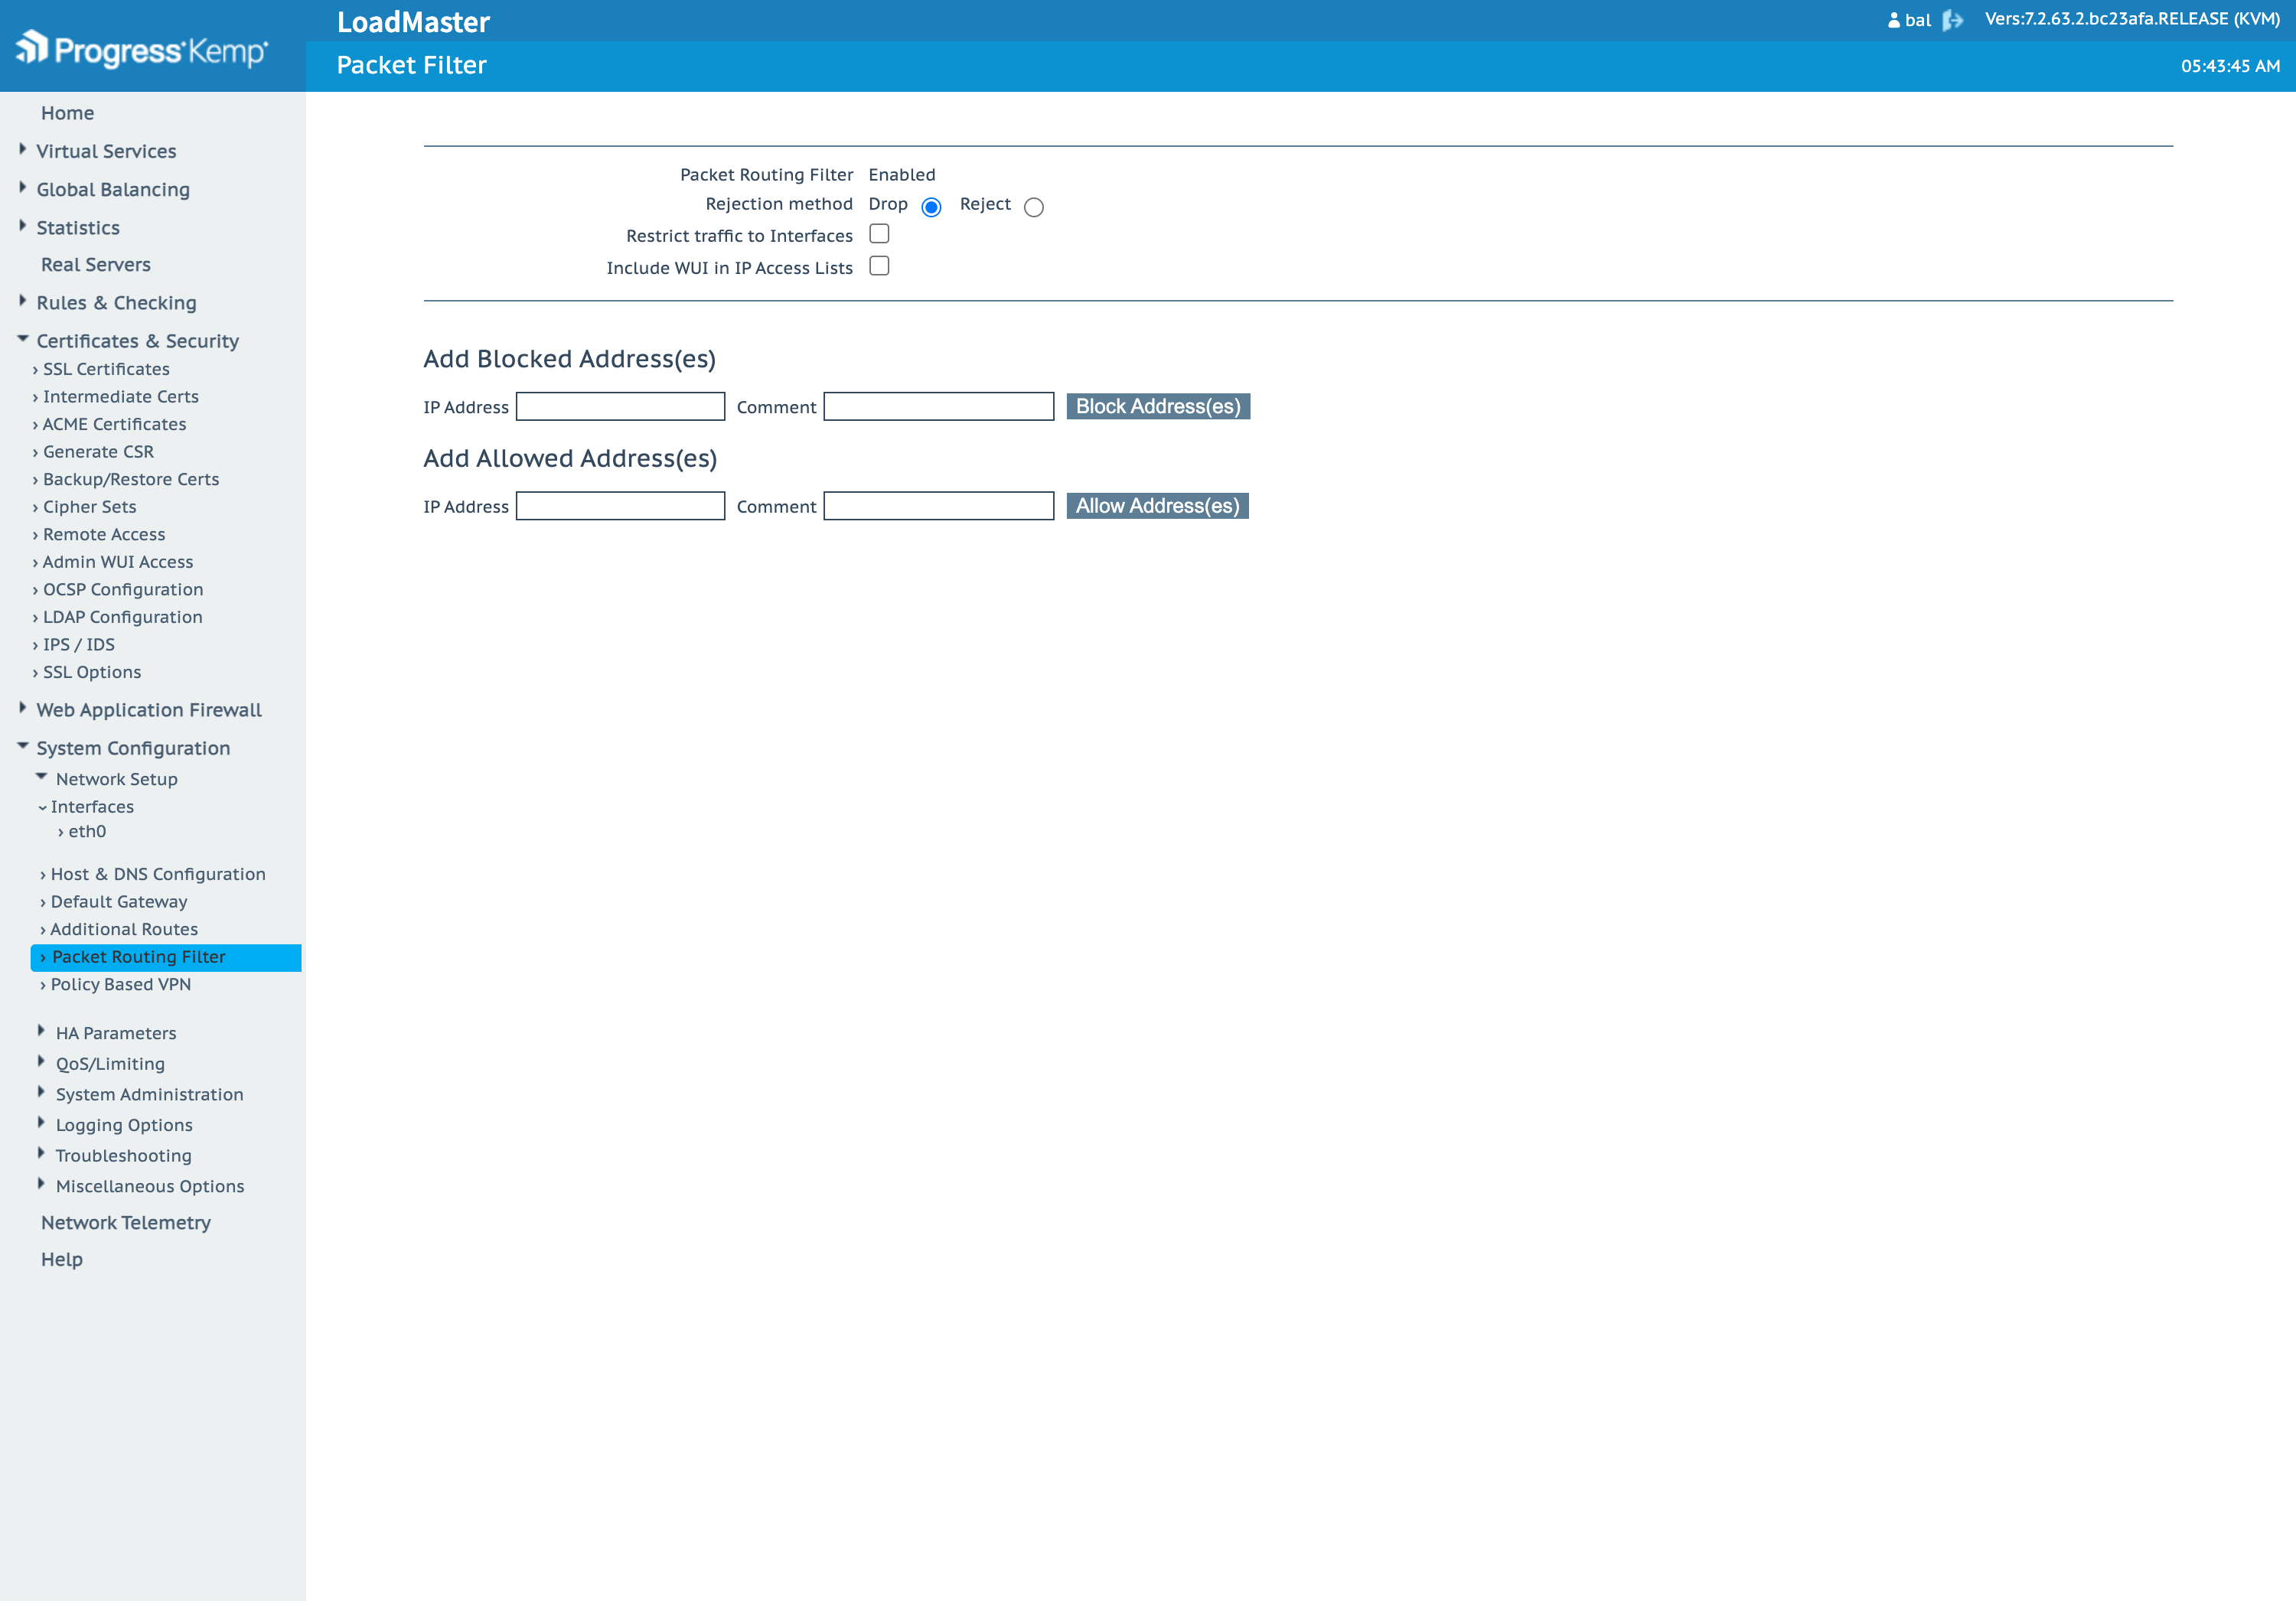
The global allowlist lives under the Packet Routing Filter. Go to System Configuration > Network Setup > Packet Routing Filter and confirm it is enabled.
Step 3: Create a user
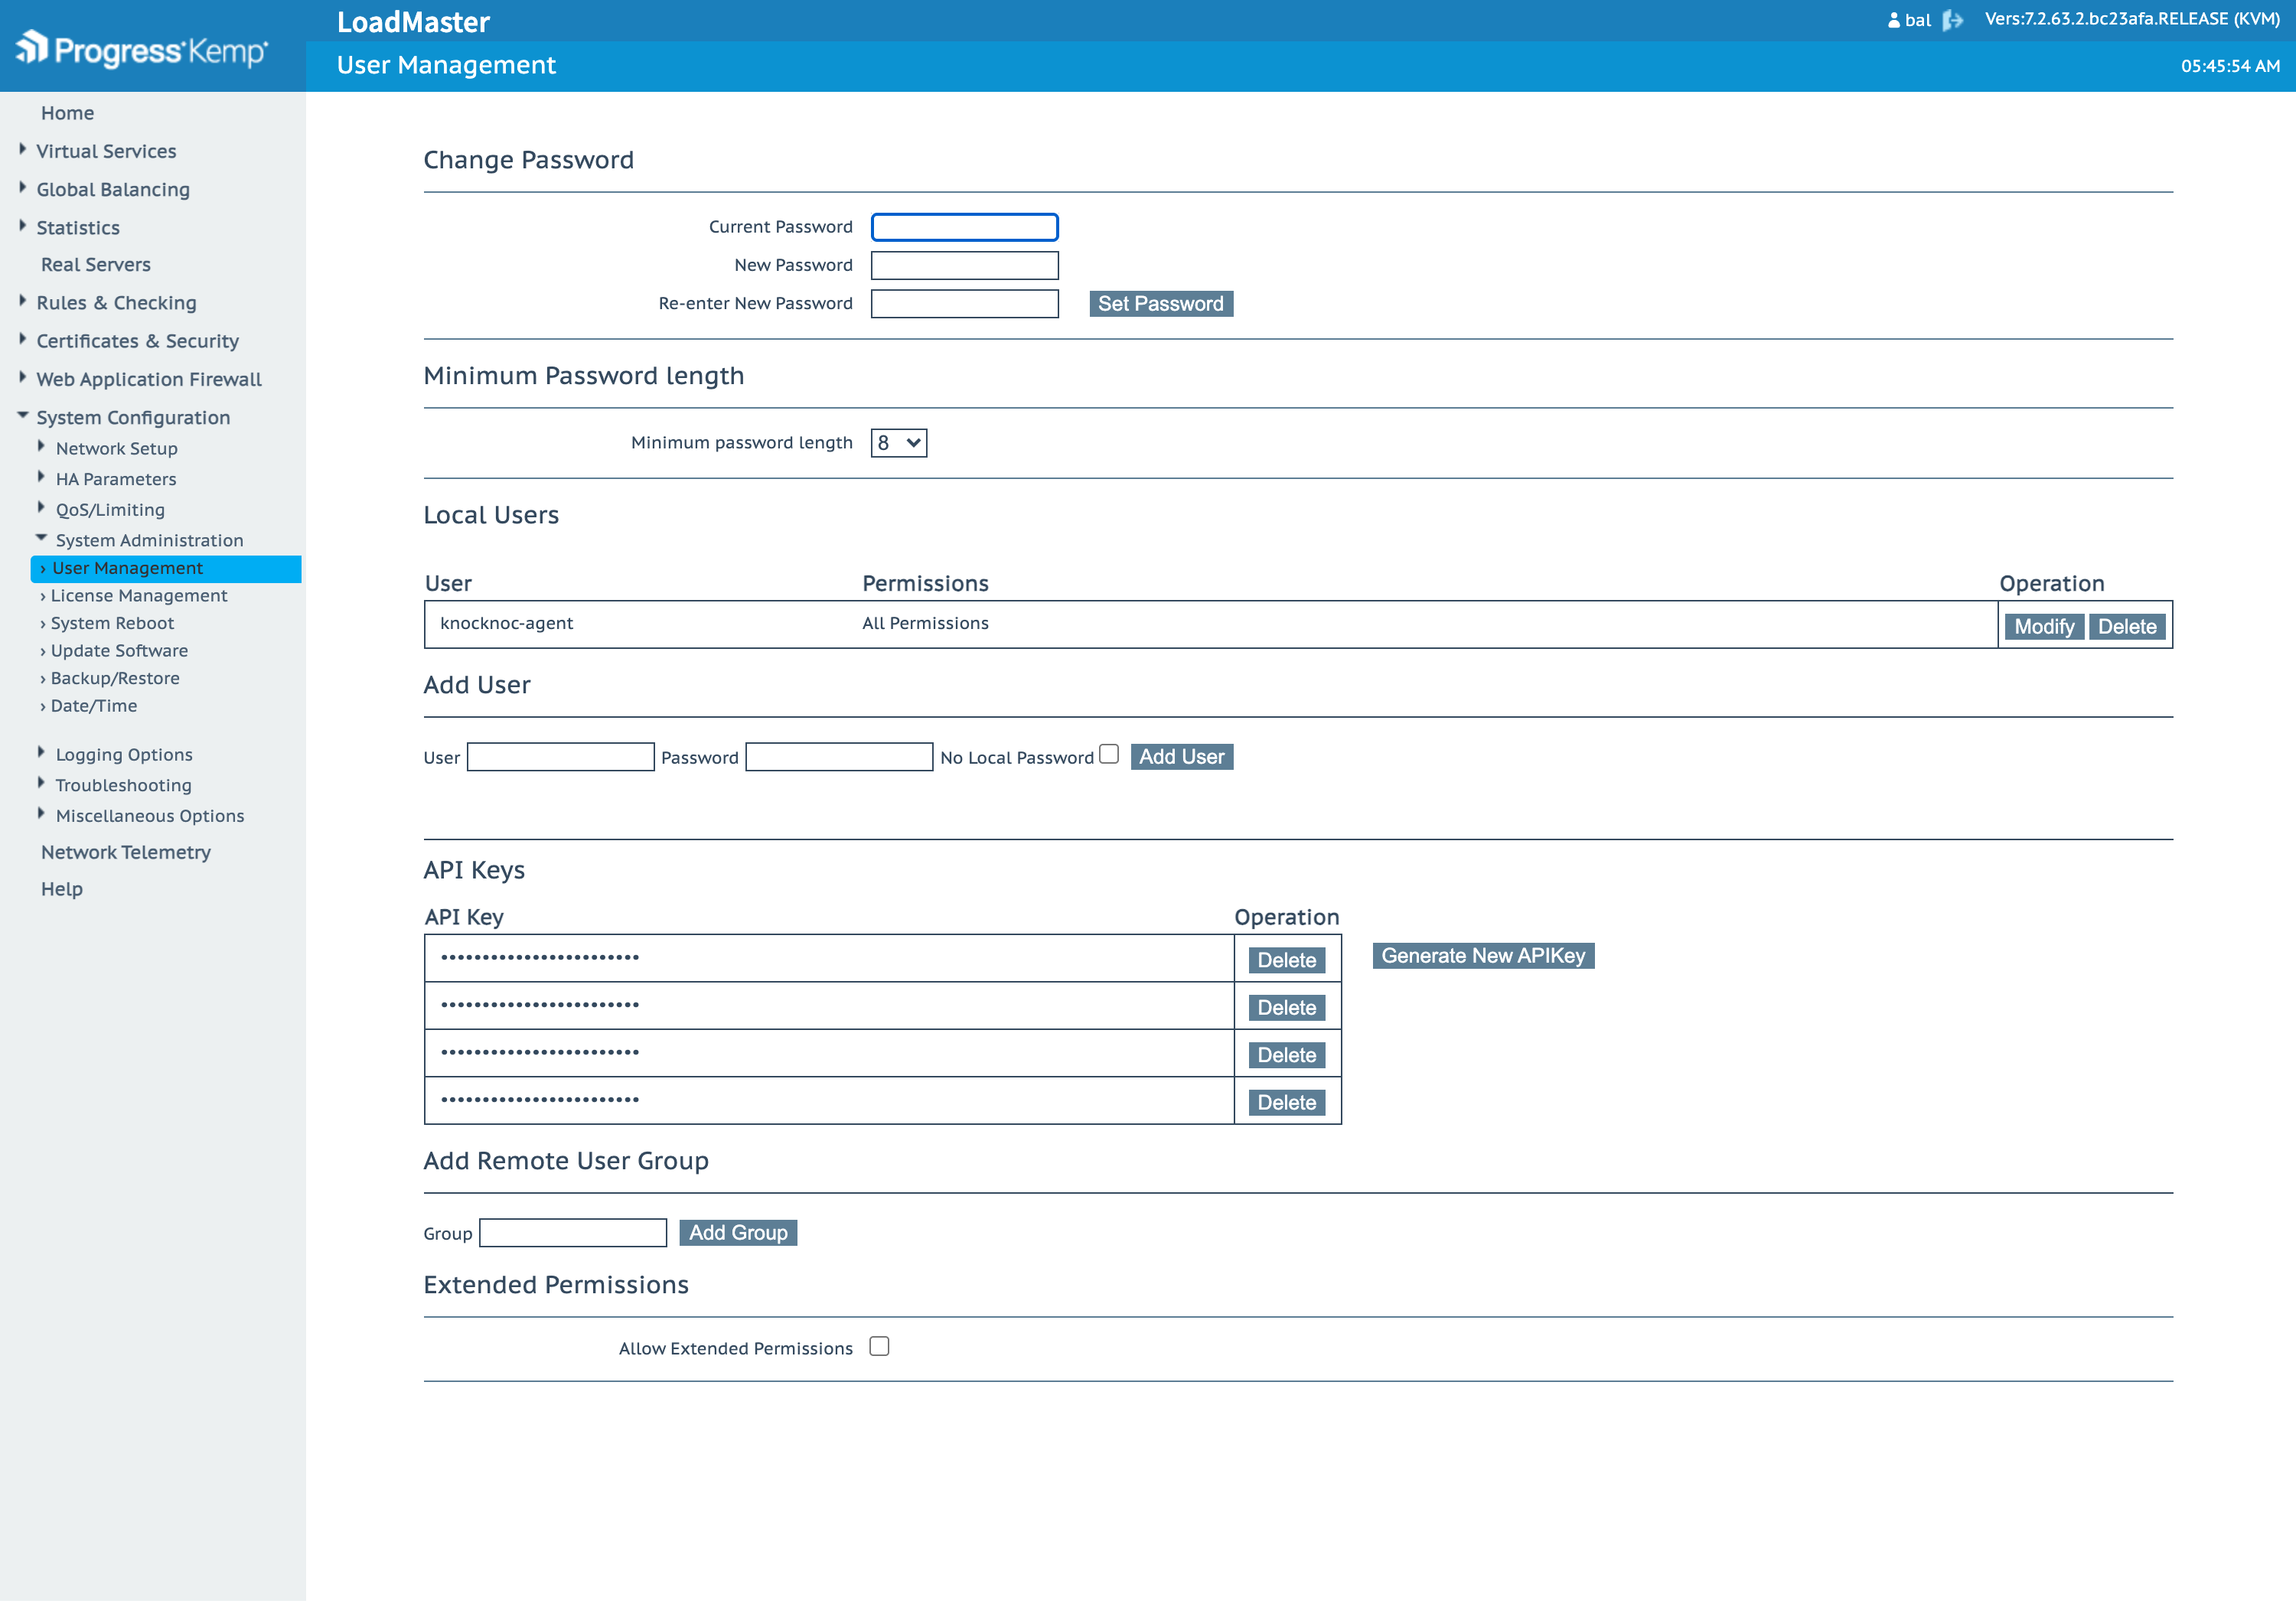
- Go to System Configuration > System Administration > User Management.
- Add a new user (for example
knocknoc-agent) with a strong password, and grant it All Permissions.
Step 4: Configure the Knocknoc Backend
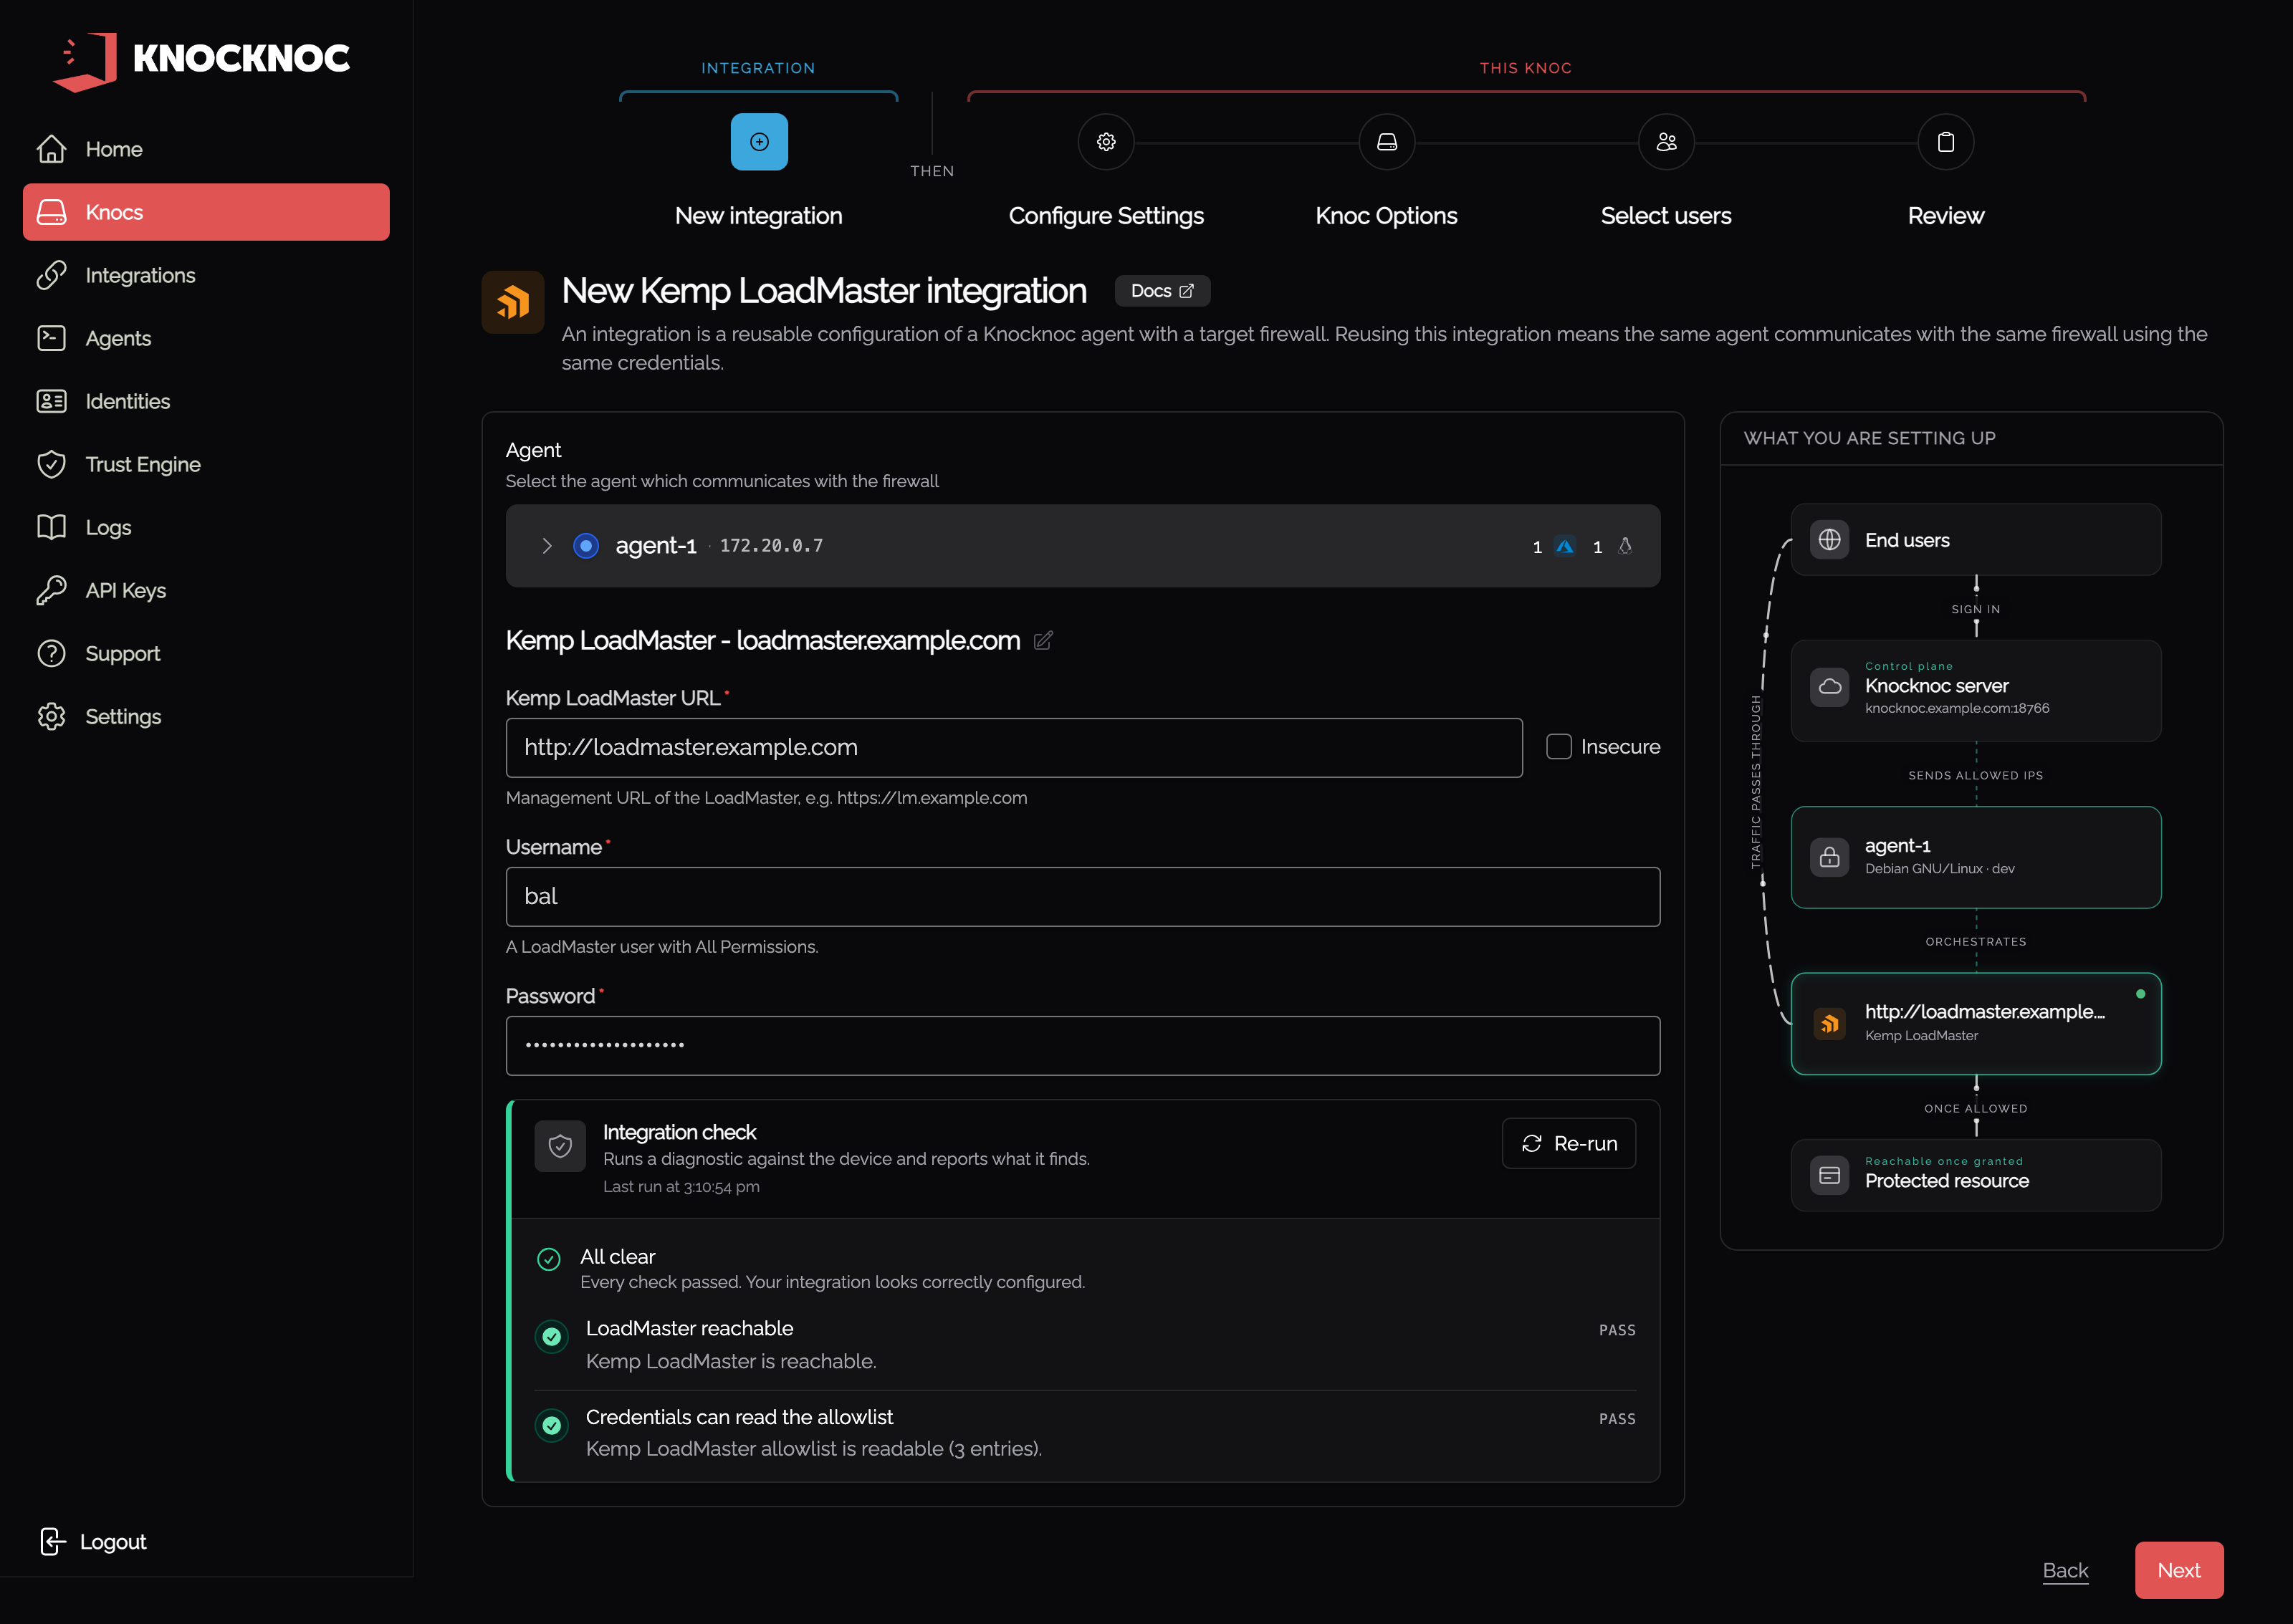
In the Knocknoc admin wizard, create a Knoc and choose the Application type, Active mode, Kemp LoadMaster vendor. Fill in:
| Field | Value |
|---|---|
| Kemp LoadMaster URL | https://<loadmaster-host> (include the port if non-default) |
| Insecure | Tick only if the LoadMaster uses a self-signed certificate |
| Username | The LoadMaster user from Step 3. |
| Password | That user's password. |
Click Validate integration to confirm Knocknoc can reach the LoadMaster and read the allowlist, then save.
The create-knoc wizard walks through the following steps.
New integration - choose the agent that reaches the LoadMaster, then enter its URL, username and password. Only agents that support the Kemp LoadMaster backend can be selected. Tick Insecure only for a self-signed certificate.
Configure Settings - name the knoc. Mode and knoc type are shown rather than chosen.
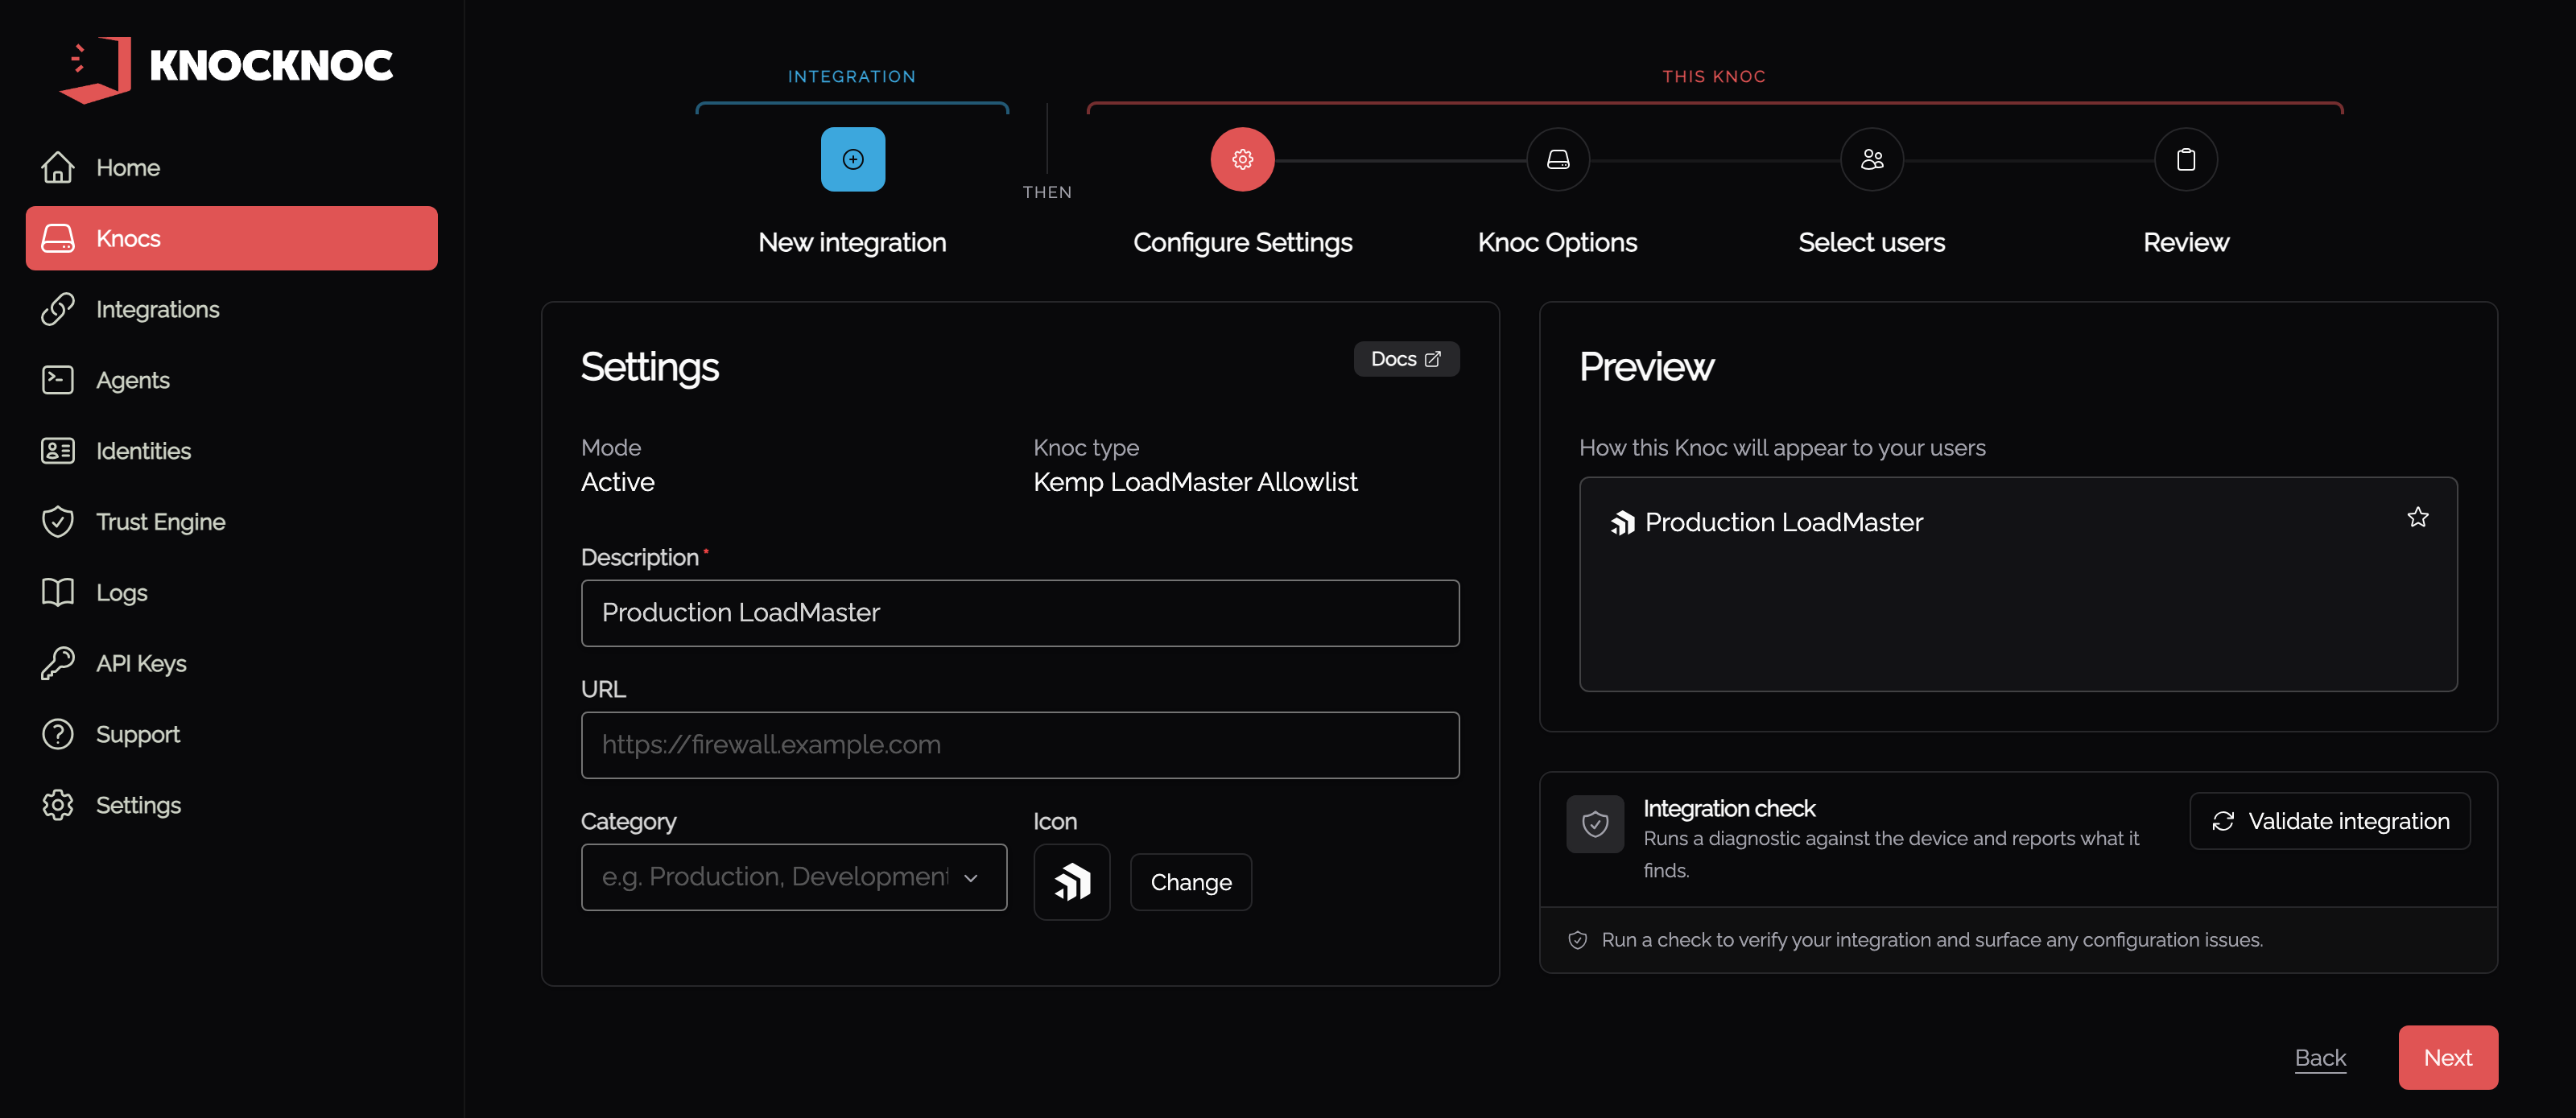
Knoc Options - set the grant behavior and the trust policy.
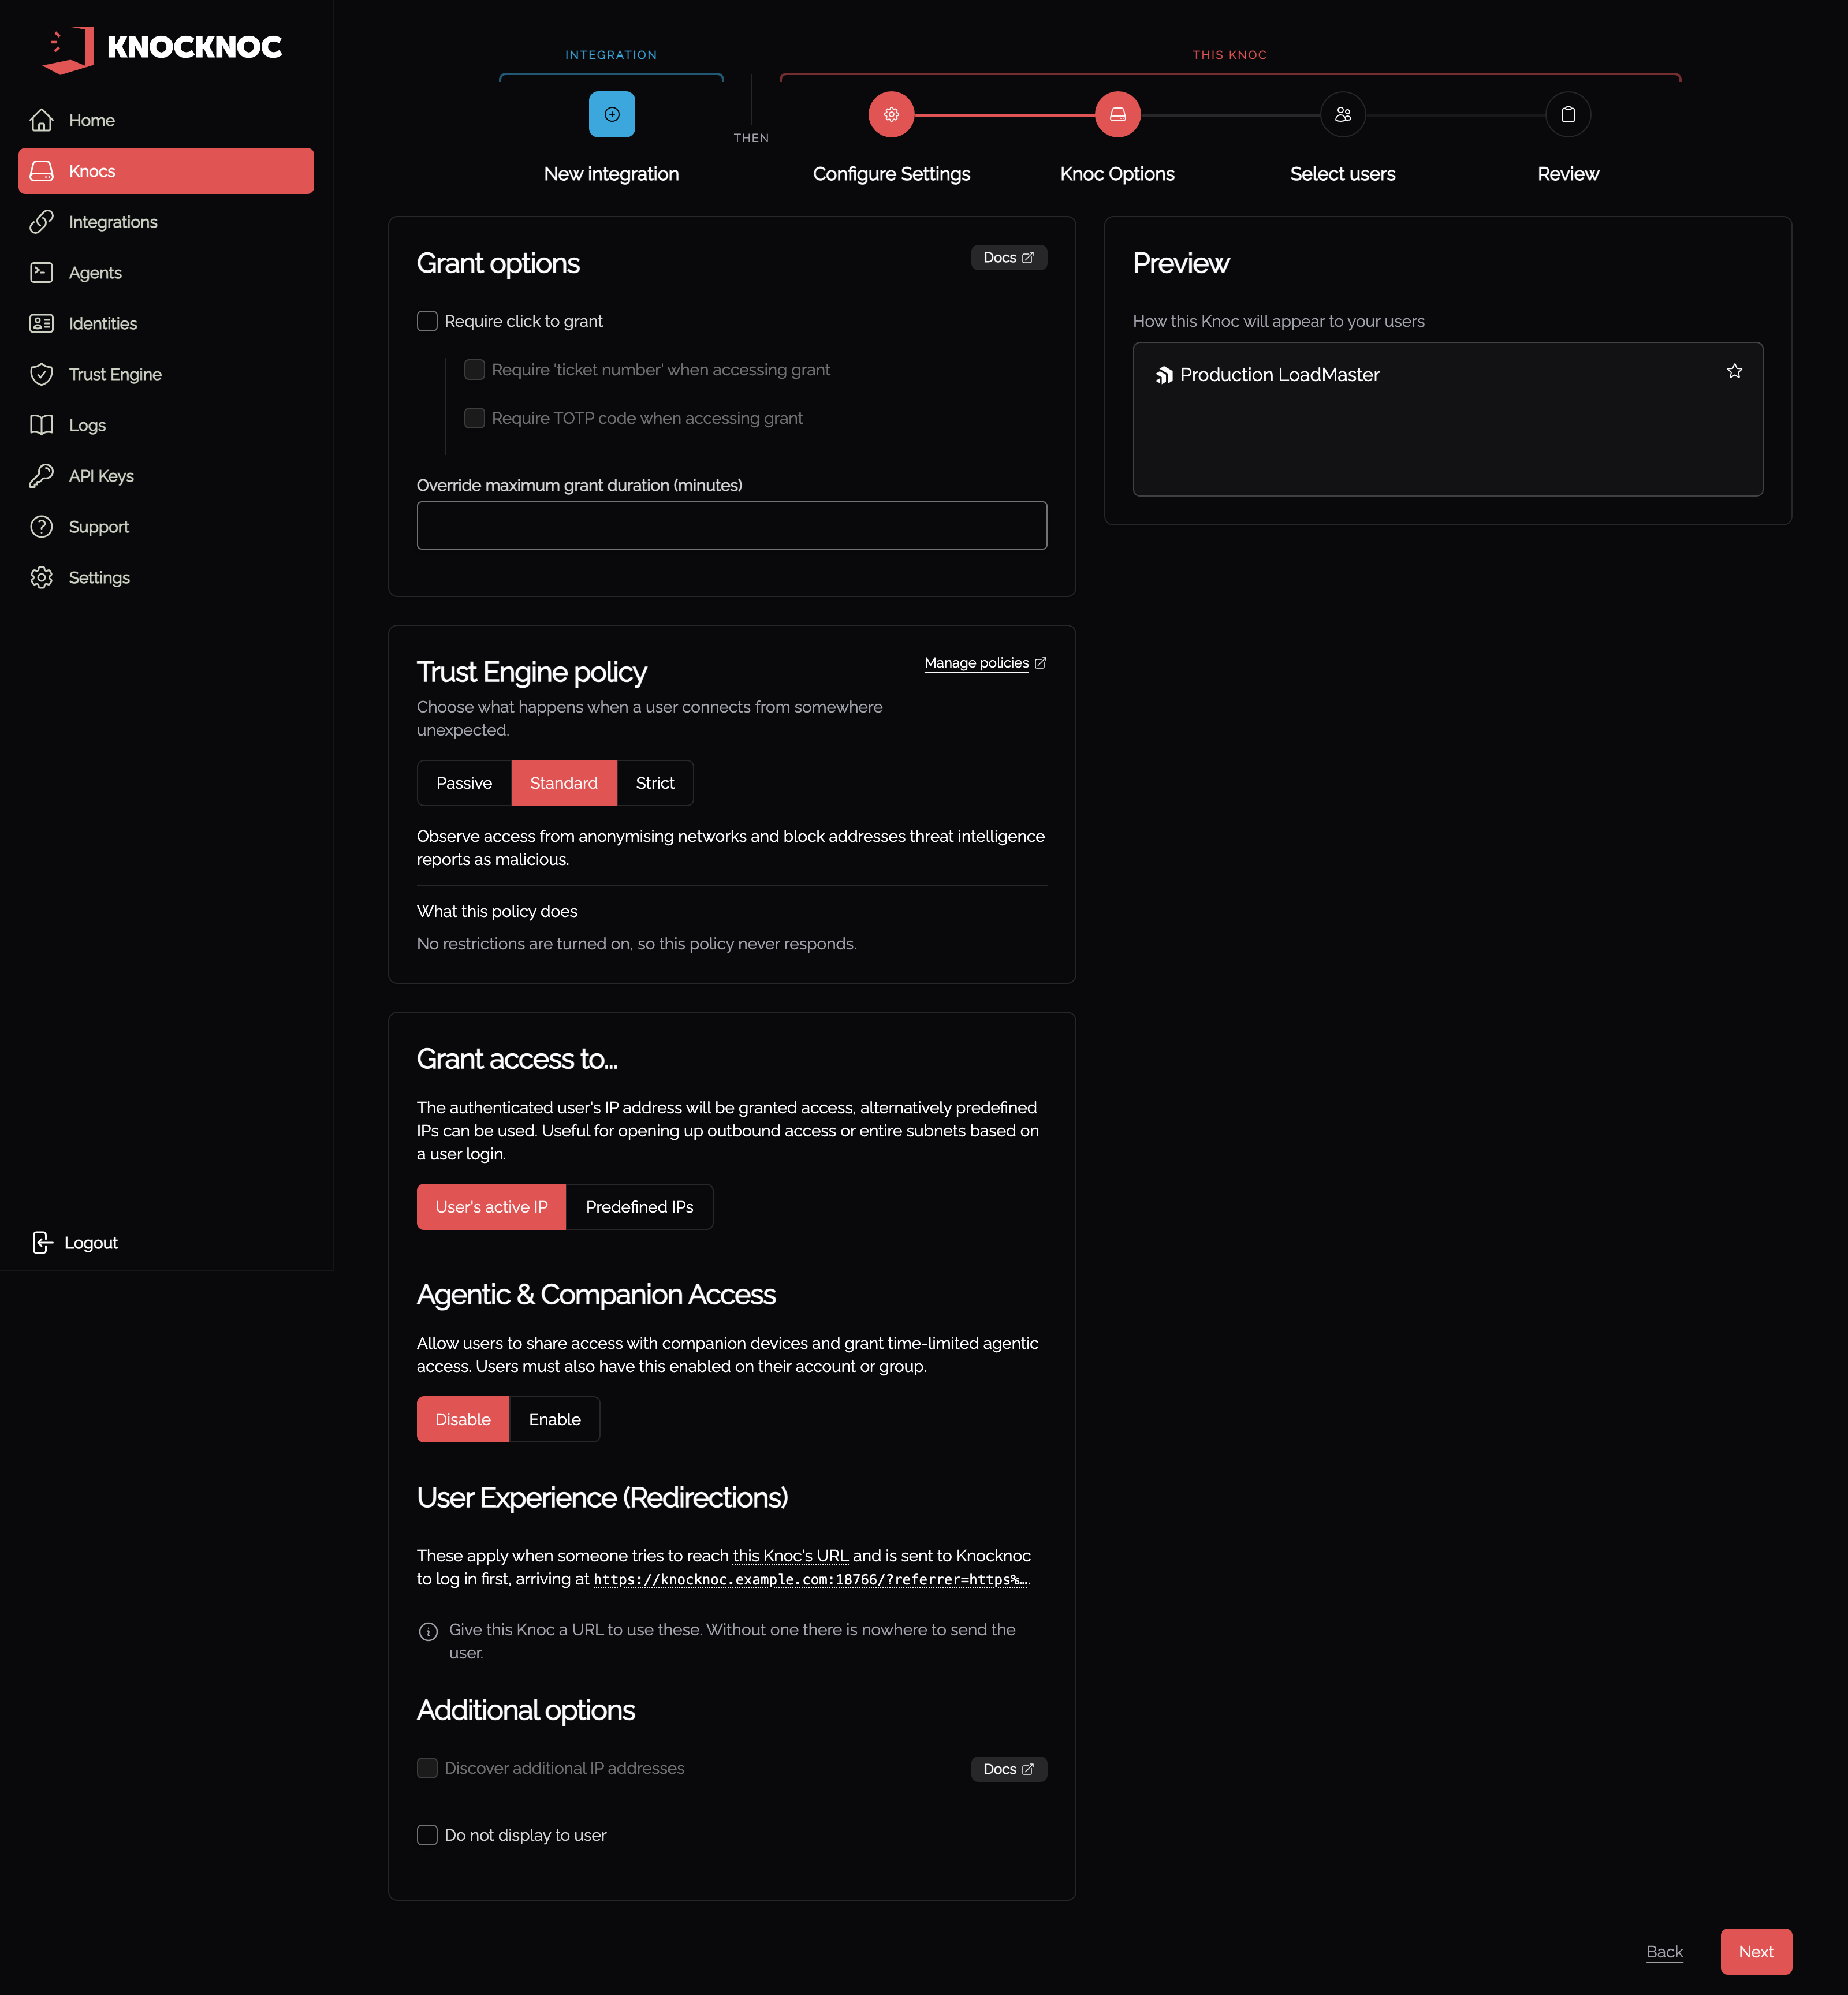
Select users - grant access to users or groups.
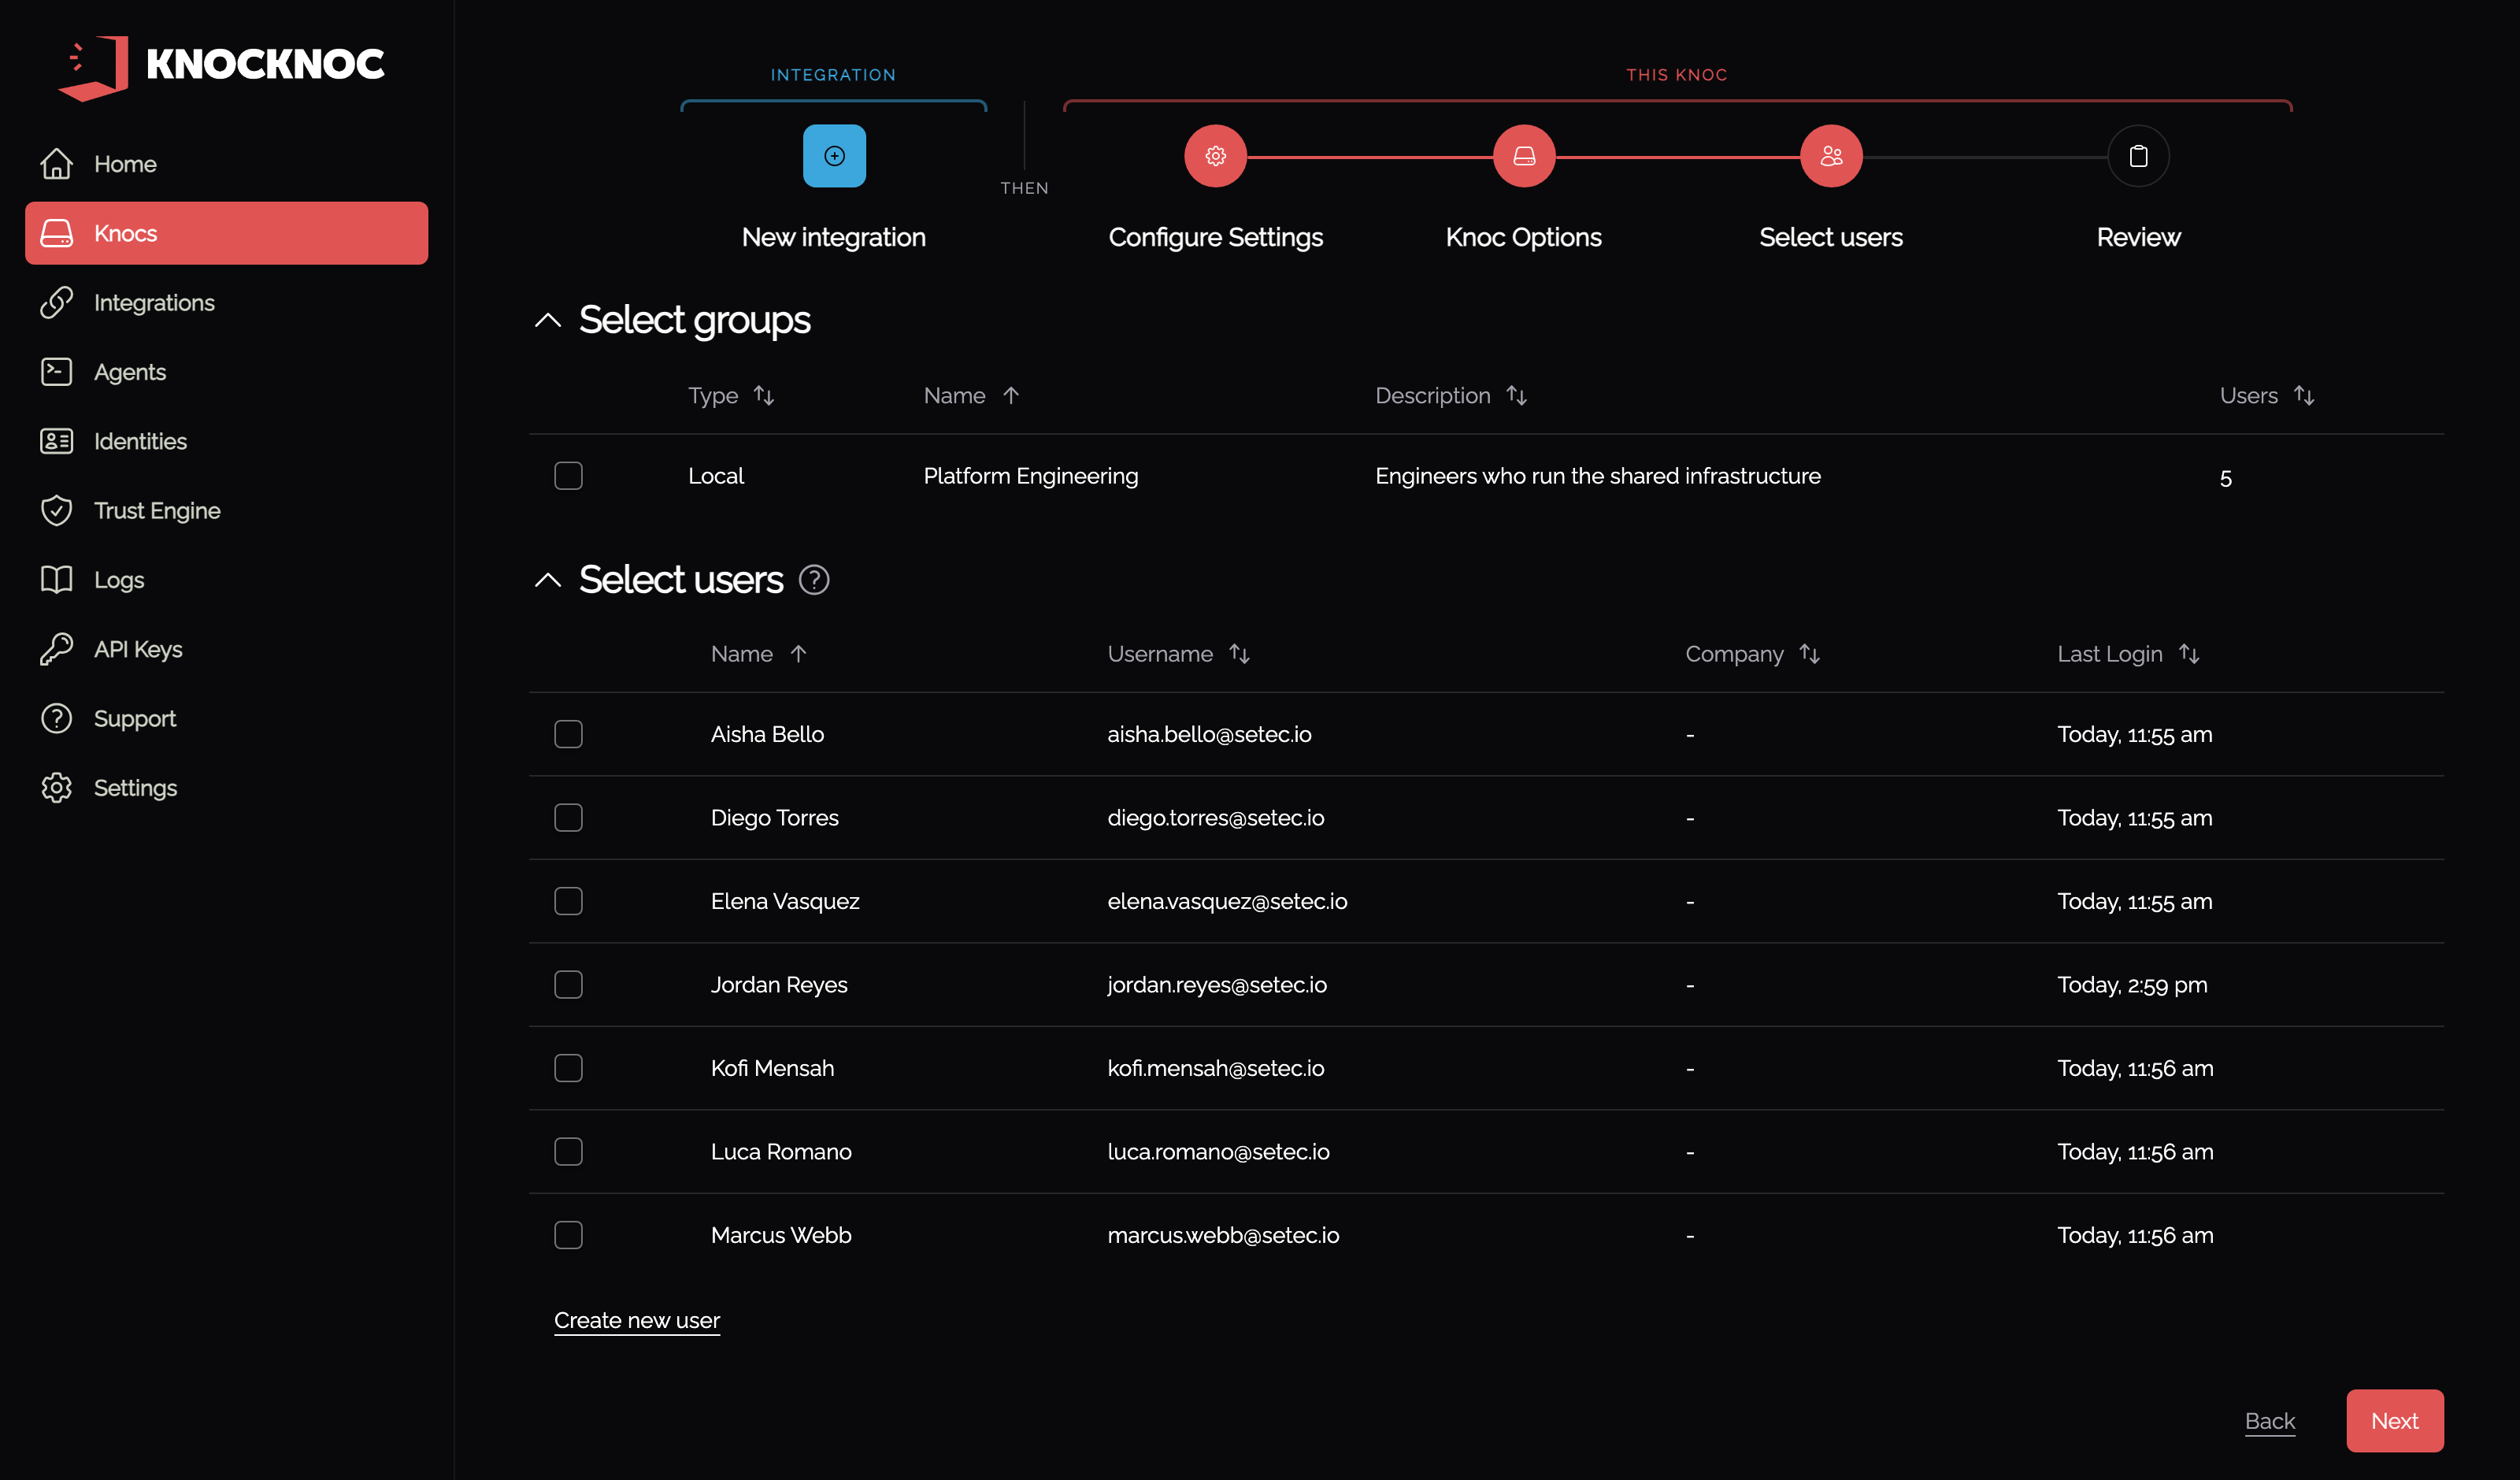
Review - run the integration check and create the knoc.
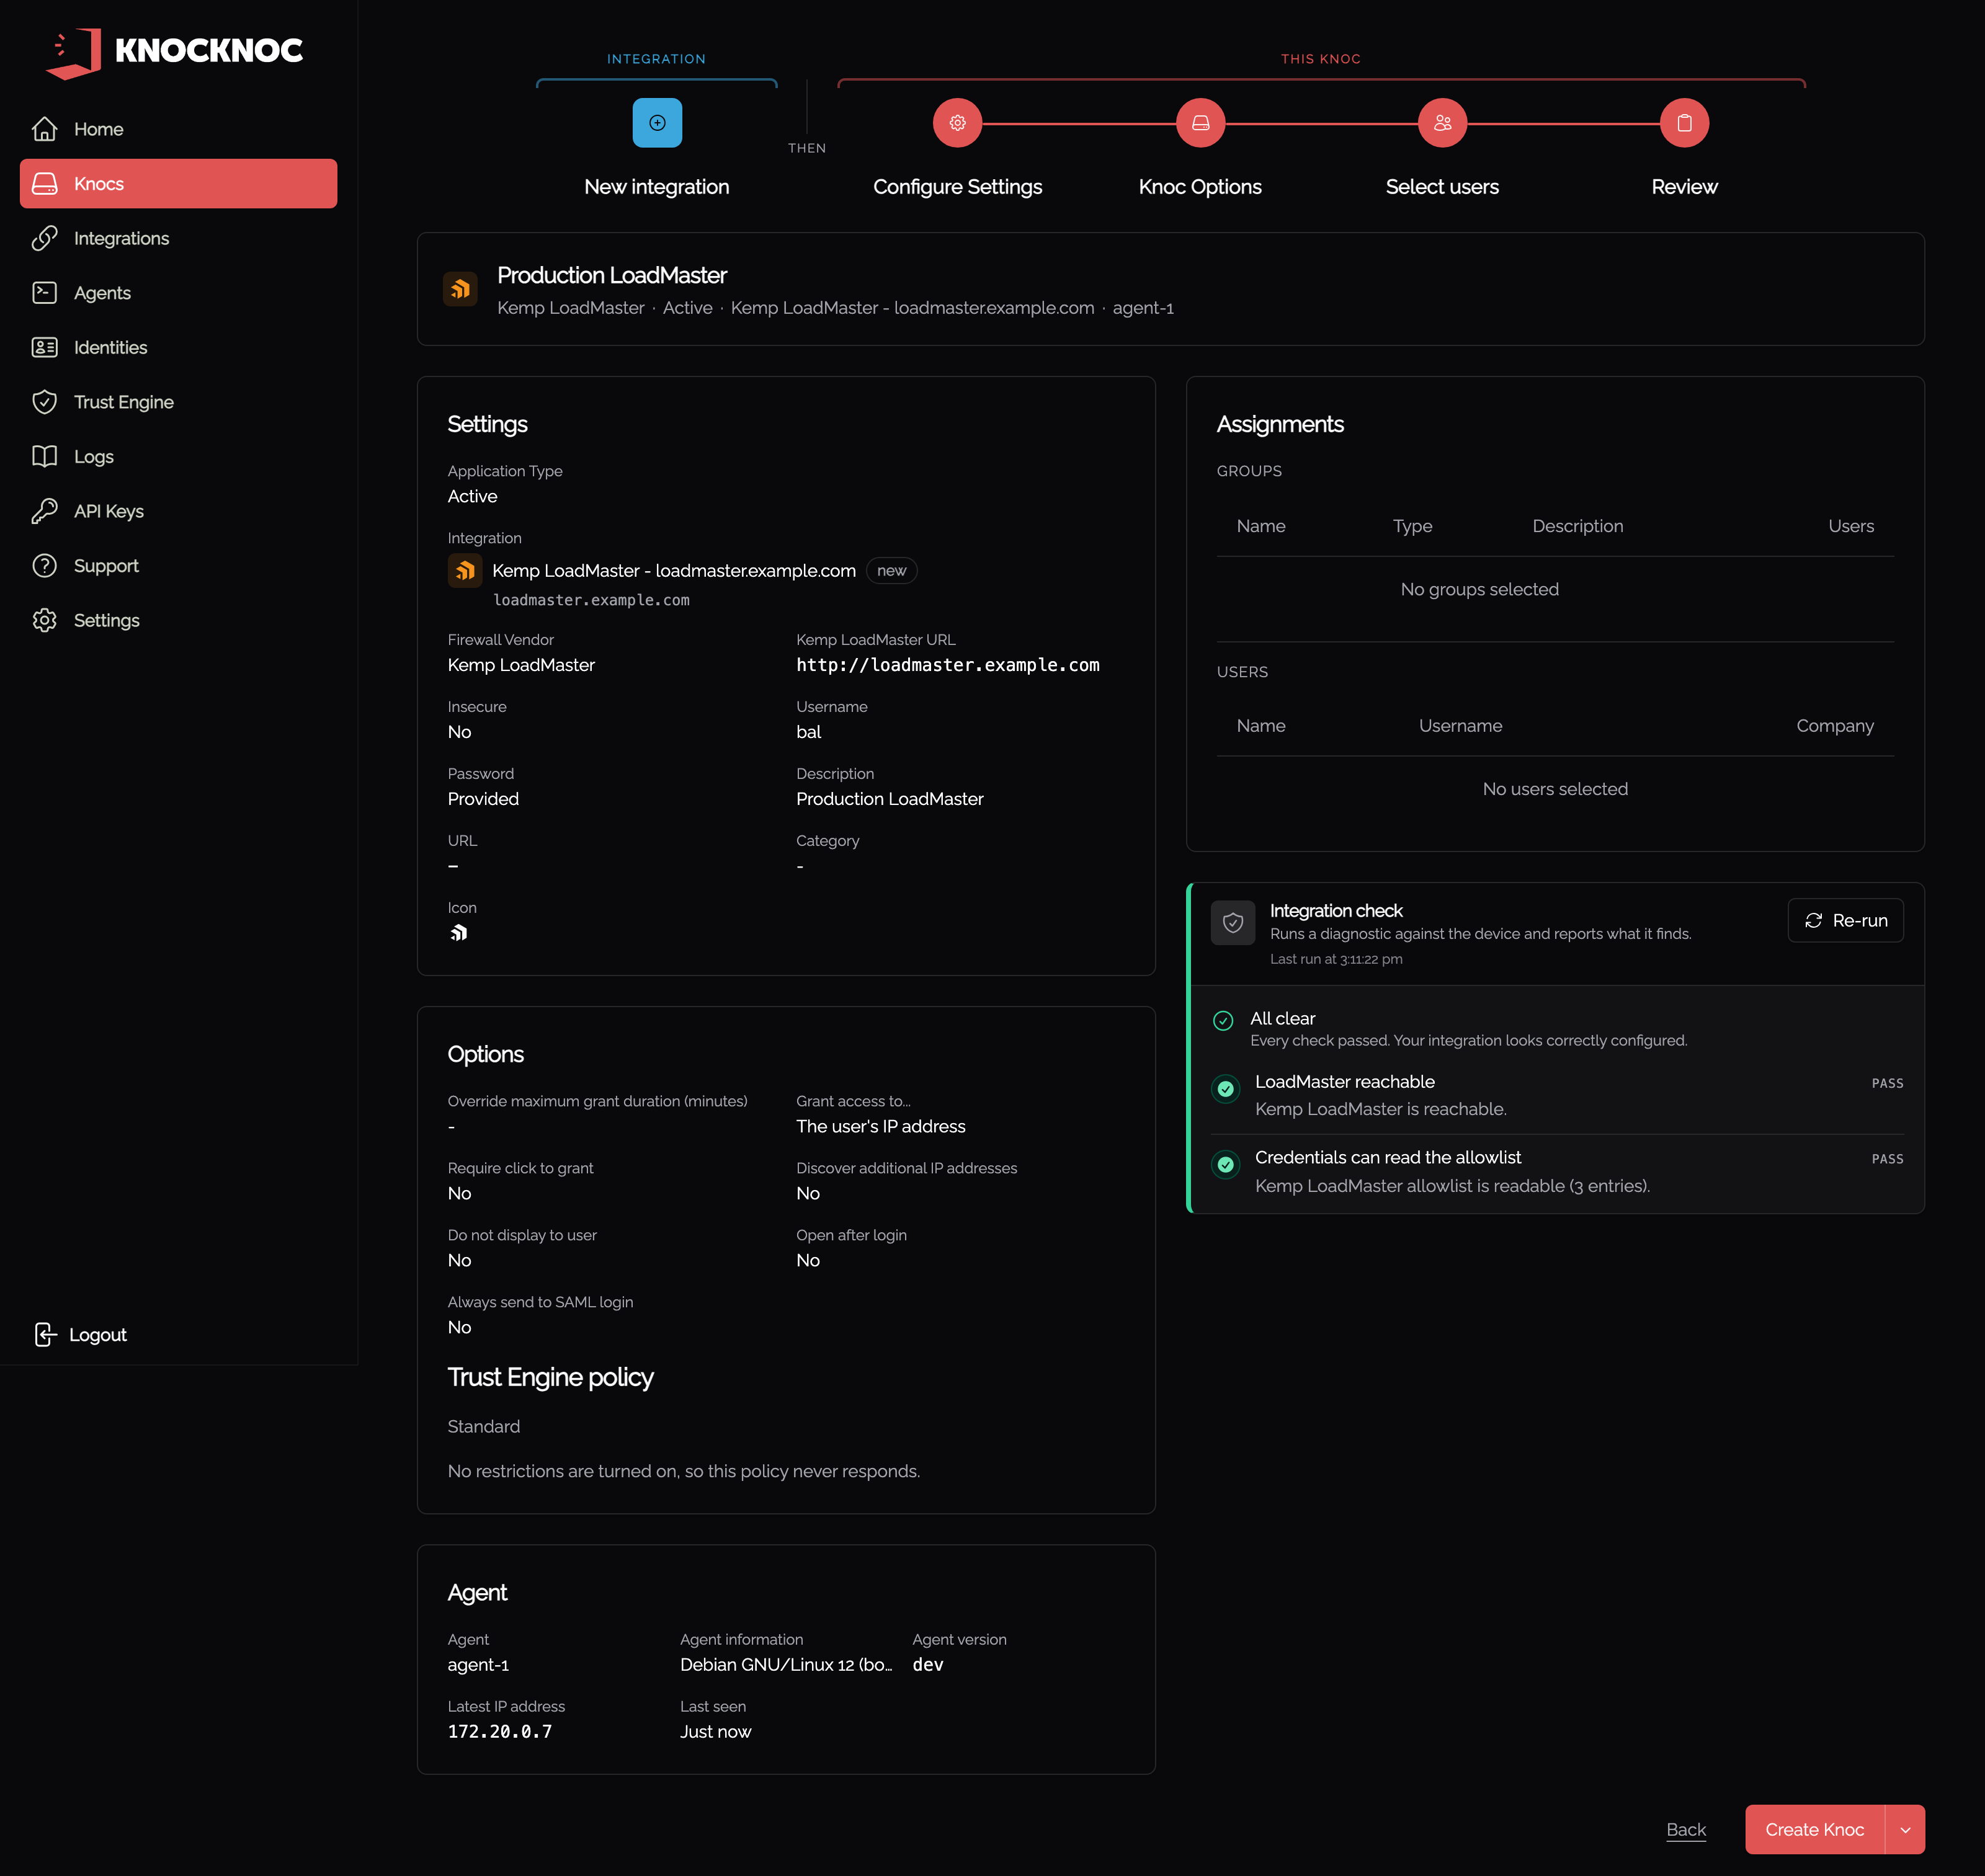
Error Codes
The Knocknoc agent reports structured error codes when Kemp LoadMaster operations fail. You can find more details on resolving these issues here.