User Guide
Welcome to the Knocknoc User Guide. This will cover basic operations including logging in, logging out and troubleshooting.
If you're looking for information on installing or administering Knocknoc, please check out the Admin Guide.
Logging into Knocknoc
Knocknoc will be hosted at a site selected by your administrator, and hosted either on-premise or in the Knocknoc Cloud.
Please be careful to ensure the URL is correct and matches the site provided by your administrator.
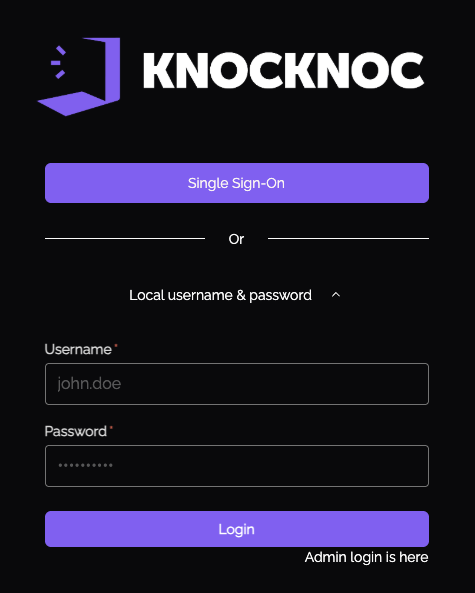
Knocknoc login dialog
|
|
You can simply login with your provided credentials, and Knocknoc will allow you to connect to the resources allocated to you.
Most users can simply login at the start of the day, and then open their other bookmarks or applications and everything will work until the end of their day. |
2FA - TOTP
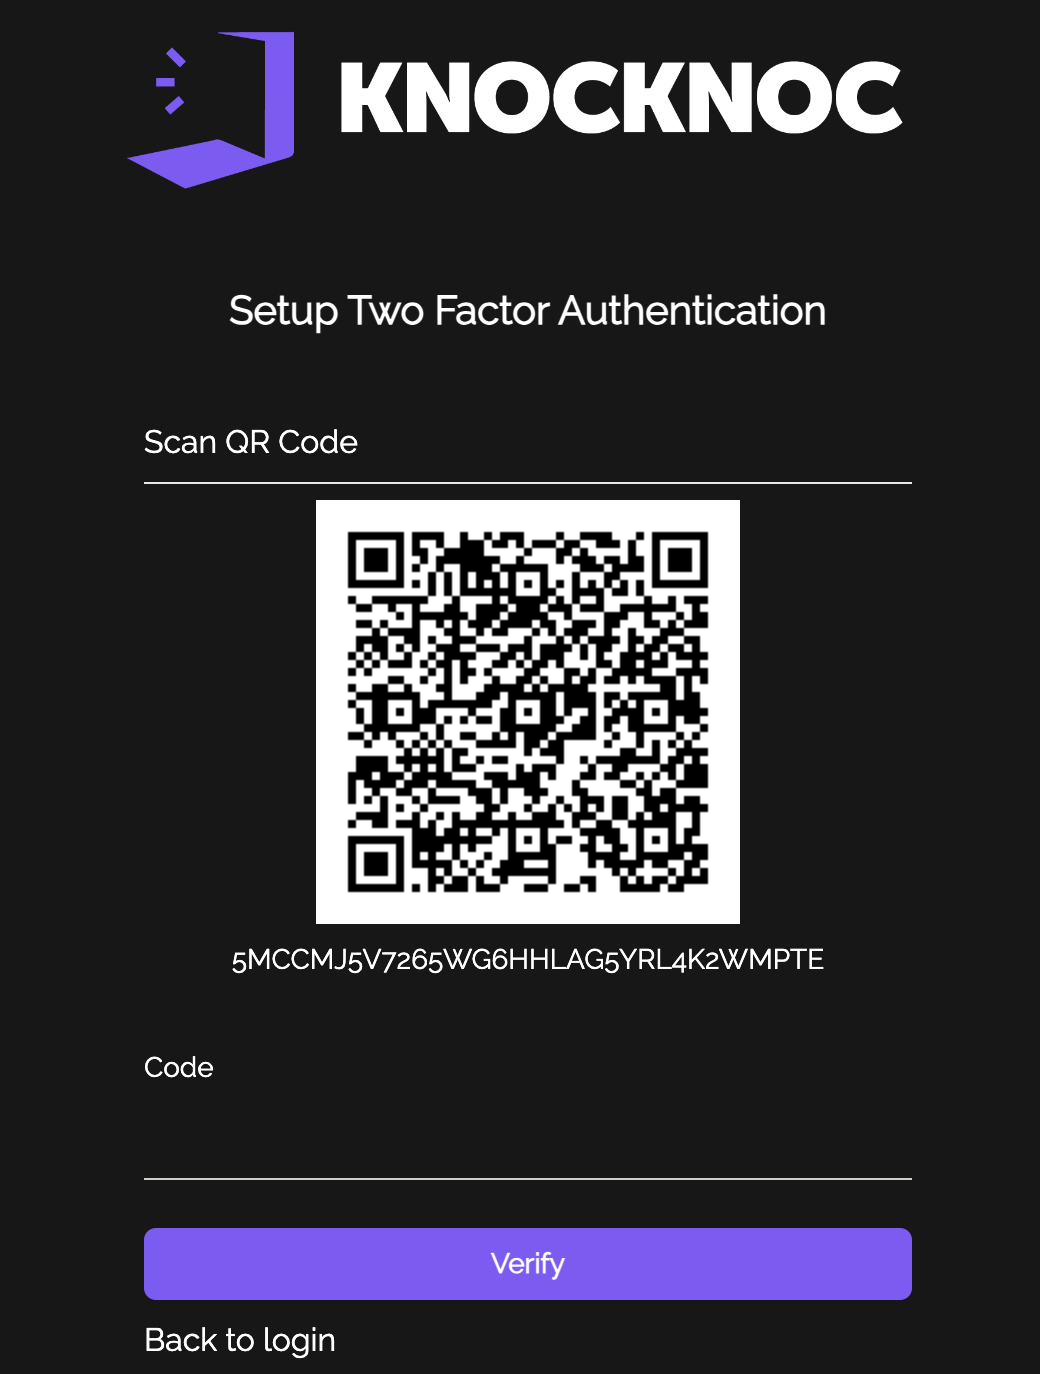
If your administrator has enabled it, you may be prompted to enrol a 2nd factor authenticator for your account. Knocknoc supports Time-based One Time Password (TOTP). If you have haven't setup TOTP yet, the first time you login, you will be prompted to enrol your TOTP device with a QR code, or use the secret key.
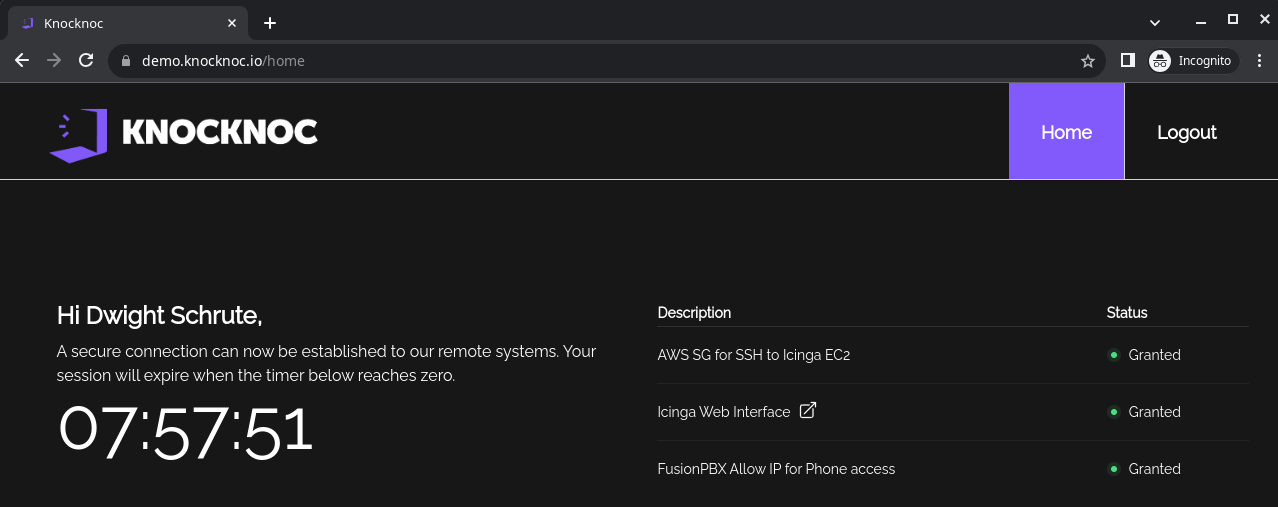
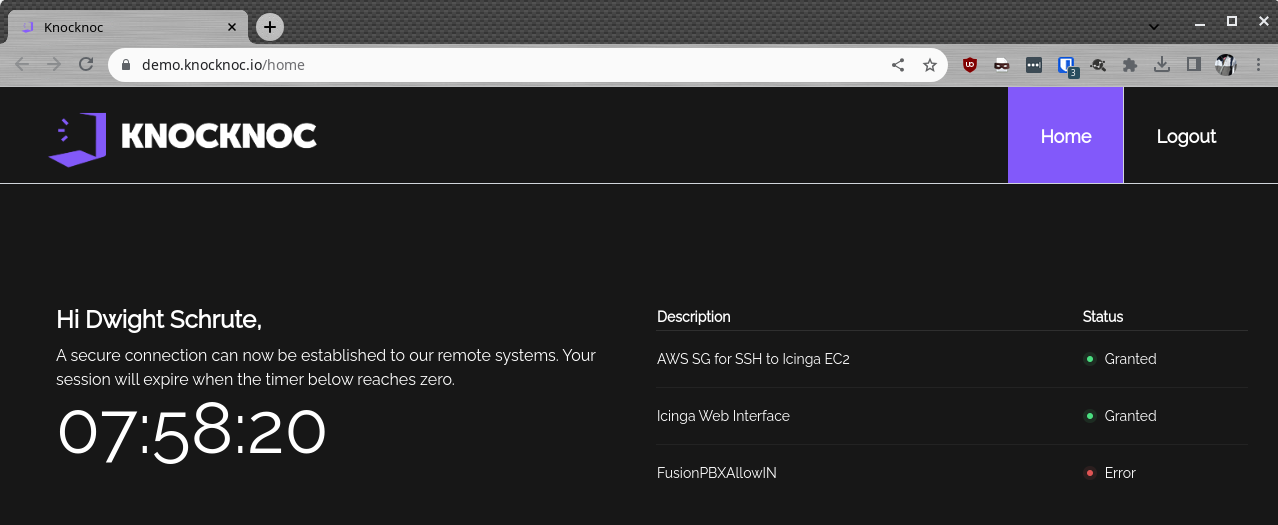
Knocknoc logged in
As you can see on this page, the user Dwight Schrute is logged in, and a timer is counting down to when their session ends. On the right hand side you can see the Description and Status columns, with possible links to the sites your administrator has configured. Items with attached hyperlinks have the little External Link Icon ![]() . The Status column displays Granted, Revoked or Error, in the case Knocknoc can't contact the relevant application to allow your access. Please contact your admin if you see the Error status, as they will need to troubleshoot the issue.
. The Status column displays Granted, Revoked or Error, in the case Knocknoc can't contact the relevant application to allow your access. Please contact your admin if you see the Error status, as they will need to troubleshoot the issue.
After you have been granted access, you can then proceed to connect to these resources. From the above example, Dwight would now be able to:
- SSH to the AWS based EC2 machine
- Browse to the web interface of Icinga.
- Use the phone handset on his desk to make and receive calls via FusionPBX
In normal operation, all items in the Status column should be Granted. Knocknoc checks to see if the granting of an ACL was successful, and ensures it can revoke the ACL once the user logs out, or the time expires.
The browser window does not need to remain open, and the ACL will be revoked from the server side when the time expires.
New user interface (May 2025)
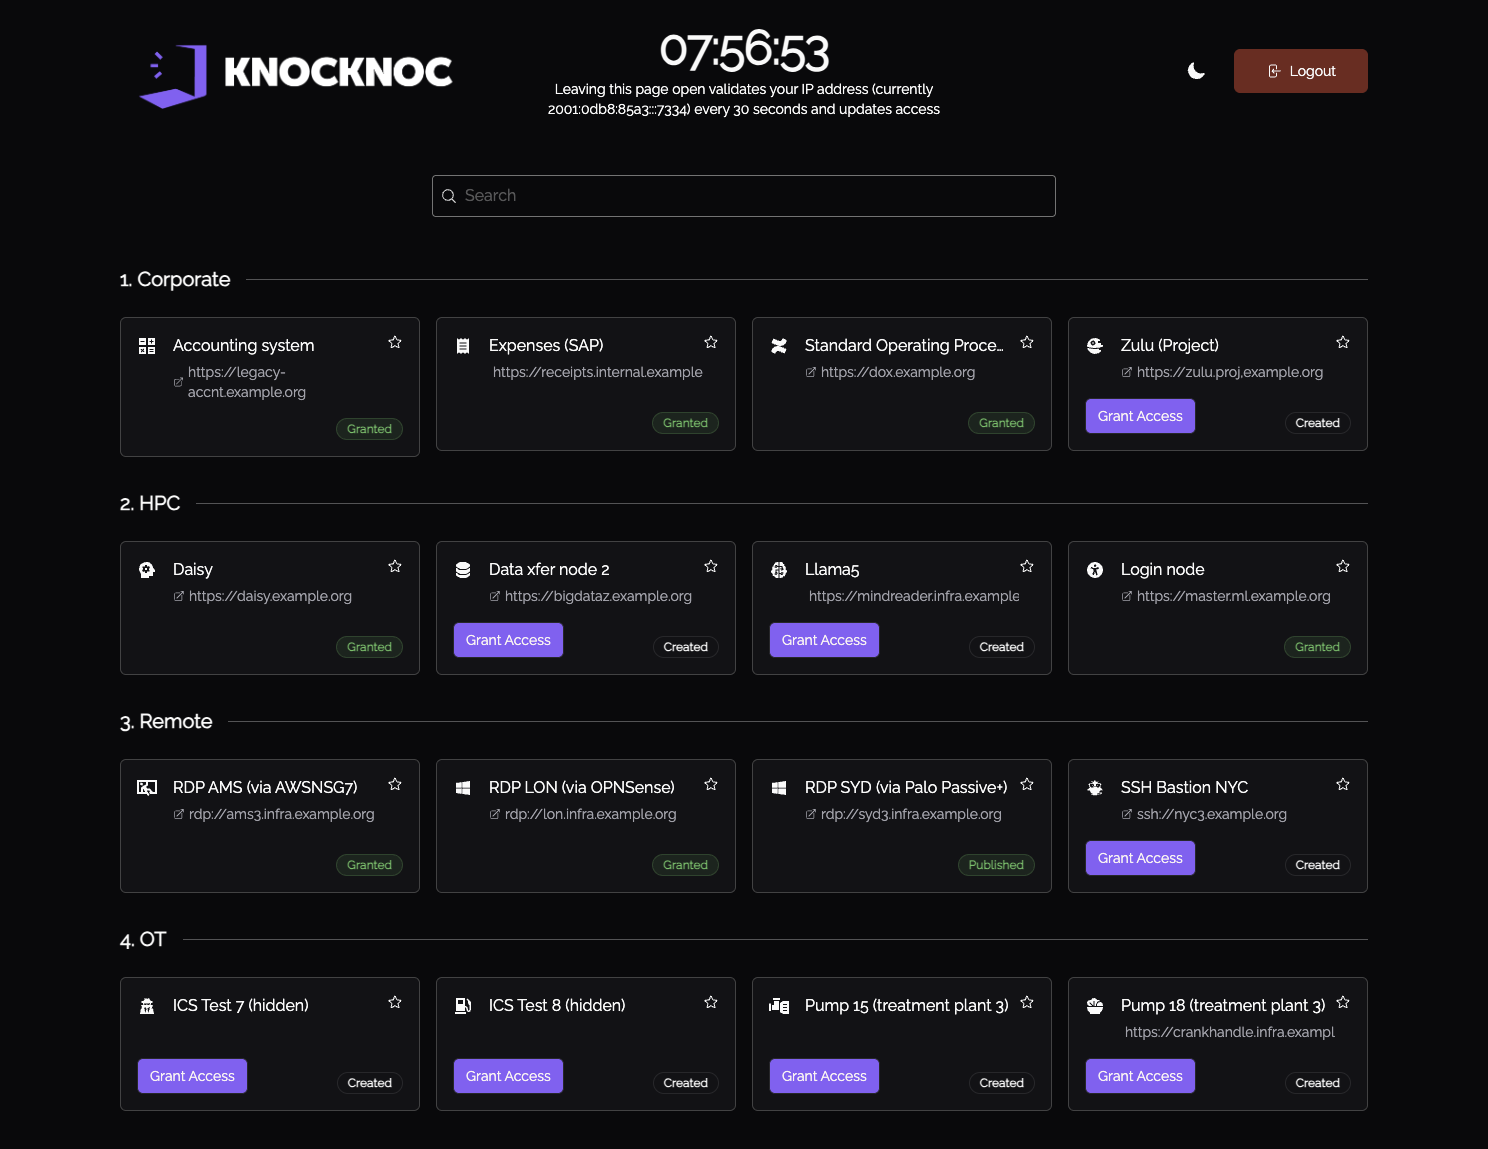
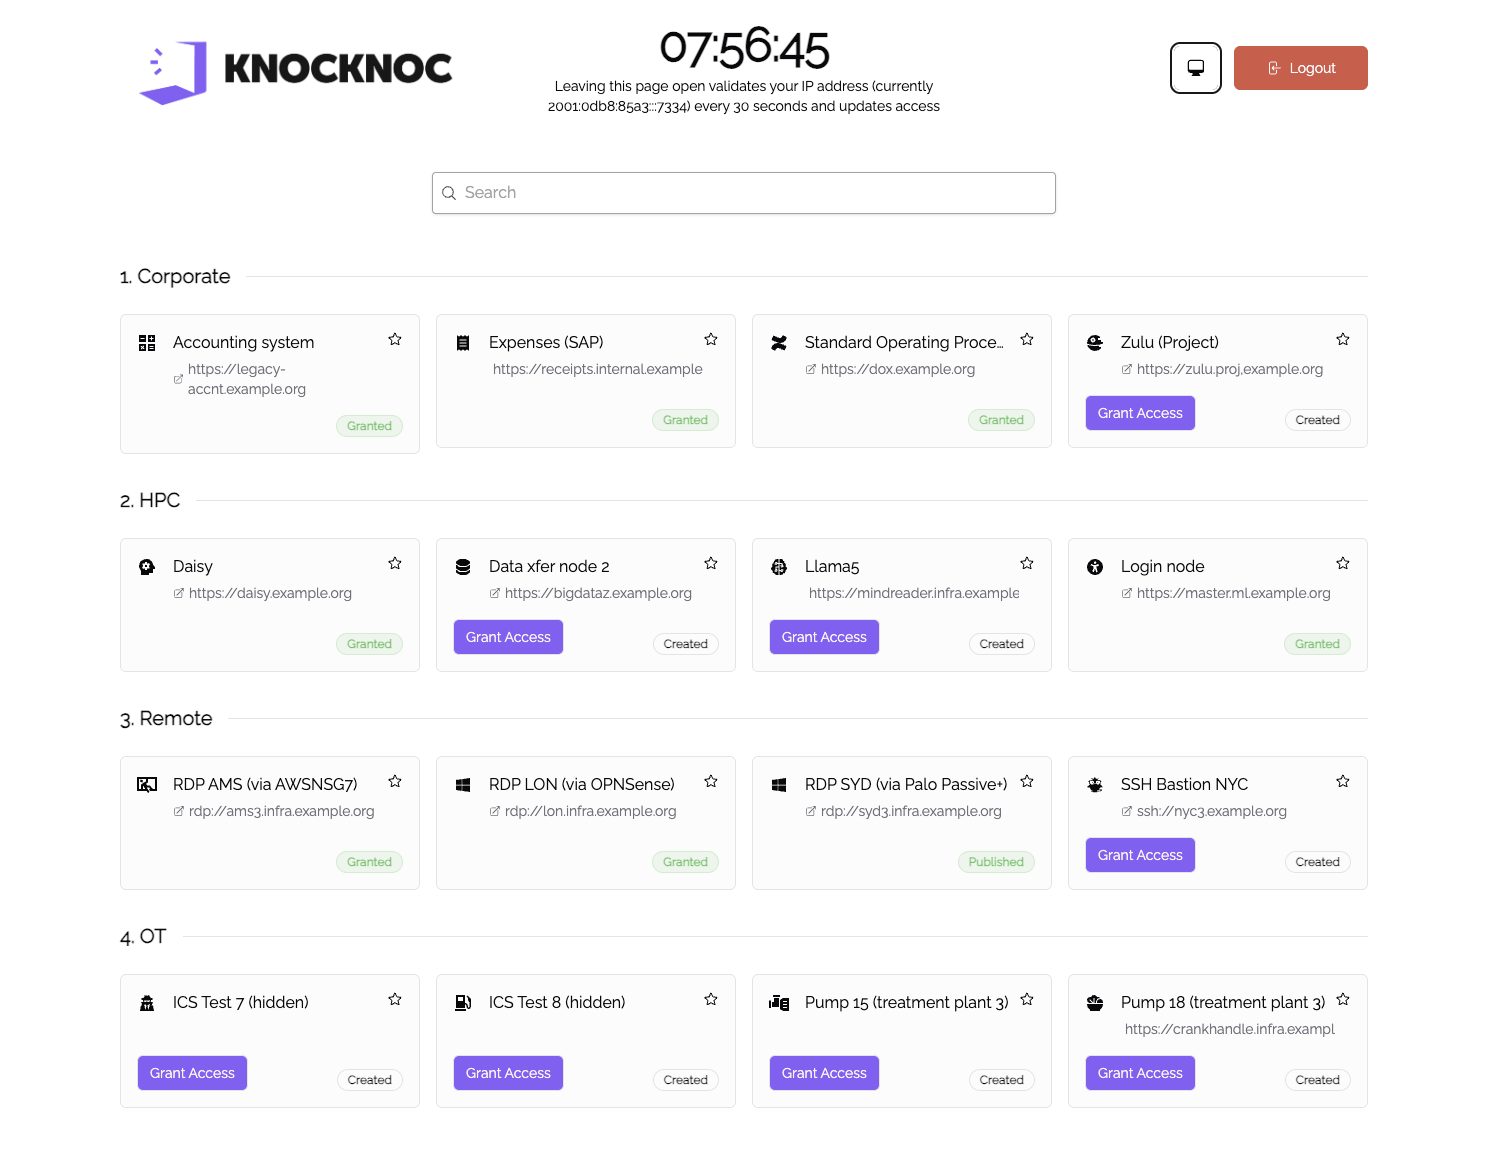
A new user interface is being adopted that provides an improved experience for people with a large number of protected systems.
Searching for access items, dynamic display of recently used items and more - is provided in this interface. Light mode and Dark mode are available, which you can set to 'Automatic' by clicking on the icon in the top-right menu.
Logging out
Simply click the Logout button in the top right to logout. Note this will revoke all the Granted ACLs, removing access to those resources. You don't need to keep the window open to keep access to the resources, this is handled on the server side.
What if something goes wrong?
If something went wrong in the Granting of the ACL this access will remain blocked. You can see an example below:
In this case, Knocknoc attempted to grant access to FusionPBX, however it failed, alerting the user with the status Error. The Knocknoc Admin will need to be notified, requiring them to troubleshoot and rectify the back-end error to restore access.
You can hover your cursor over the "Error" to reveal more information on what went wrong - this is useful for your Administrator in troubleshooting the issue.

