
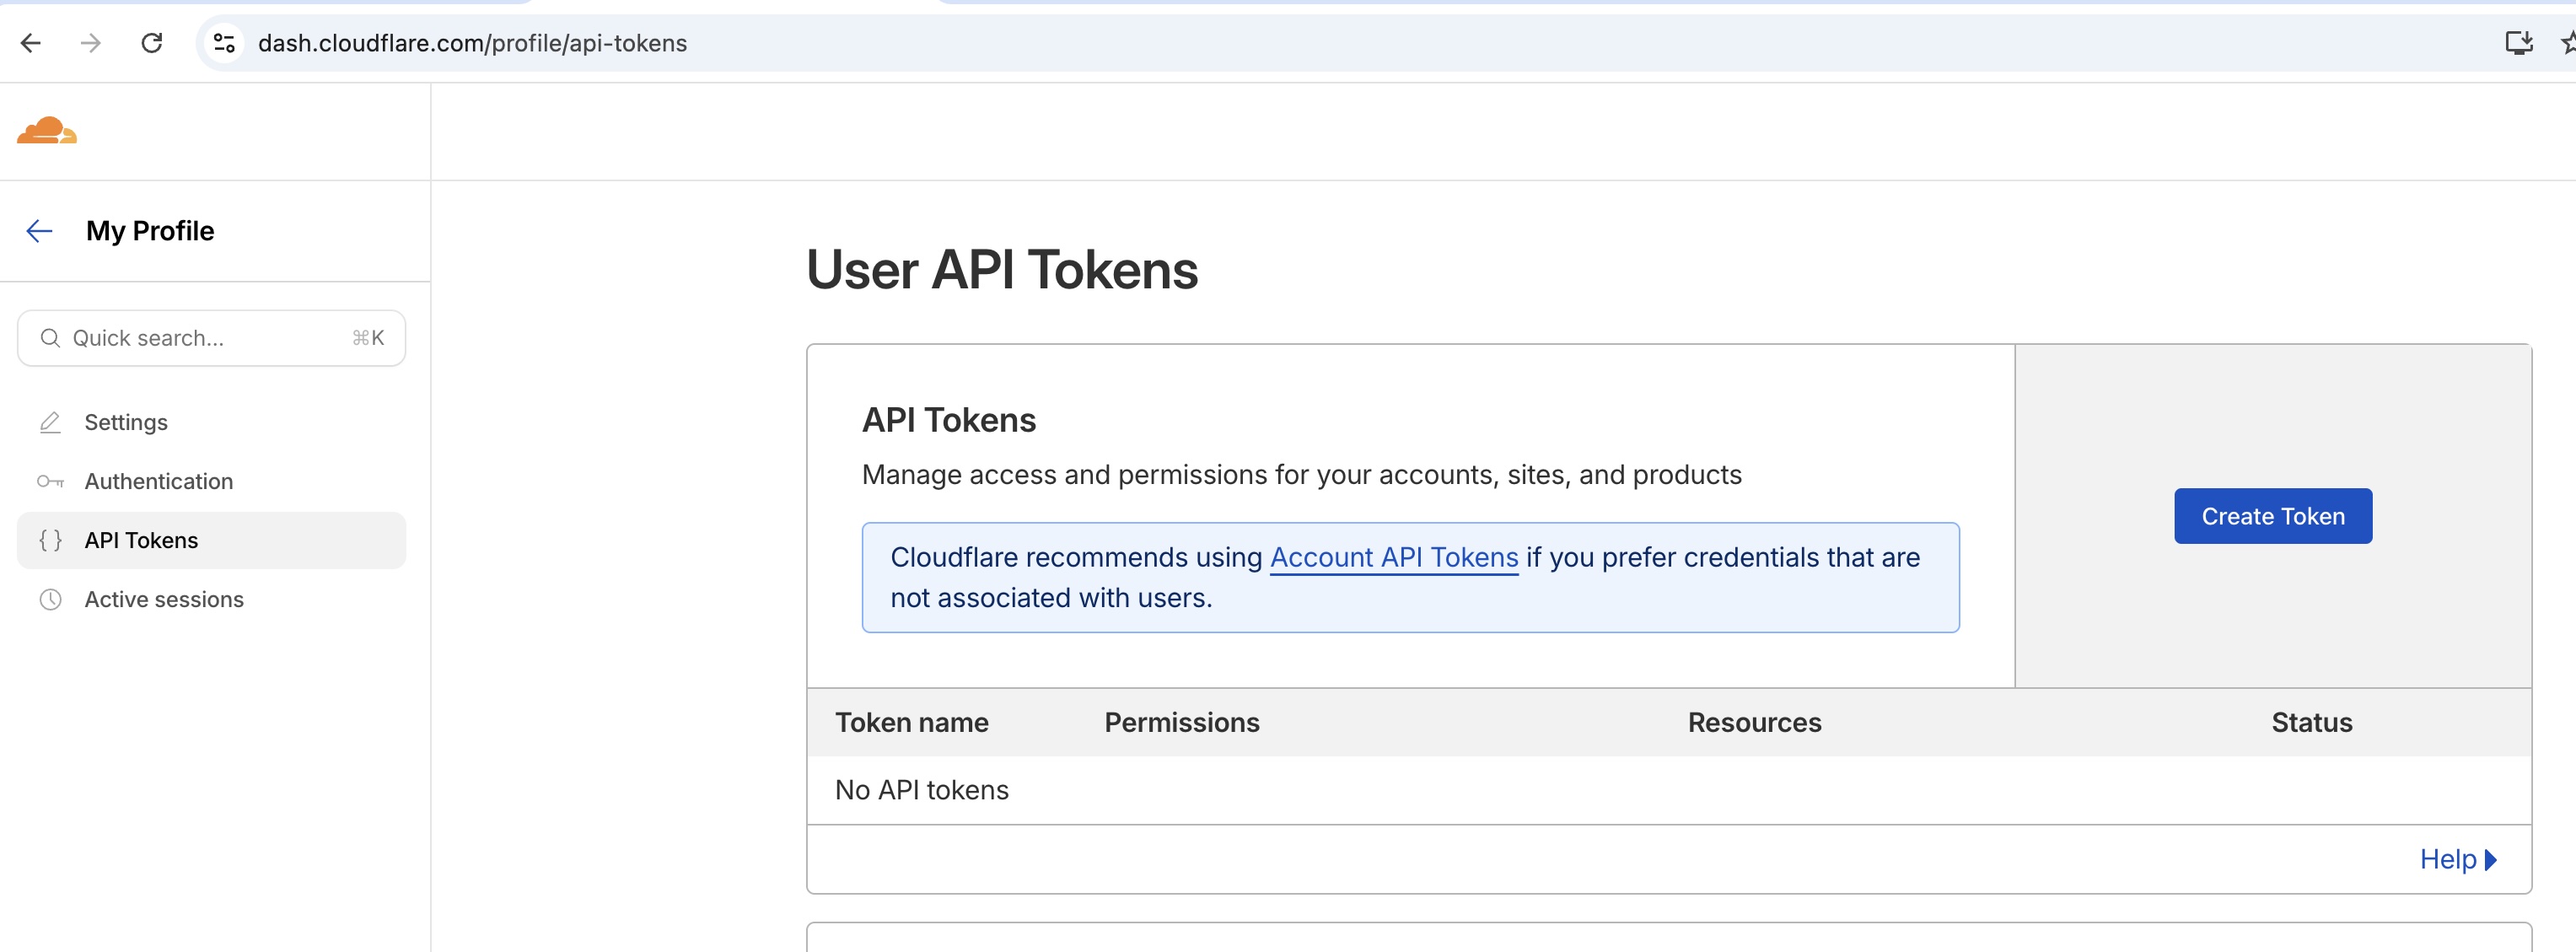
Cloudflare IP lists
Knocknoc can orchestrate Cloudflare IP lists to provide dynamic IP network allowlisting inbound to Cloudflare, should you use this to protect web or other assets. These IP lists are managed at the Account level, allowing use across the Cloudflare filtering services in a network allowlisting model.
Agent version 26.01+ is required for this functionality.
Cloudflare configuration
Account-level IP allowlist
- Log in to Cloudflare
- Navigate to "Manage account" -> "Configurations" (bottom left menu)
- Navigate to "Configurations" then "Lists"
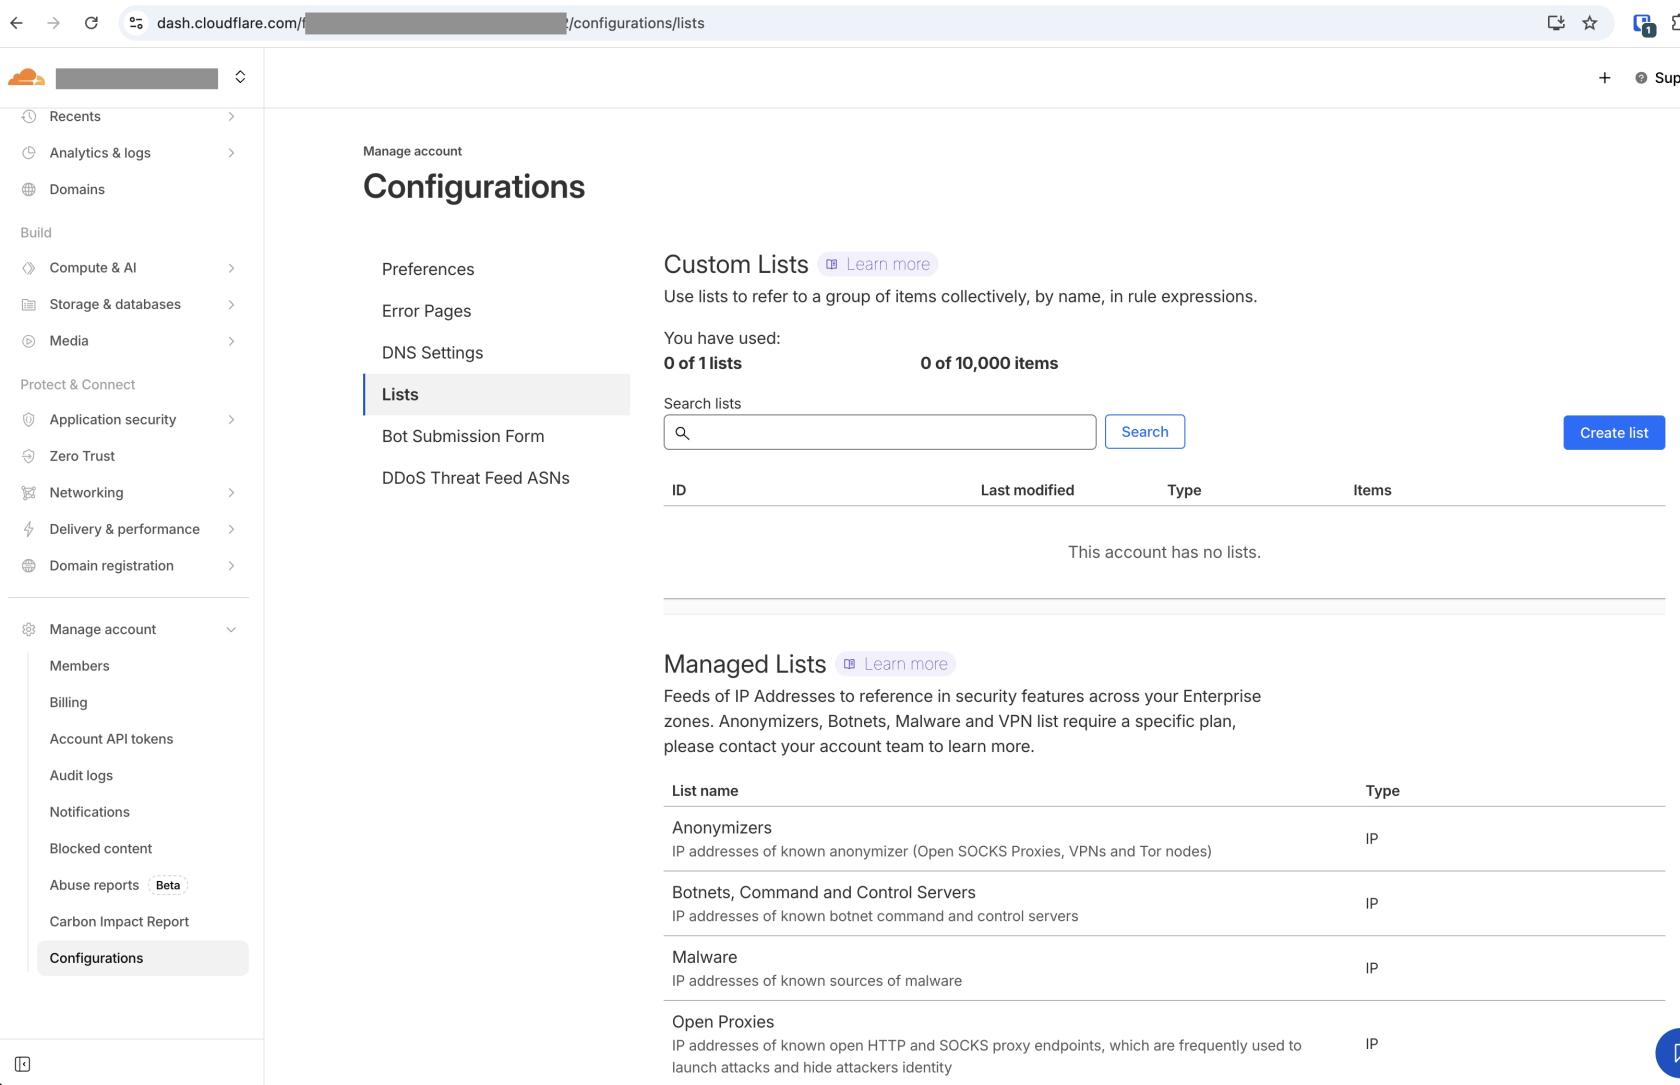
- Under "Custom Lists", click "Create list"
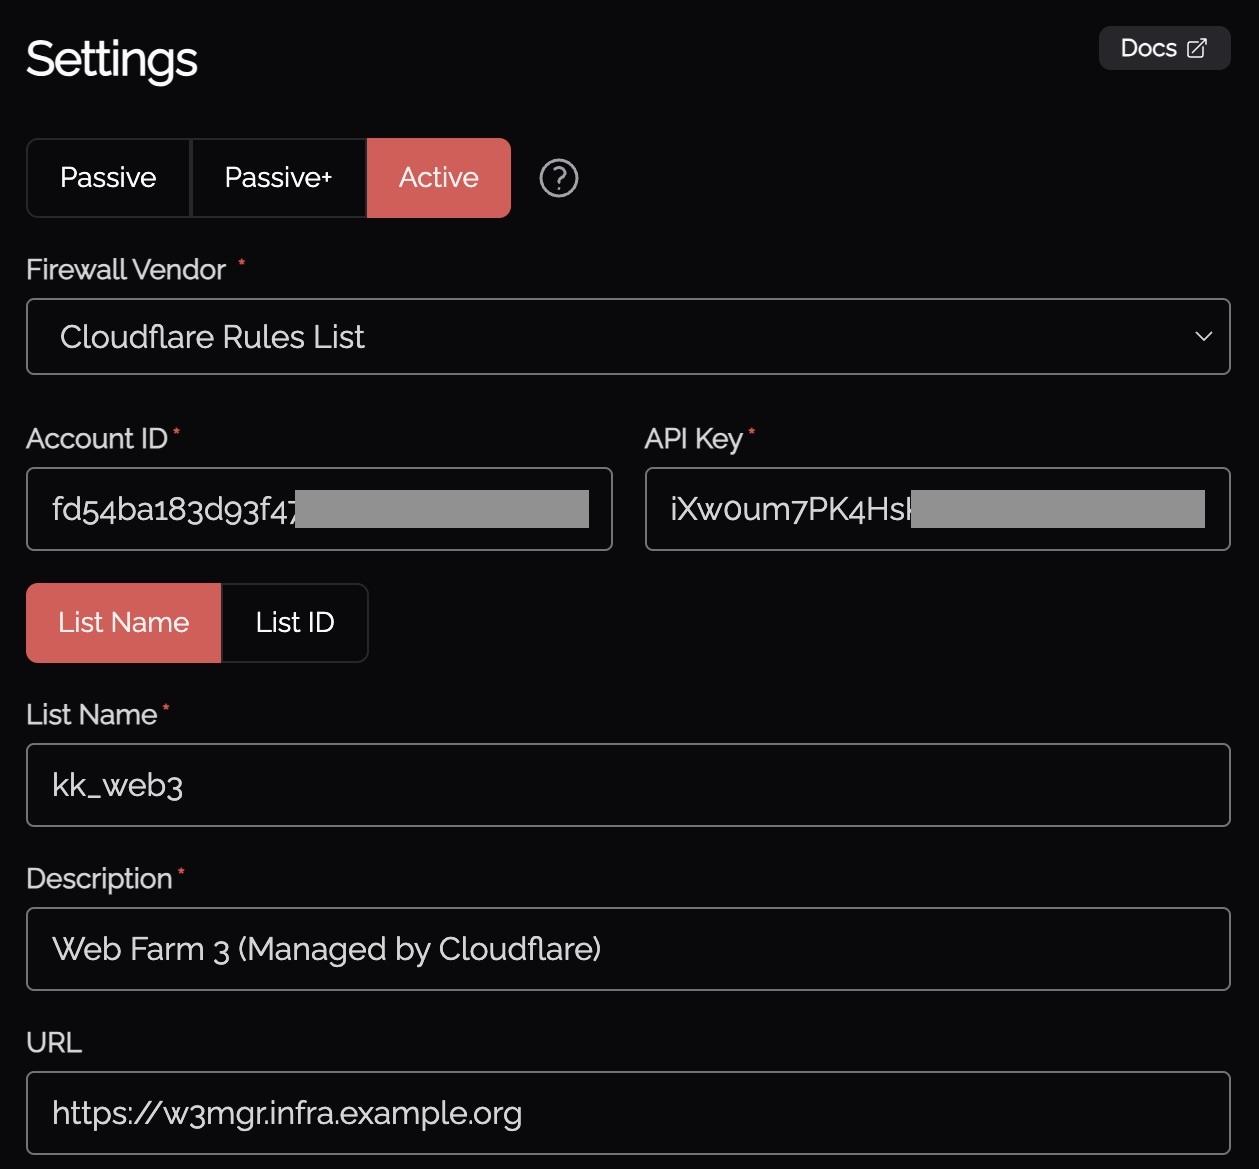
- Provide an Identifier. This will become the "list name" field required in your Knocknoc configuration, so make a note.
- Add a meaningful description

- Click Create
- If you have manual/static entries to add, do so now. These will not be affected by Knocknoc - just be sure not to name your manual entries with a prefix of Knocknoc!


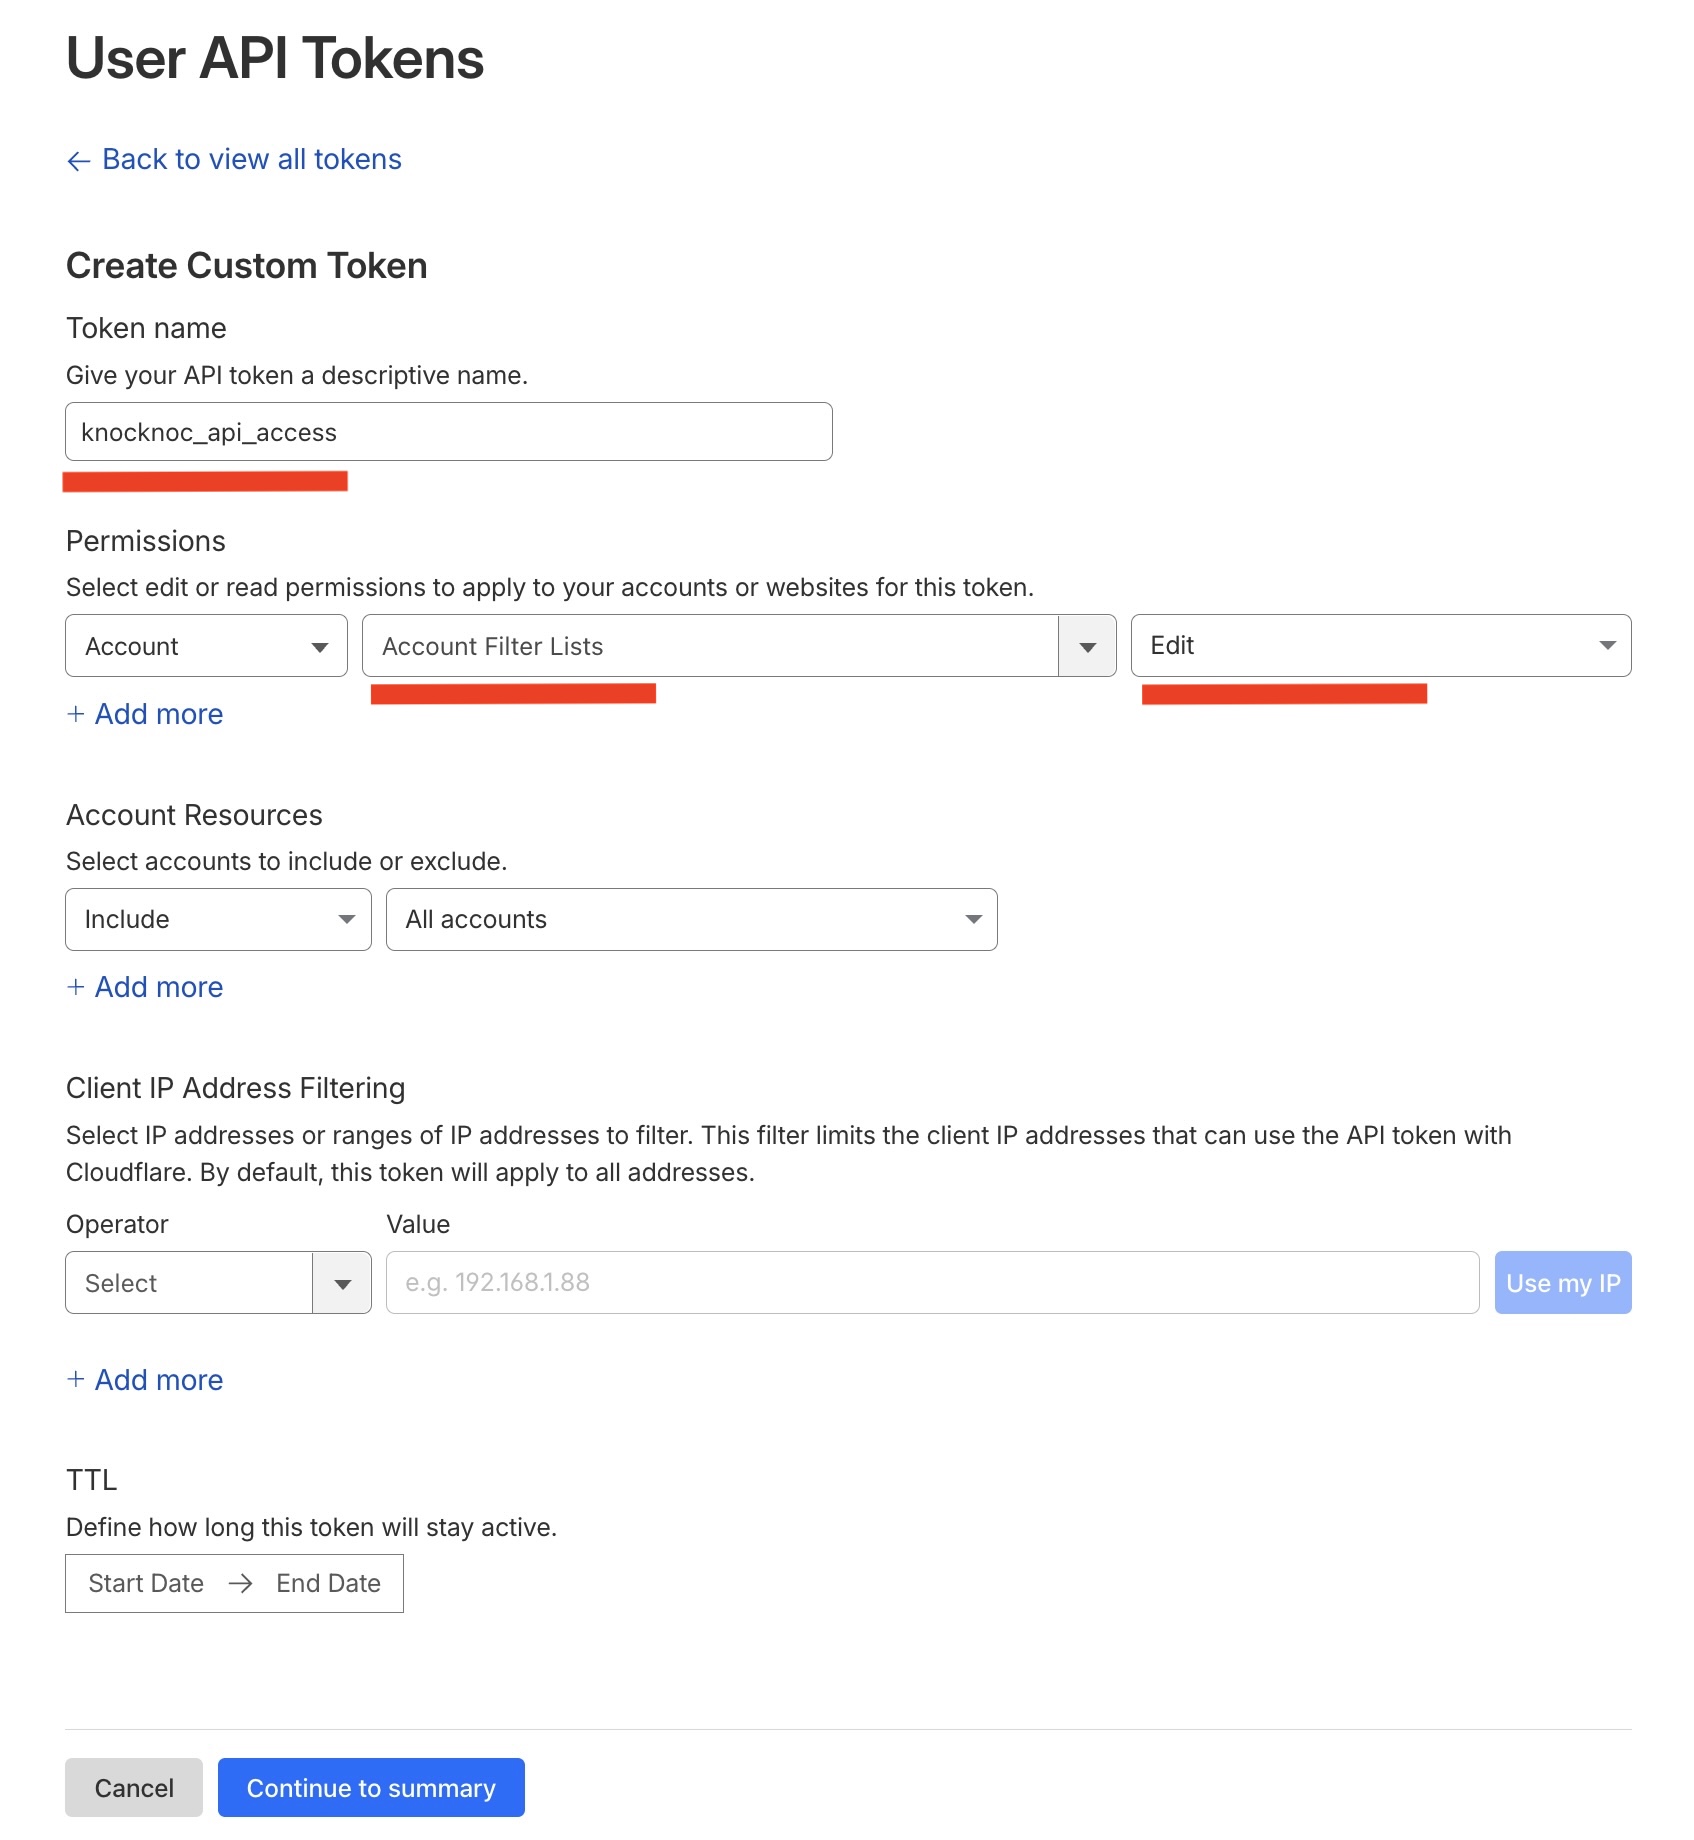
API access token
You now need to create an API token with Edit permissions to the Account IP list. This is tied to a user, so using a permanent or service-style account is ideal.
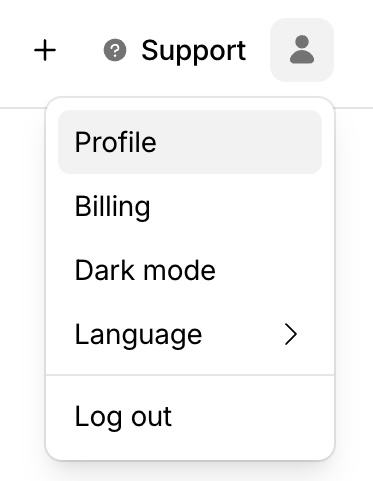
- Click on your profile image (top right)

- Navigate to API Tokens
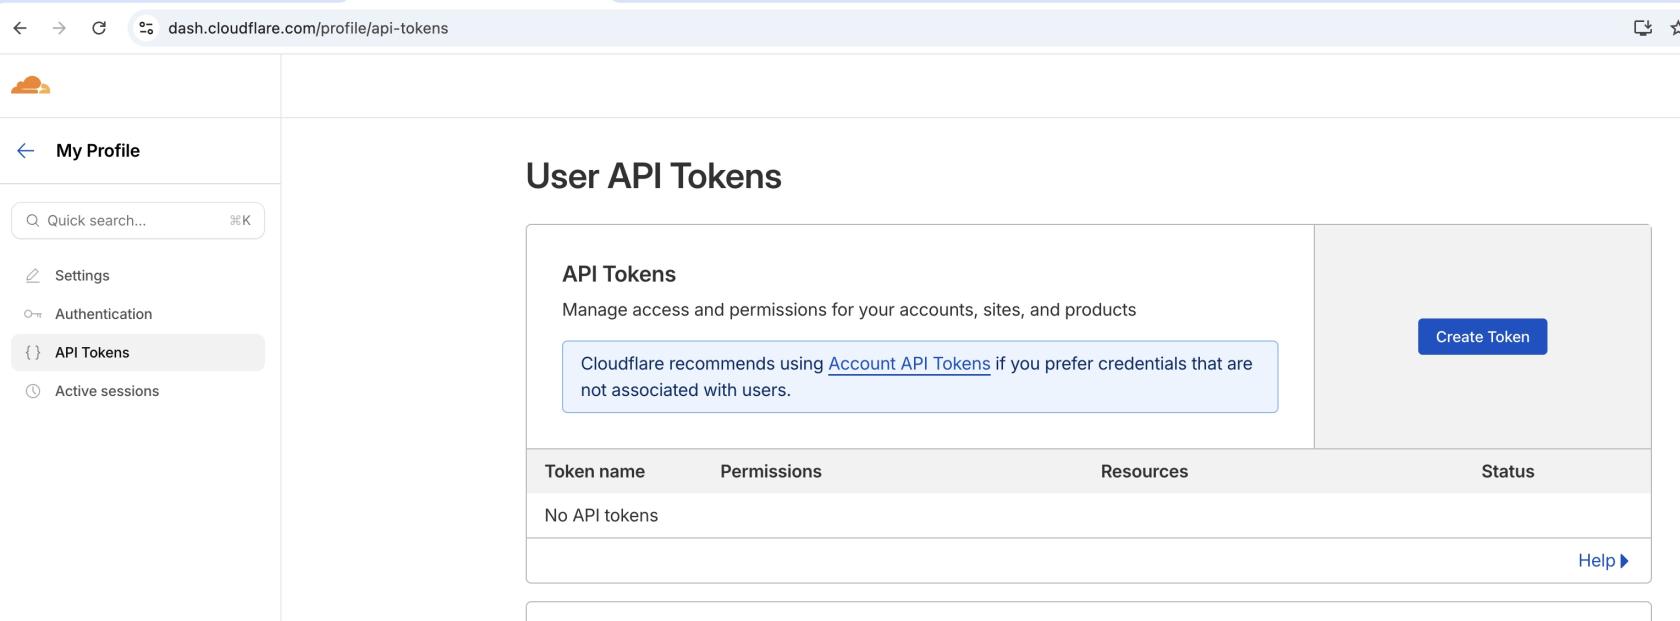
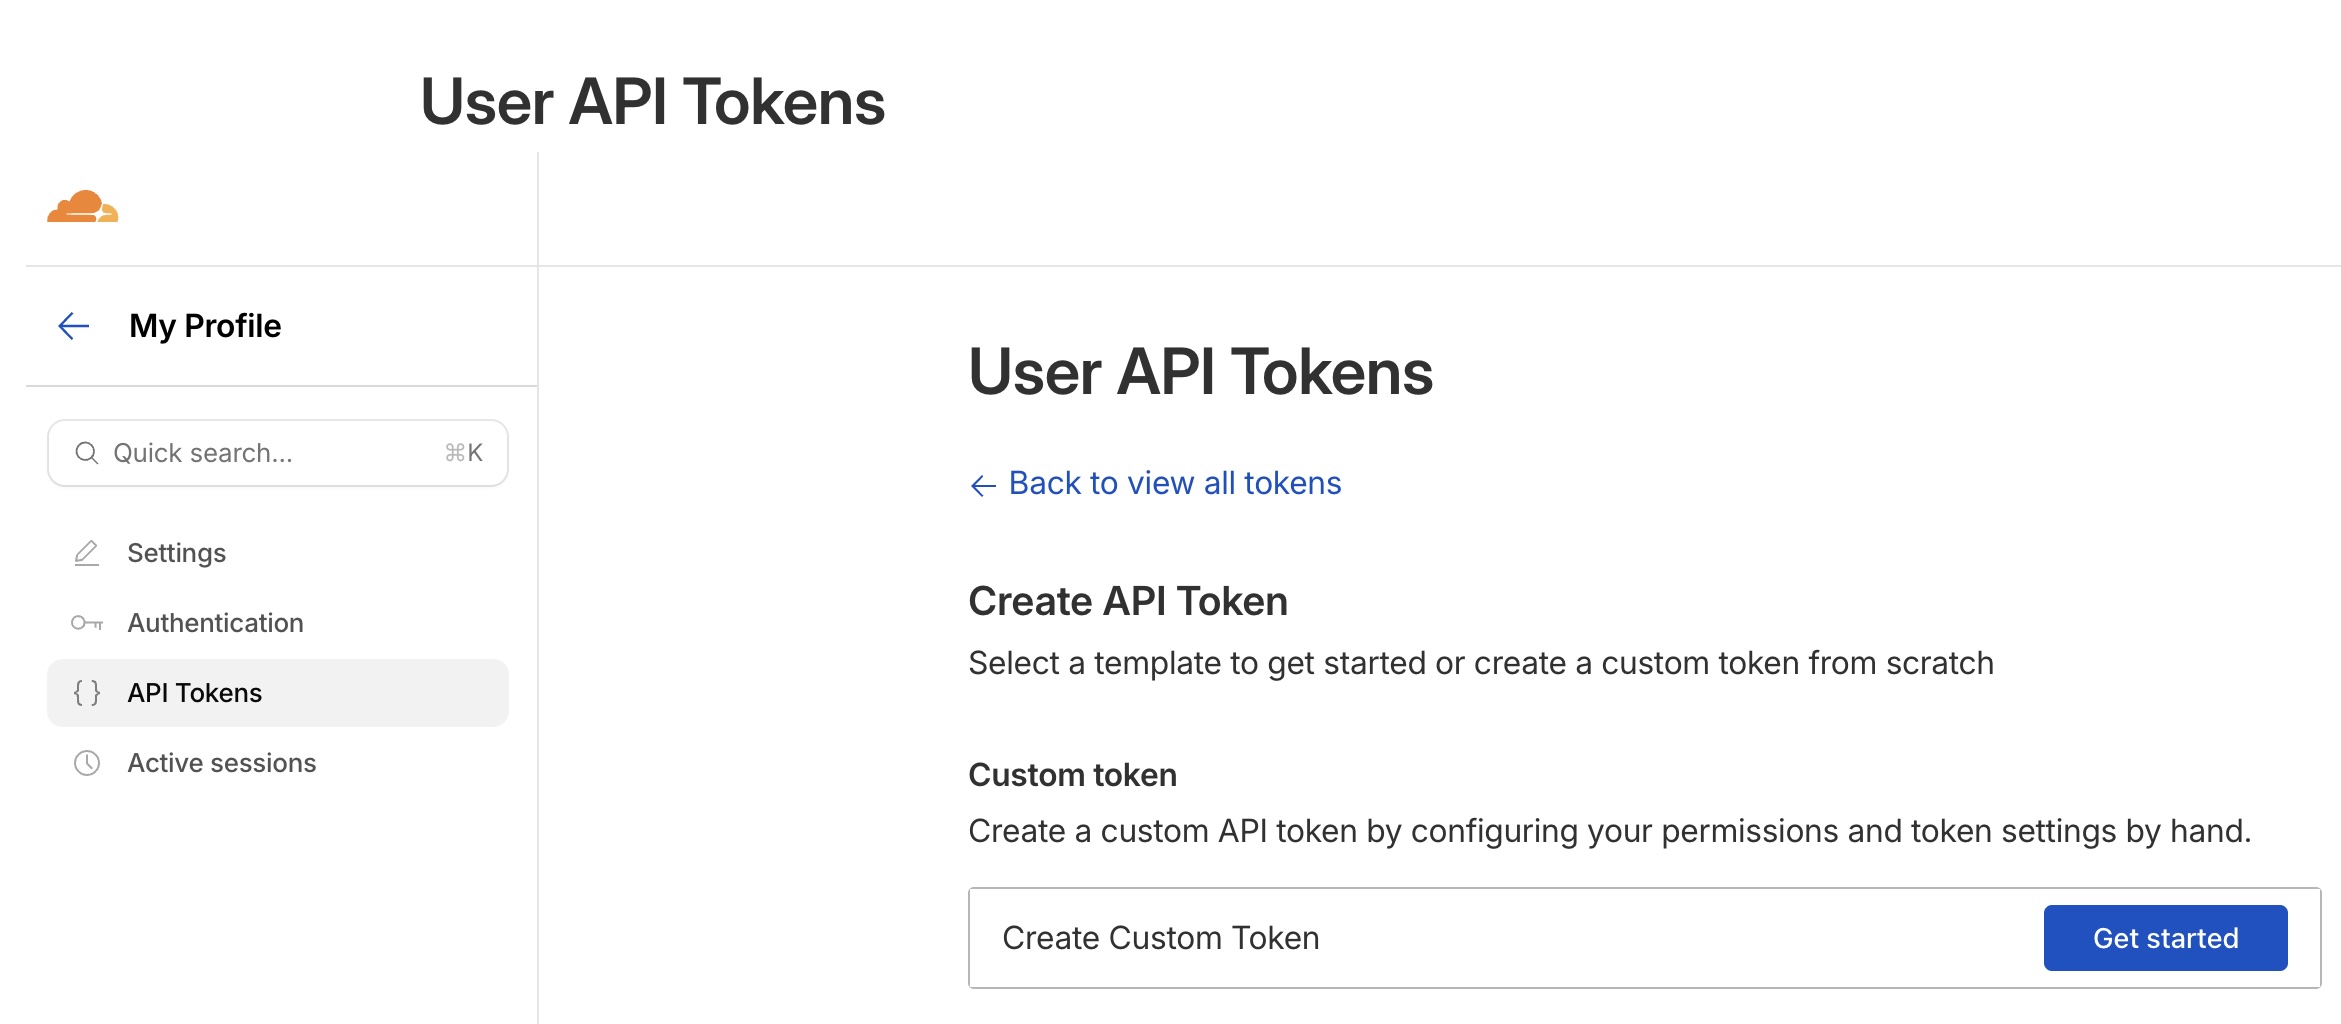
- Click "Create Token"
- Choose "Custom Token"

- Provide a meaningful name
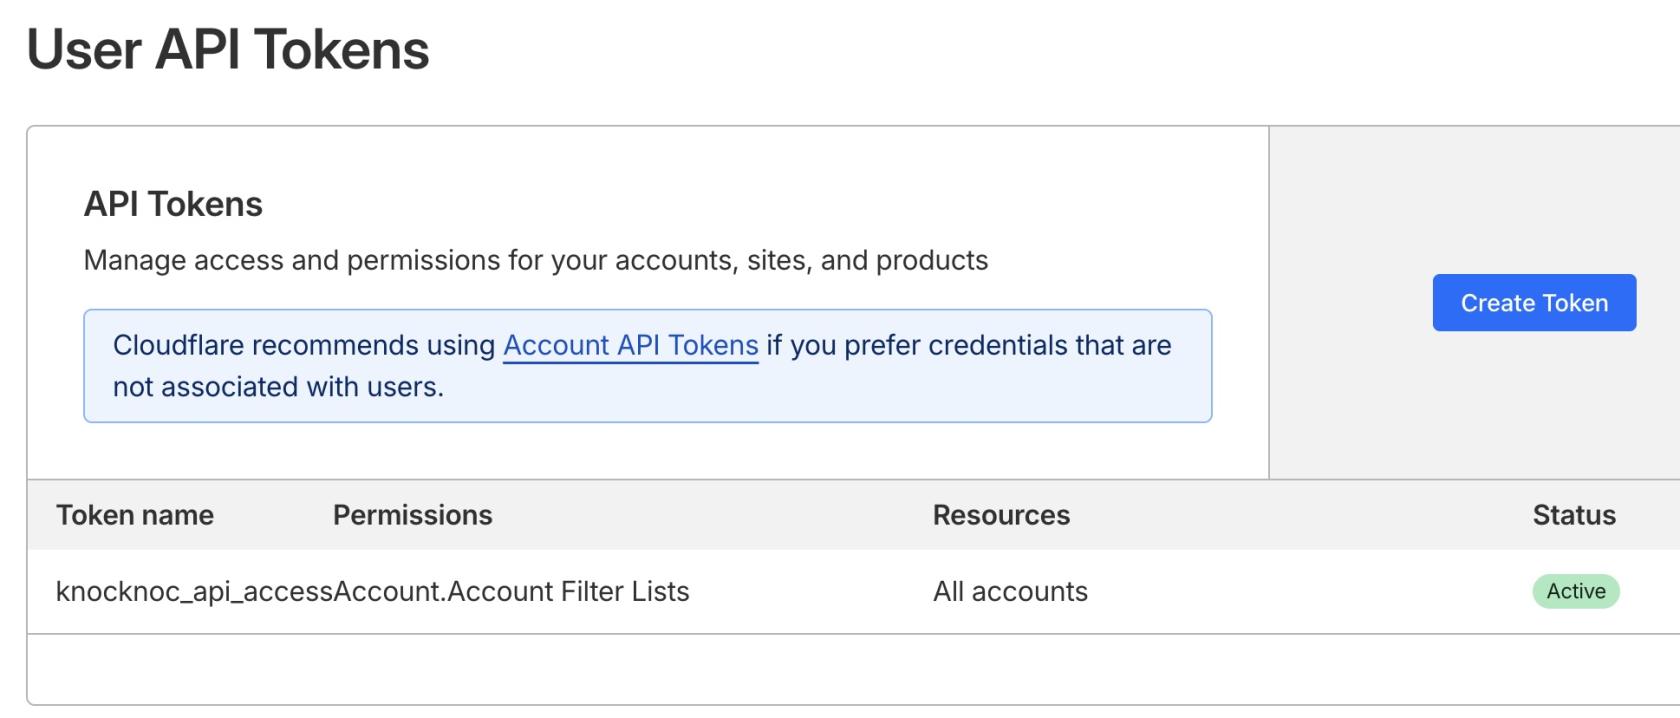
- Under "Permissions" choose "Account" then "Account Filter Lists" and add "Edit" permissions

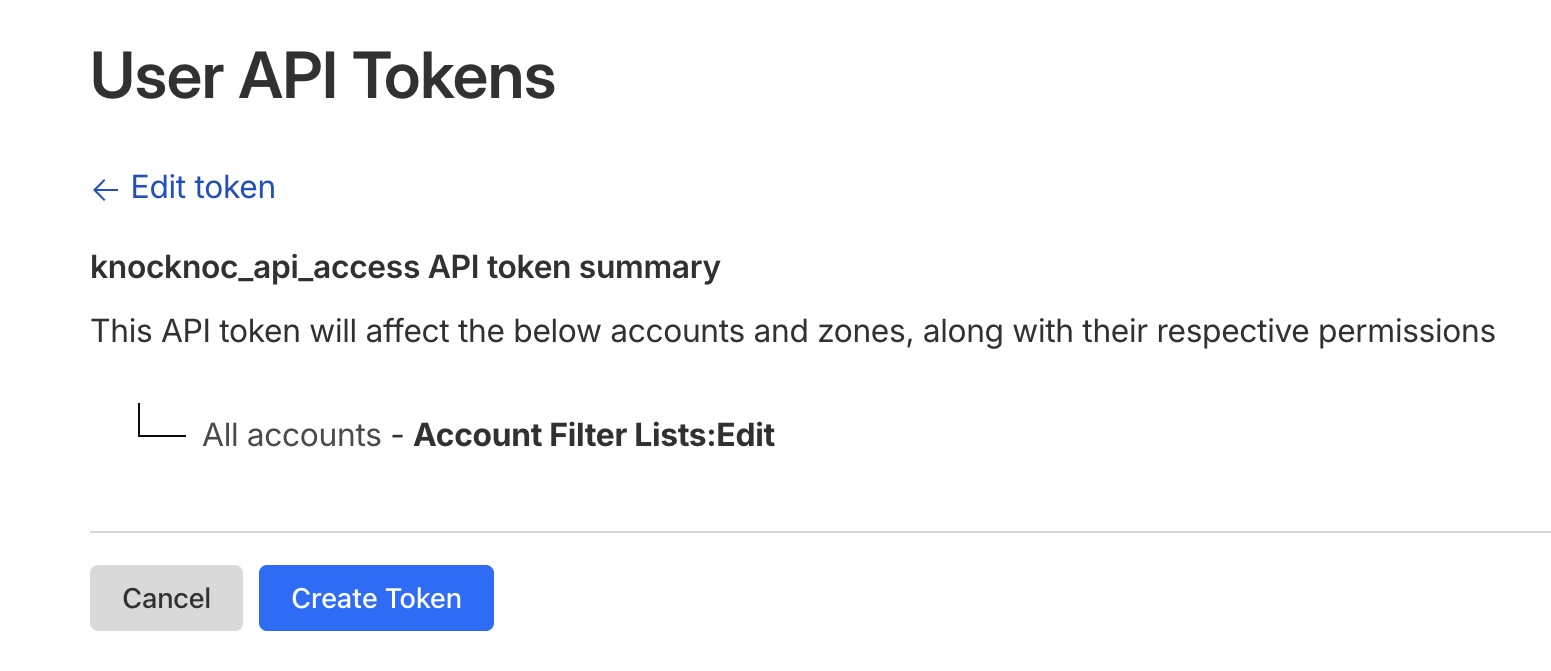
- A summary similar to the below will be shown

- You will now be presented with the token, copy it for your Knocknoc configuration. It will only be shown once.

- Another summary will be shown along with the permissions. Cloudflare likes summaries, so do we.


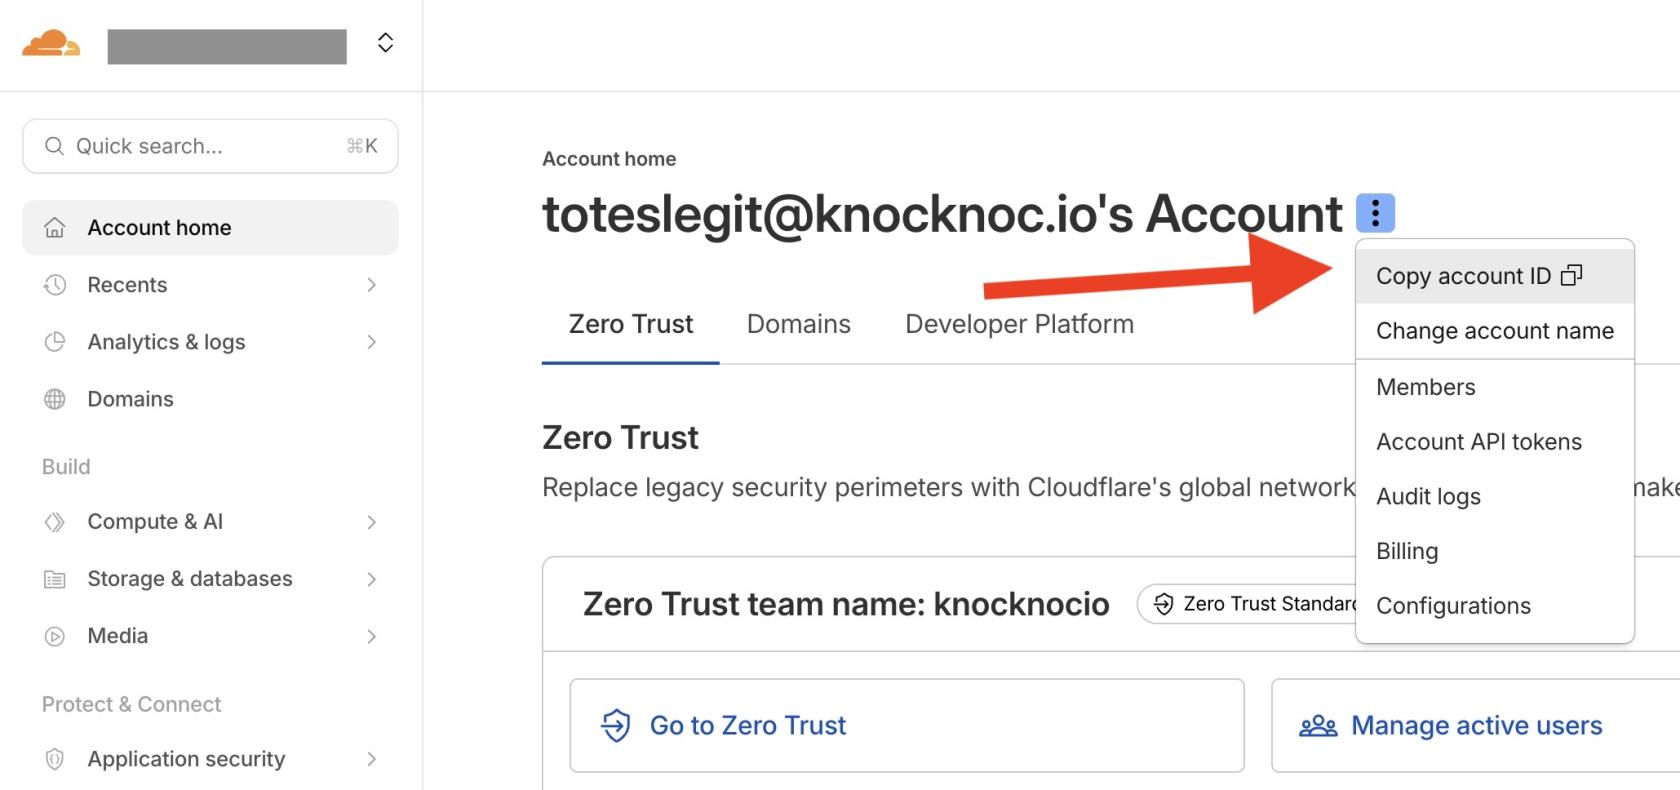
Cloudflare account ID
- Final step! You need your Cloudflare Account ID.
- Visit the Dashboard, click the 3 dots and copy.
- You are now ready to create the Knocknoc integration.

Knoc configuration
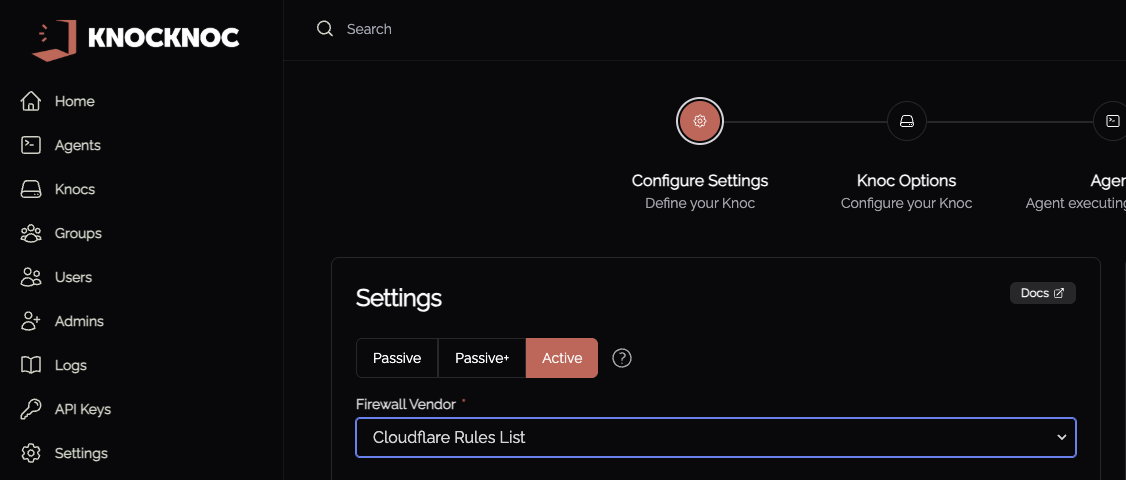
Cloudflare "Active" orchestration
- Log in to Knocknoc as an Admin (/admin)
- Select Knoc, Create new
- Select Firewalls/Appliances
- Select "Active", then "Cloudflare"

- Provide the Account ID (copied from the Cloudflare dashboard, as above)
- Provide the API Key (created in Cloudflare, as above)
-
 You're now ready to test end to end!


Validating
- Log in to Cloudflare and view the IP address list.
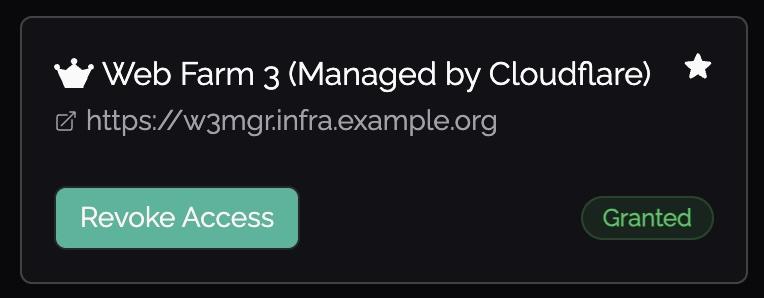
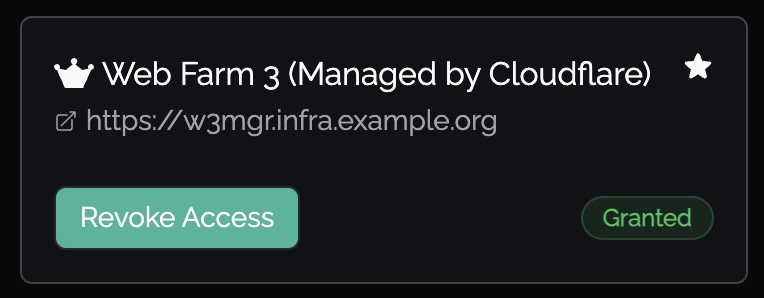
- Log in to Knocknoc as a linked user, note the Granted status.
- Refresh the Cloudflare IP list, the user's IP address will now be in this list, along with any manual/static entries.
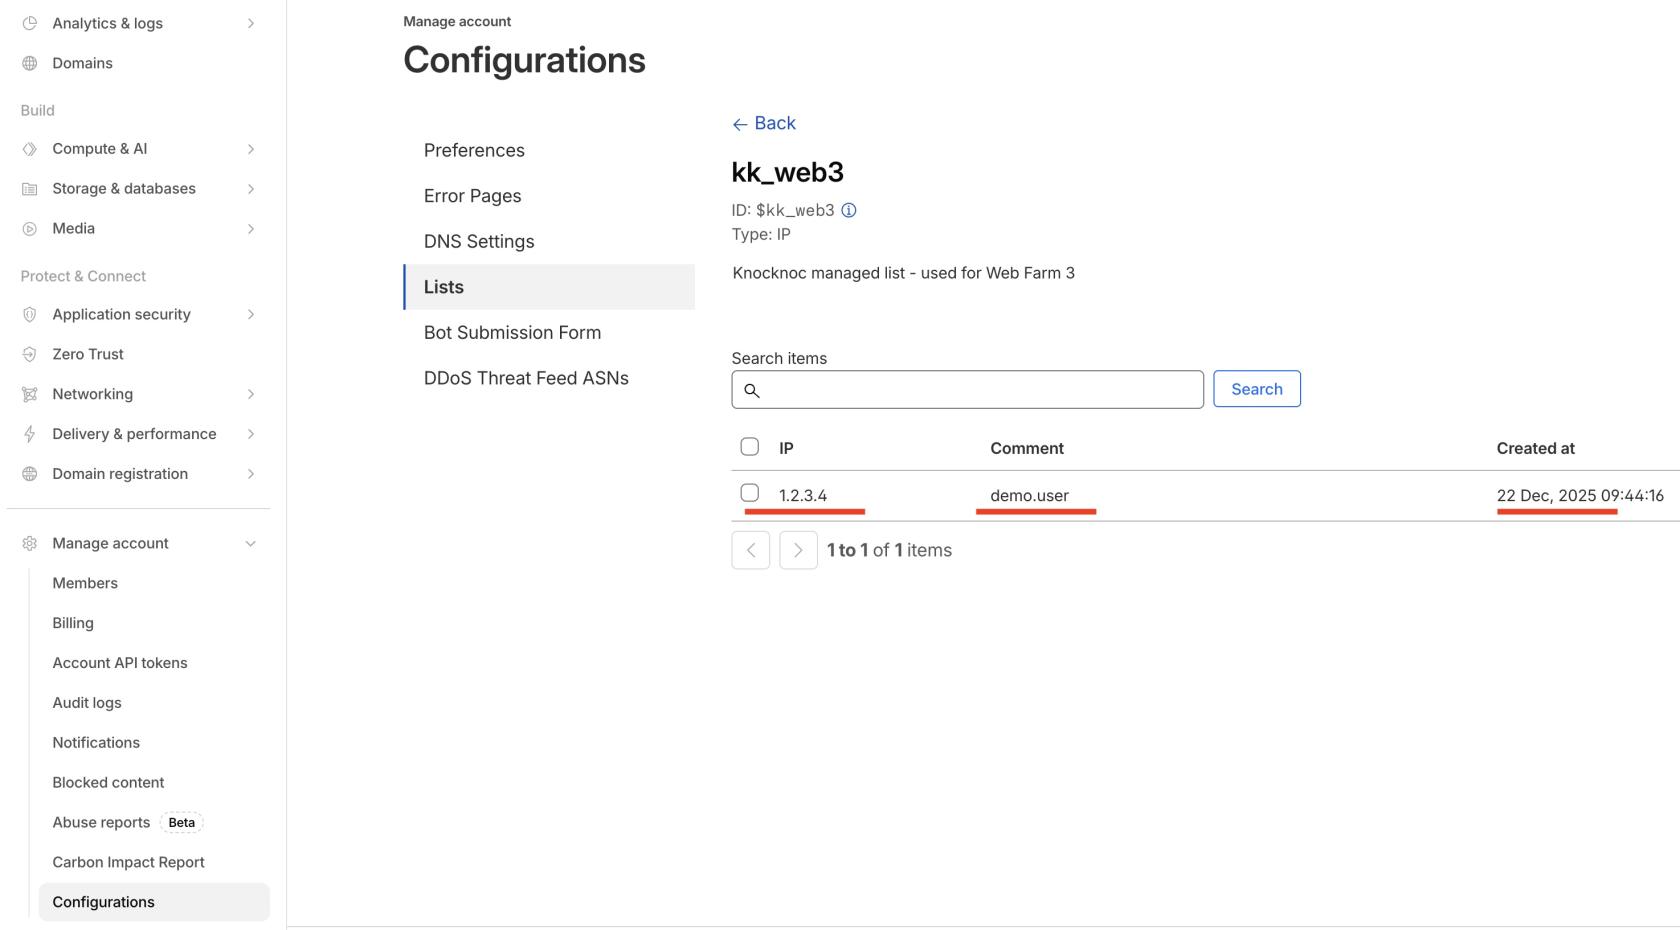
- Note the Comment contains the logged-in user's username.
- Logging out and refreshing will remove the user's IP address (+ username) entry, leaving any static entries.

A note on user attribution
Cloudflare only supports one list entry per IP address.
Therefore, the first user (User1) to log in from a shared IP address will have their name logged against the entry in Cloudflare. Subsequent logins from the same IP address source (User2, User3, ...) will not be added nor update the User1 username entry in Cloudflare. However, should User1 logout, access will be retained until User2 and User3 logout, should they share the same IP address. See LOOTOOL for more information on this behavior.
However importantly as Cloudflare doesn't support >1 IP entry, the usernames may not accurately reflect all user login entries, and instead the Knocknoc logs/your SIEM will be required for access attribution linked to Cloudflare IP entries.