
SAML with EntraID (Azure AD)
The following example assumes your Knocknoc instance is located at https://demo.knoc.cloud. Wherever you see that, please substitute it for your own instance URL.
Setting Up the IdP
Create an Application
- Navigate to the Microsoft Entra admin center and login with administrator credentials.
- Go to Identity and select Applications than Enterprise Applications

- Click New Application
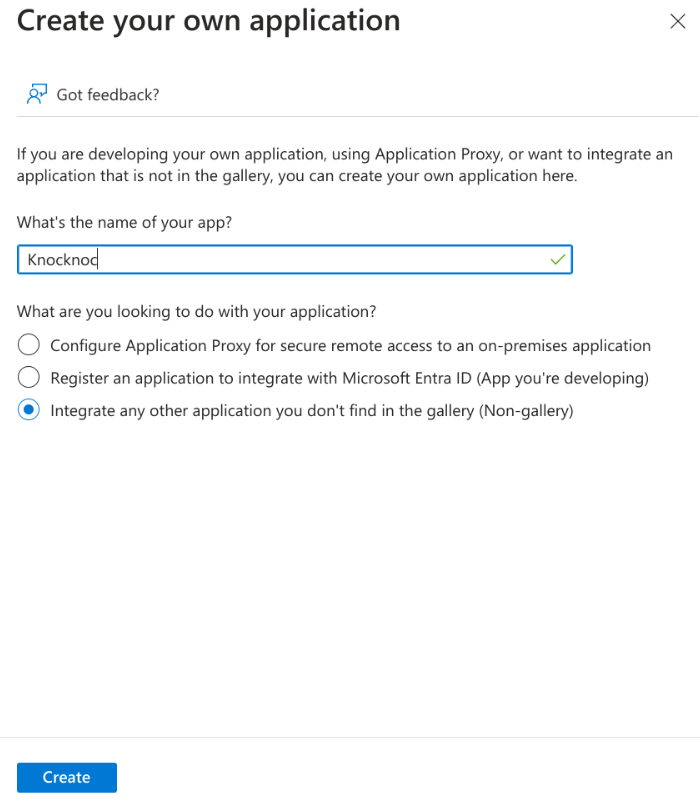
- Click Create your own application.
- Type a name for your application (e.g knocknoc)
- Check "Integrate any other application you don't find in the gallery (Non-gallery)"
- Click Create.

Assign Groups
- Click "Assign users and groups"
- Click "None Selected" under groups.
- Add the user groups you wish to access Knocknoc protected services.
Note: for automatic user assignment, you must add groups into Knocknoc admin using matching Entra object IDs (e.g. 6a696eec-482f-4b40-97c8-9ea3dba8ac3a) as their names. We recommend you add a friendly name in the description field. Best practice is to have at least one group per Knocknoc protected service.
SAML Configuration
- Click Set up single sign on.
- Click SAML.
- In the Basic SAML section, add the links to your Knocknoc instance.
- Set the Indentifier (Entity ID) to https://demo.knoc.cloud/api/saml/metadata
- Set the Reply URL (Assertion Consumer Service URL) to https://demo.knoc.cloud/api/saml/acs
- Leave the Optional Basic SAML Configuration options blank at this stage and click Save.
- Set the Indentifier (Entity ID) to https://demo.knoc.cloud/api/saml/metadata
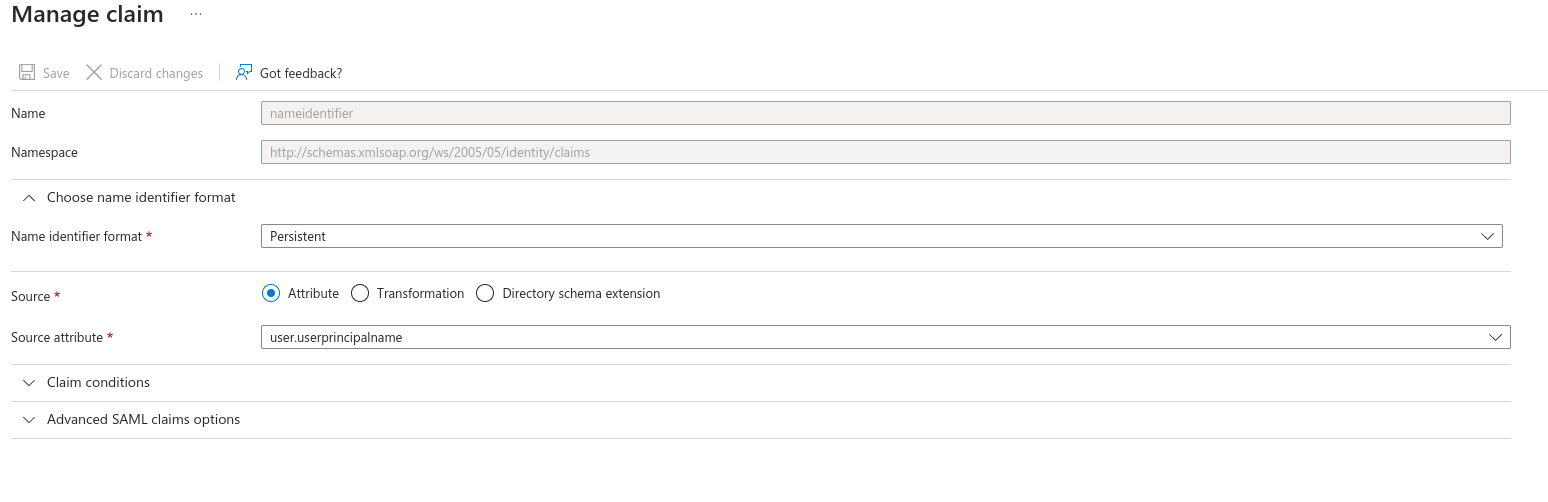
- In the Attributes & Claims section
- Update the Required Claim, changing the Name Identifier Format to Persistent

- Remove all other Claims.
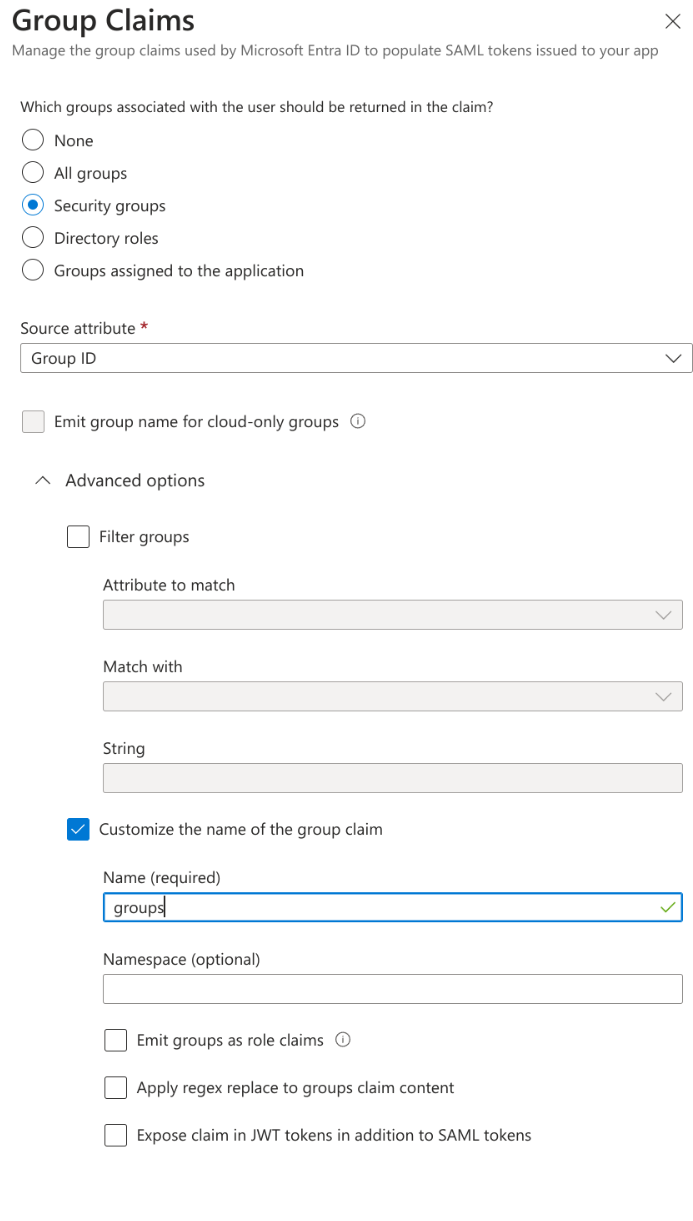
- Add a group Claim.
- Select Security Groups
- Select Group ID for the Source Attribute.
- Check "Customize the name of the group claim" Under Advanced Options
- Add the Name as, groups.
- Click save when done.

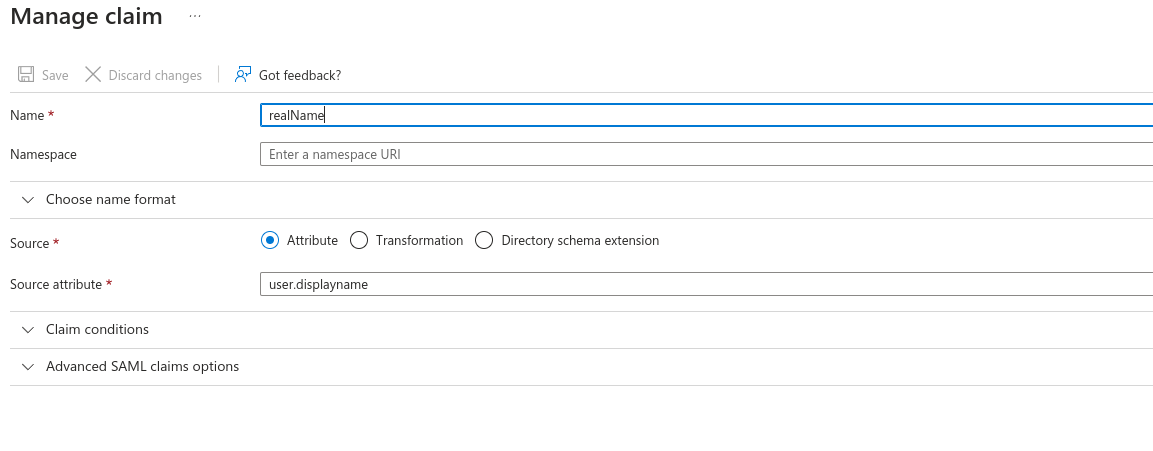
- Add in a New Claim
- Set the Name as "realName".
- Leave Source as Attribute.
- Set Source Attribute to "user.displayname".
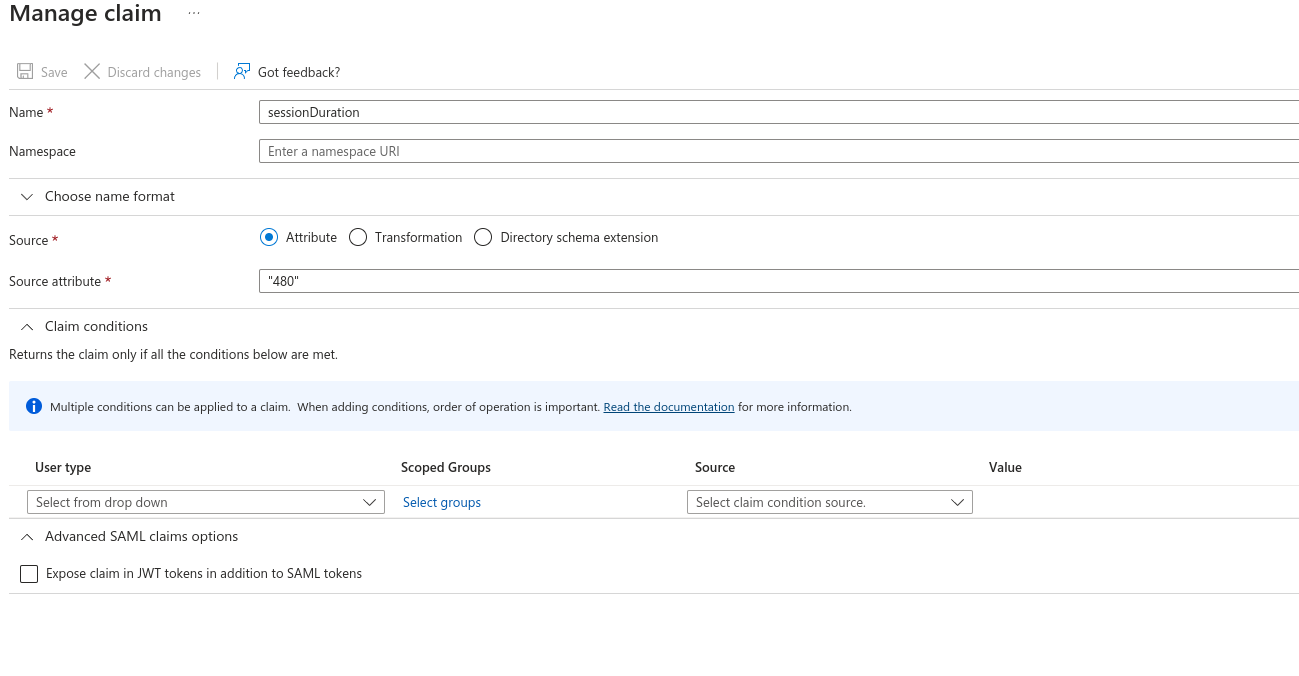
- Add another New Claim
- Set the Name as "sessionDuration"
- Leave Source as Attribute.
- Set Source Attribute to the default login duration in seconds for users logging in to Knocknoc. You can manually override this with a user attribute later for specific users.
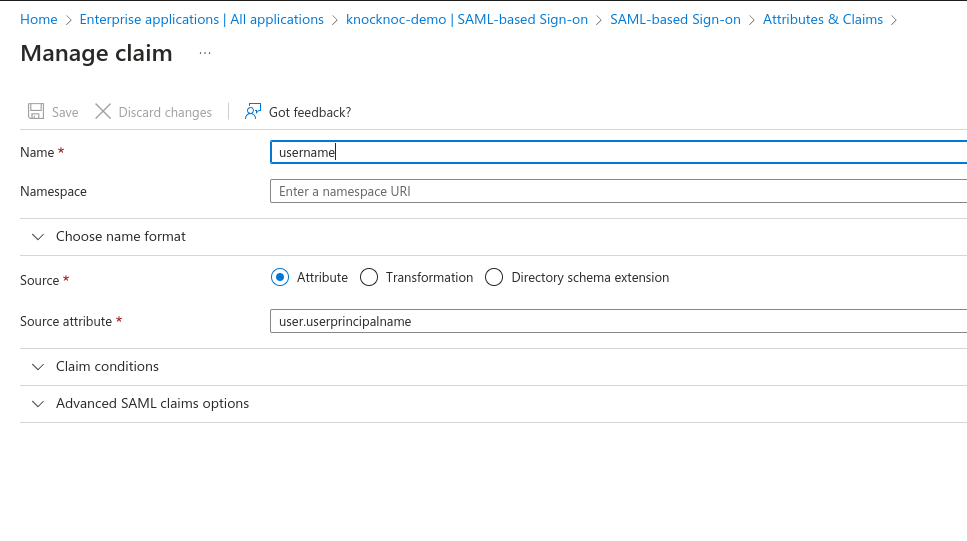
- Add a third New Claim
- Set the Name as "username"
- Leave Source as Attribute.
- Set Source Attribute "user.userprincipalname"
- Update the Required Claim, changing the Name Identifier Format to Persistent
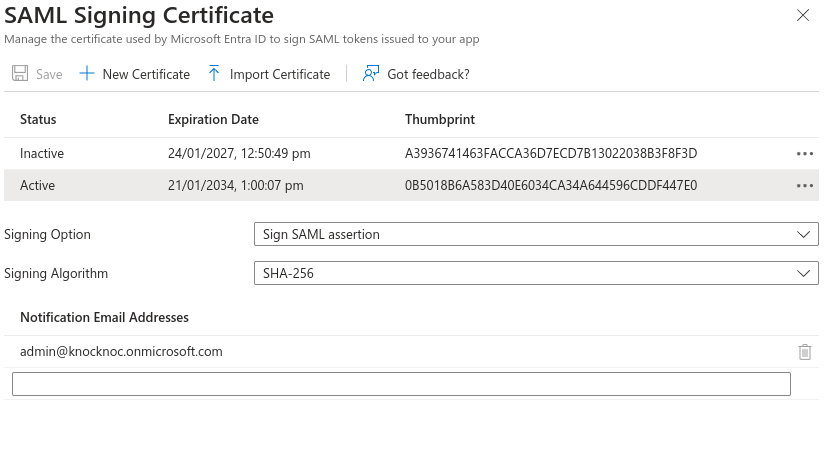
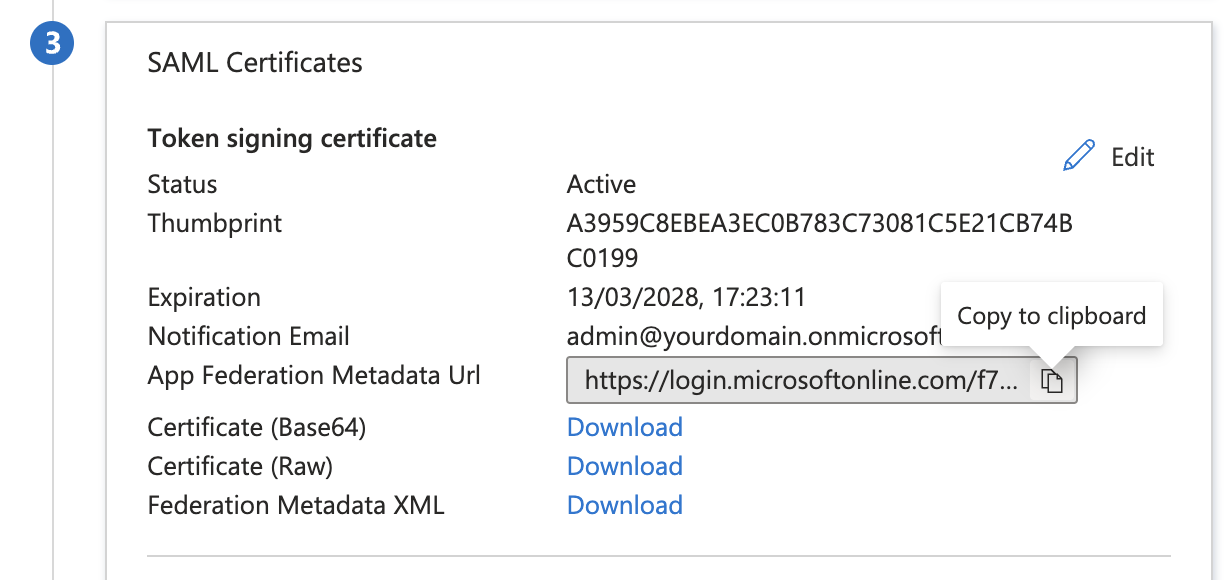
- Go to SAML Certificates section
- On your local machine: generate a new certificate and key, this can be done on a Linux host using the below command.
openssl req -new -x509 -days 3650 -nodes -subj /CN=Knocknoc/ -out user-demo-knoc-cloud.crt -keyout user-demo-knoc-cloud.key - Convert the certificate to pfx using the following command.
openssl pkcs12 -export -out user-demo-knoc-cloud.pfx -inkey user-demo-knoc-cloud.key -in user-demo-knoc-cloud.crt - Enter a password and note it down.
- Import Certificate, select the pfx certificate you just created and enter the password.
- It should automatically be set as Active. If it is not, click the dots on the right and choosing Make Certificate Active.
- On your local machine: generate a new certificate and key, this can be done on a Linux host using the below command.
- Copy the App Federation Metadata Url and save it, you will need it in the next step configuring Knocknoc.

- Now configure Knocknoc.


Knocknoc SAML Config
Knocknoc supports SAML for Users and/or for Administrators. Initially we suggest configuring SAML for Users, and once confirmed as working extending this to the Administrator users, whilst retaining a break-glass local Admin user for emergencies or broken SAML situations.
- Login In the Knocknoc admin interface.
- Click on Settings on the left.
- For the "Metadata URL", paste in the "App Federation Metadata Url" you previously saved. It starts with https://login.microsoftonline.com/...
- For the SAMLKeyFile, upload the key (.key) file you created in during the SAML Configuration.
- For the SAMLCertFile, upload the certificate (.crt) file you created in during the SAML Configuration.
- Click Save.
Final Testing
Assuming you granted your own user permission to one or more Knocknoc groups in EntraID, you should now be able to login to Knocknoc using SSO.
- Browse to https://demo.knoc.cloud
- There should now be an "SSO Login" button.
- Click this, if you are not already authenticated to your IdP you should now be directed to the IdP login page. Note: If you are already authenticated you'll simply be redirected to an authenticated Knocknoc session.
- If ACLs have already been added you should also see these now say Granted.
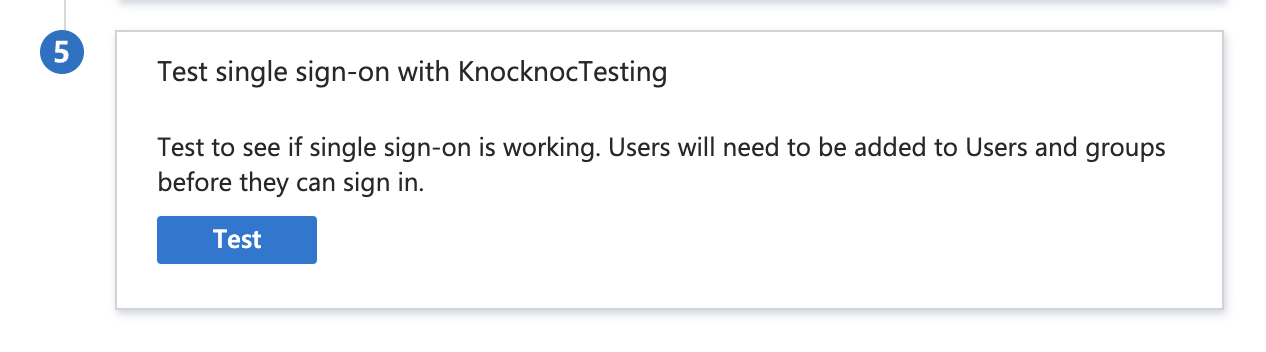
You can also test using the Entra testing tool which is in Step 5 of the Entra configuration, shown below. Remember you will need to log in with a User or Group you granted access previously.
If this all works, congratulations! You've successfully run the SAML gauntlet.
Now it is time to create ACLs and assign them to the Entra SAML Groups.