Palo Alto
Passive, Active or a combination
Passive - Knocknoc's Allowlist features provides a passive integration with firewalls that support a External Dynamic Lists or EDLs. This feature allows the firewall to pull from the Knocknoc server a list of IPs of authenticated users, in the correct group/for the assigned firewall policy. The drawback of this feature is that the list can only be fetched every 5 minutes.
Active - Knocknoc's Palo Alto orchestration capability utilises the Palo API to actively manage the device, inserting and removing IP addresses as part of the Knocknoc Grant process. This is an active, near-real-time approach that provides the best user experience. Older versions of Palo Alto devices can take time to "commit" the changes to the device which is a Palo constraint. If commit speeds are a problem, using the Passive+ approach can offer better speeds for older devices.
Passive+ (Passive with an Active sync) - the Passive EDL can be utilised in conjunction with an Active API hit to trigger a live refresh from the EDL. This shortens the time taken for polling, and can outperform Active rule management due to the Commit process of the Palo framework.
Passive (EDL)
- Configure the Knocknoc Server: Set up a Passive Knoc.
- EDL Configuration: Configure the Palo to point the EDL to the Knocknoc distribution server. You also need to extract the server CA/chain for the Palo.
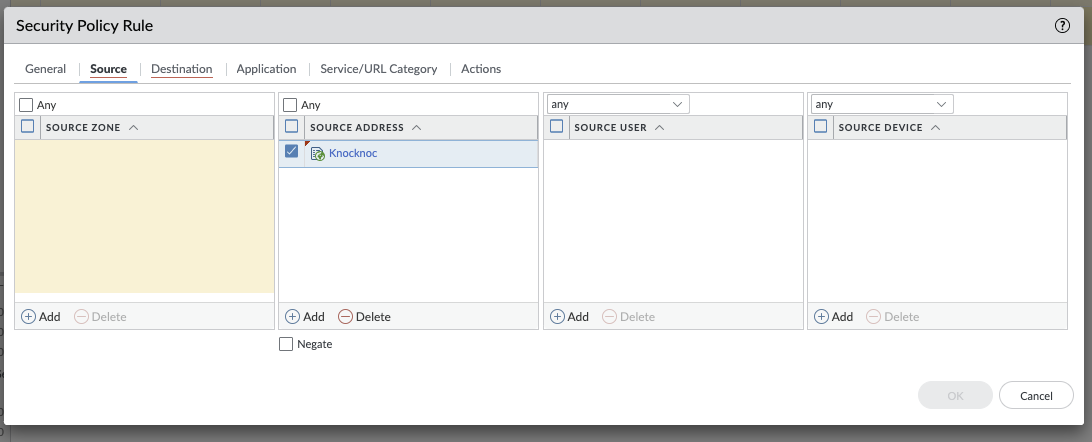
- Security Policy Rule: Create a policy referencing the dynamic address and other relevant parameters to suit your intended firewall policy.
Knoc configuration
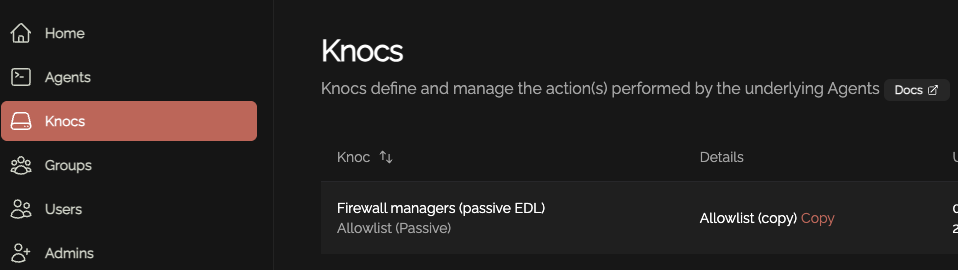
Create a Knoc under Firewalls/Appliances. Select Passive. Note that no Agent is required for this configuration as the Server is publishing/hosting the Allowlist.
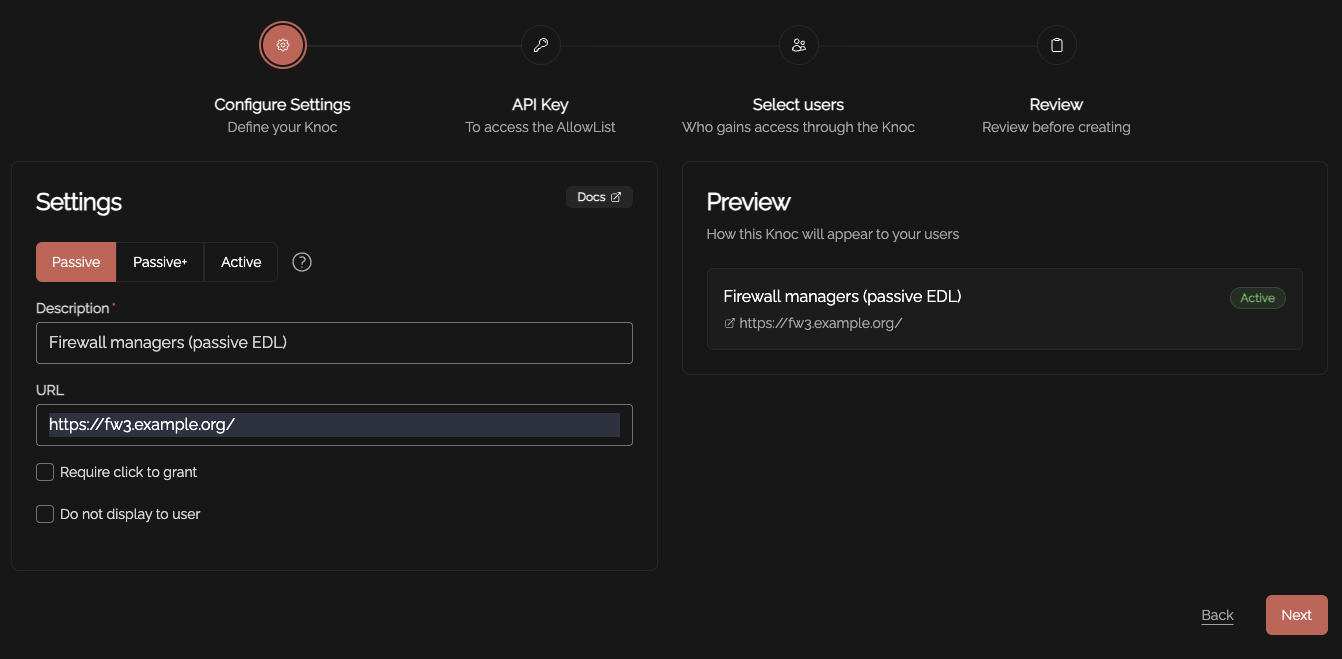
Set an API key name, and define any IP allowlisting restrictions on the API key-use. Naturally we recommend removing the "entire Internet" rules.
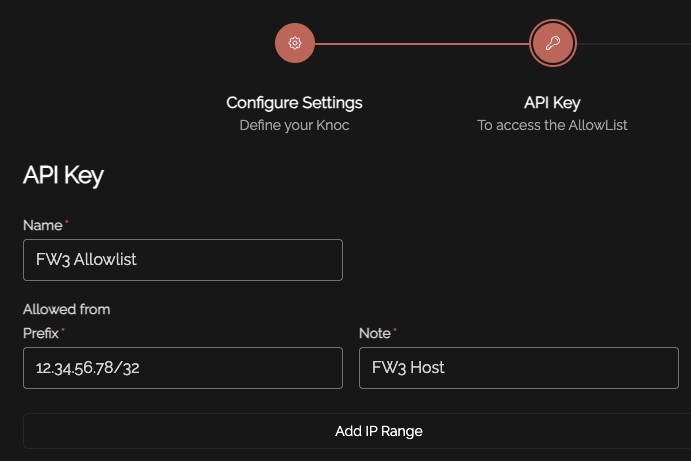
Be mindful of the IP address restrictions, by default it will allow the entire v4/v6 Internet.
Copy the API key/token that is displayed, you will not be able to recover this after it has been shown.
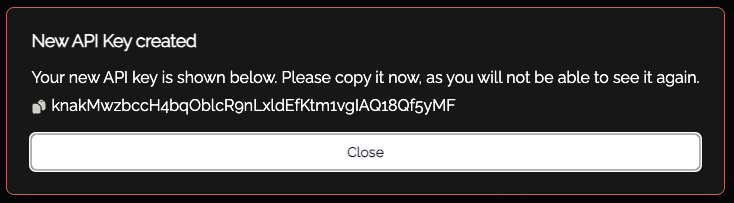
Copy the API key and store this for future use.
Configuring the External Dynamic List (EDL)
Log in to the Palo Alto.
Under Objects, External Dynamic Lists, Add+ a new list.
Create a name for the list, noting this is per Knoc - allowing a per-policy list, for example "FirewallManagers" and "SSH" may be two Knoc's that map to different firewall policies.
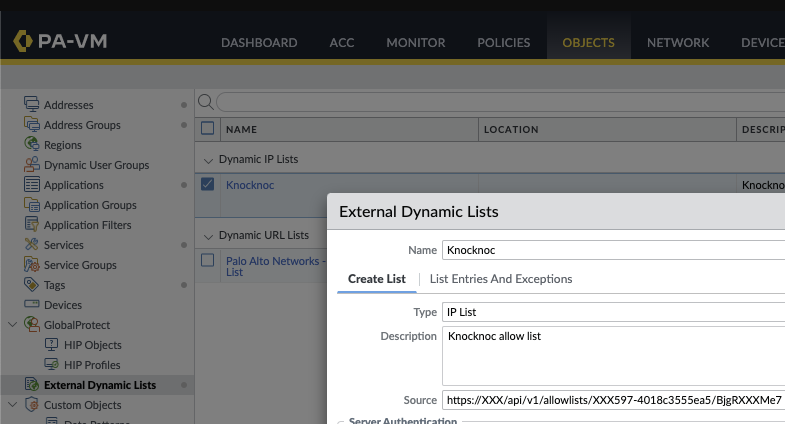
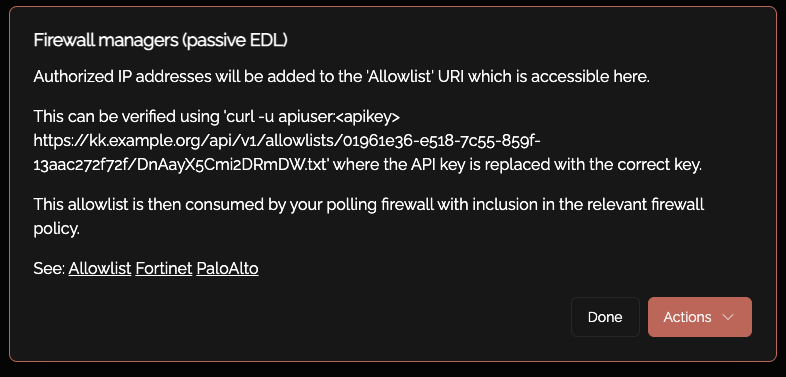
The "Source" URI can be found by copying off the Knoc configuration:
This can also be seen by viewing the Knoc itself:
Create a "certificate profile", this places the Knocknoc servers certificate/chain in to the Palo.
Extract and upload your Knocknoc servers CA chain, this is required by the Palo to verify the Knocknoc server without using third-party/global CAs.
If you do not have easy access to this, you can use a third-party site such as https://whatsmychaincert.com/ You can also use OpenSSL to obtain this, or using your browser. Just be sure to extract the CA certificate not the host certificate. $ openssl s_client -showcerts -verify 5 -connect knocknoc-server.io:443 < /dev/null
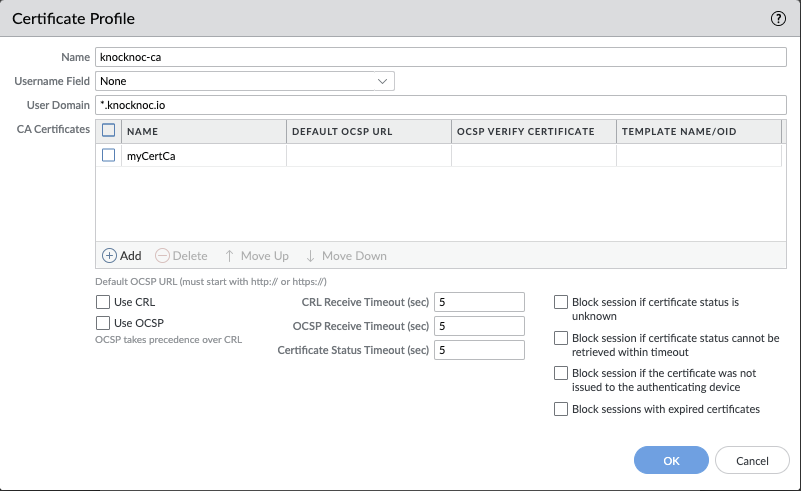
Select the newly-created Certificate Profile.
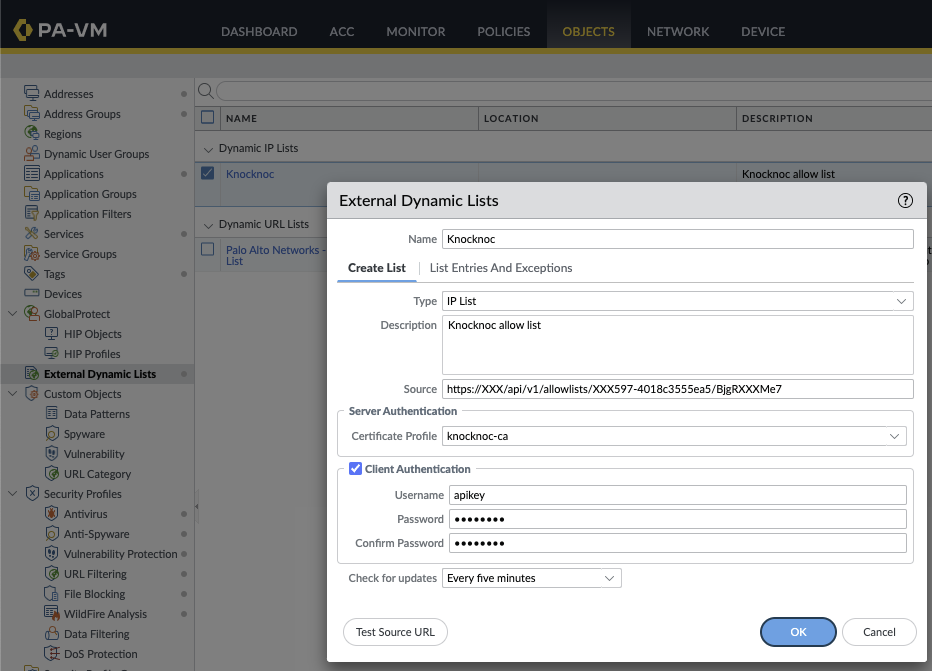
Select "client authentication", setting the username as "apikey" and the API token as the Password.
Note that the "Test source URL" button does not use the client-authentication, therefore it will fail. Thanks Palo..
Using the Dynamic Address in Firewall Rules
The EDL can be selected within the Source Address section. This is effectively a dynamically updated list of authenticated and authorised users IP addresses. You can inspect the EDL contents in a number of ways.
User experience and EDLs
To complete the process, assign the Knoc to the relevant Users or Groups, and your users are ready to log in and receive their access.
When your user logs in they will see "Published". And once the Palo Alto polls the EDL it will update to "Read"

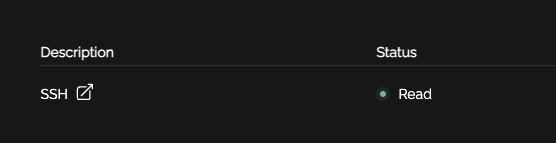
You now have dynamic IP addresses being read in by the Palo without active orchestration.
Active configuration (API)
To use the Palo Alto or Panorama API you first must create an API key, which is derived from an Admin username/password.
To do this, the official Palo documentation suggests using Curl as below:
curl -H "Content-Type: application/x-www-form-urlencoded" -X POST https://firewall/api/?type=keygen -d 'user=<user>&password=<password>'Once you have this base64 blob/API key, save it somewhere safe. You will need it when creating the Active Palo Alto Knoc.
Knoc configuration
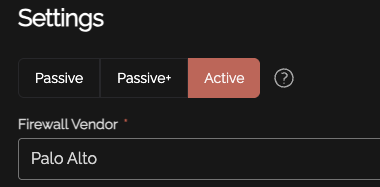
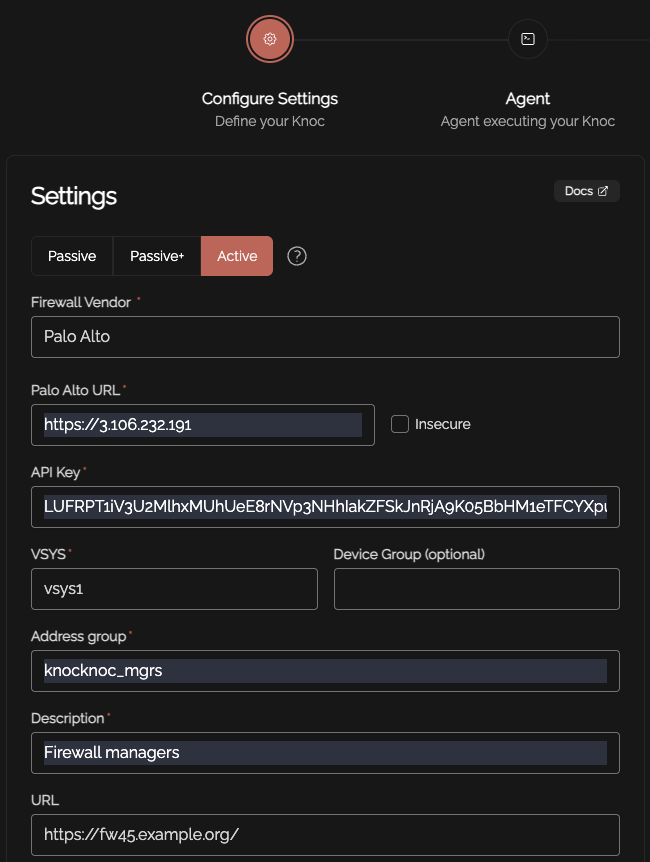
Select the "Firewalls / Appliances" Knoc configuration, selecting "Active"

Follow the prompts, as below, entering the API key as created above:
Select the Agent you want to execute the Knoc from. We recommend deploying an Agent adjacent to the Palo devices and remove external attack surface on the Palo.
Passive+
Passive+ mode uses both the EDL and an Active EDL-refresh sync call to the Palo API.
This reduces the time taken between polling of the EDL, and calls an active refresh on an authorized Knocknoc Grant.
Knoc configuration
Select the "Firewalls / Appliances" Knoc configuration, selecting "Passive+"
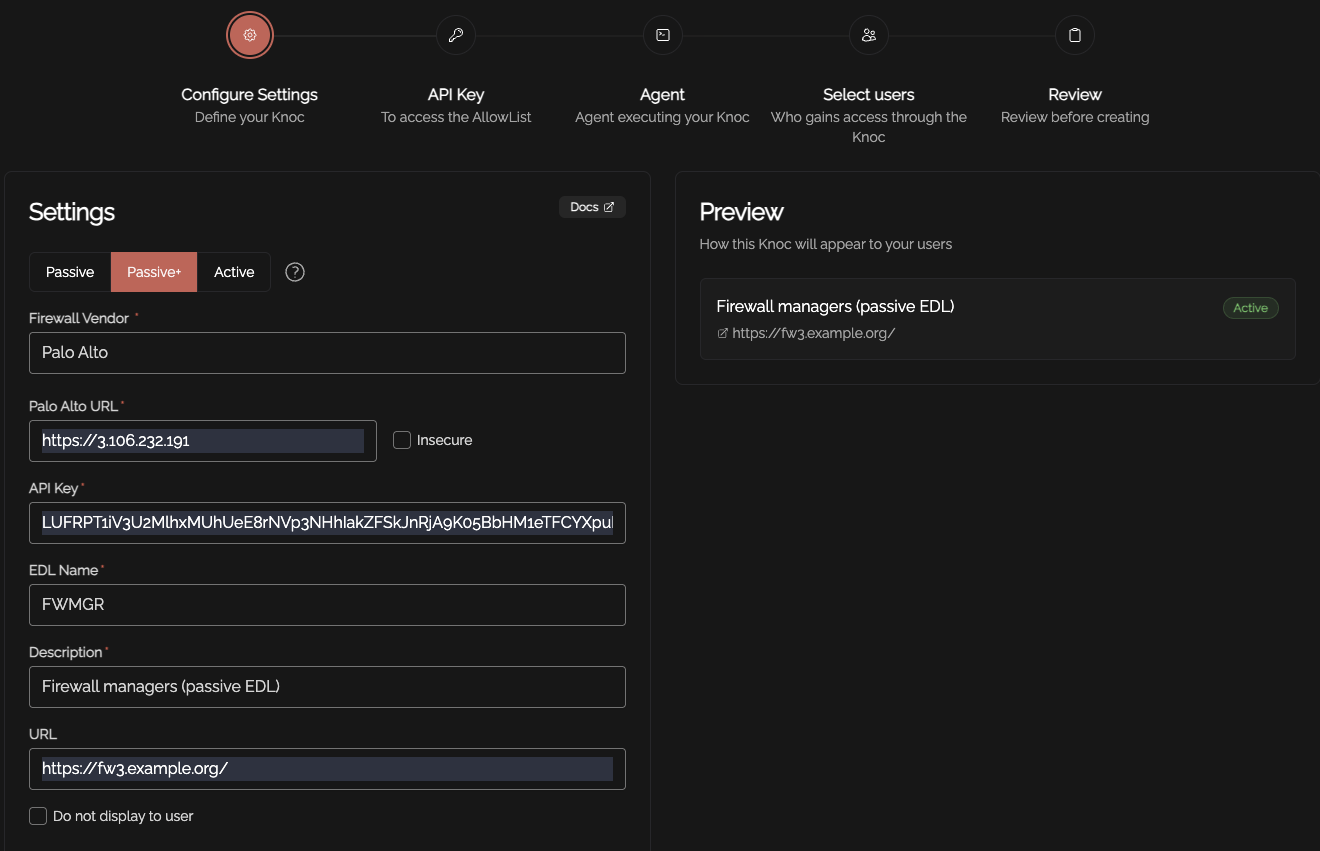
Enter the relevant information, noting this time the "EDL Name" is required, rather than an address group.
The API Key is created to support the EDL (see above), follow that guide to complete the process.
API permissions can be reduced for
Looking at the EDL contents
You can see the addresses added to the EDL, to do so log in to Knocknoc with an appropriate user, then refresh the view in the Palo UI.
Alternatively, you can also see the EDL contents via the Palo shell:
Viewing the configuration of the external dynamic list: admin@PA-VM# show external-list Knocknoc
Viewing the contents of the dynamic list: admin@PA-VM# request system external-list show type ip name "Knocknoc"
Forcing a refresh/pull on the dynamic list: admin@PA-VM# request system external-list refresh type ip name "Knocknoc"
Passive+ API role/permissions
The API user/role permissions required to orchestrate in either Passive+ or Active mode are minimal. We recommend reducing the permissions to reduce harm should the key be compromised.
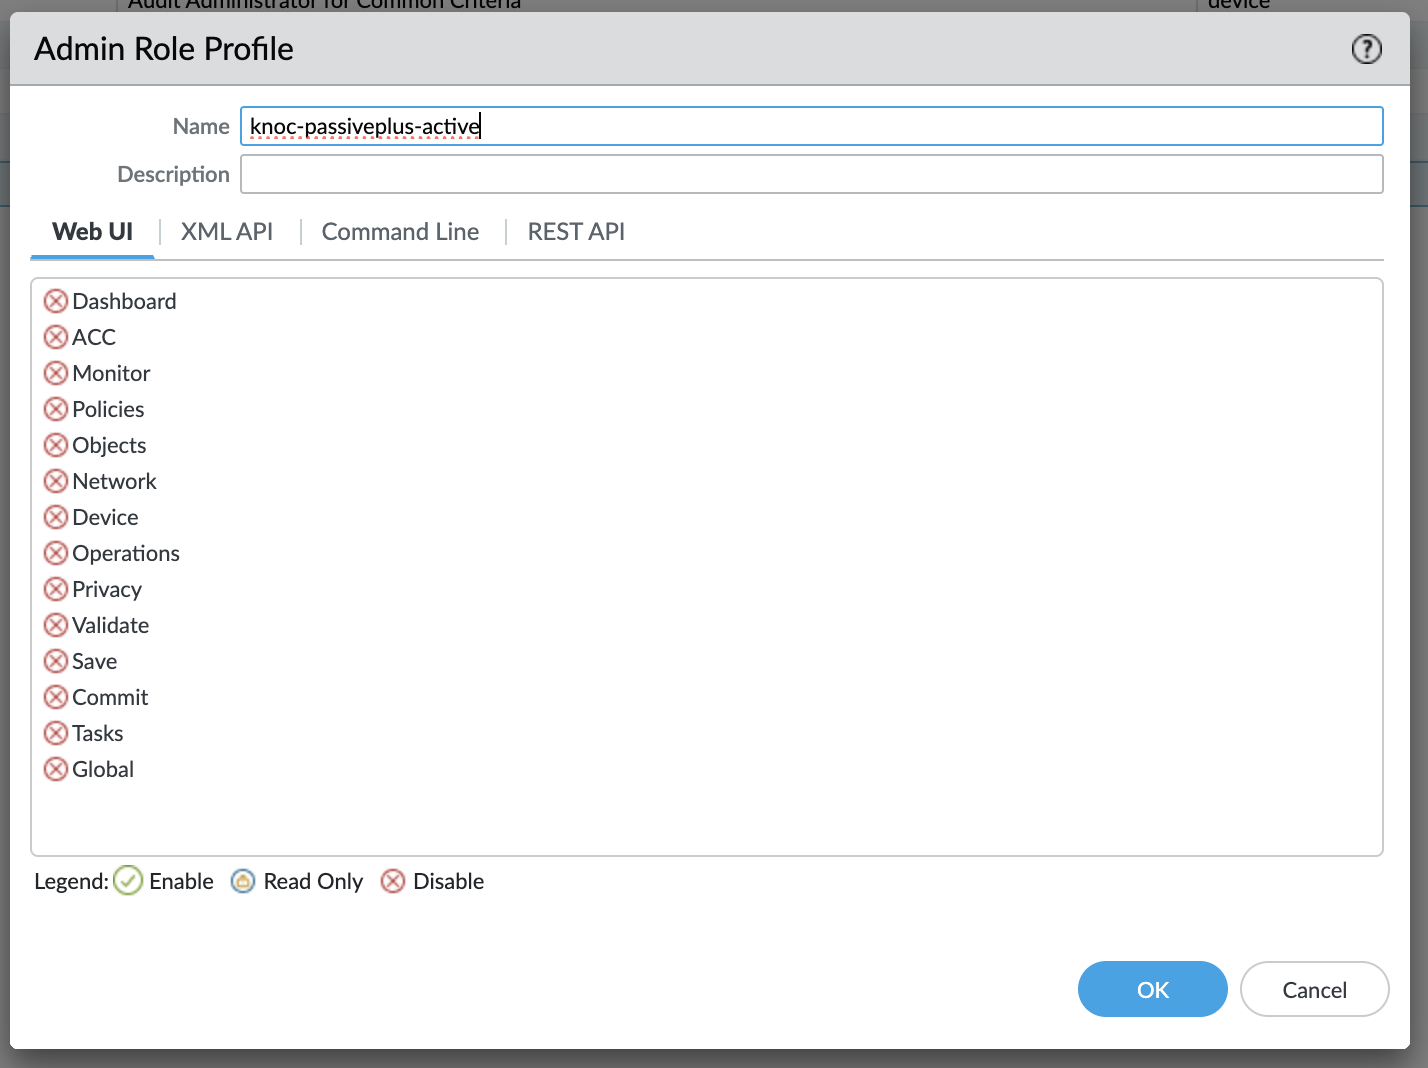
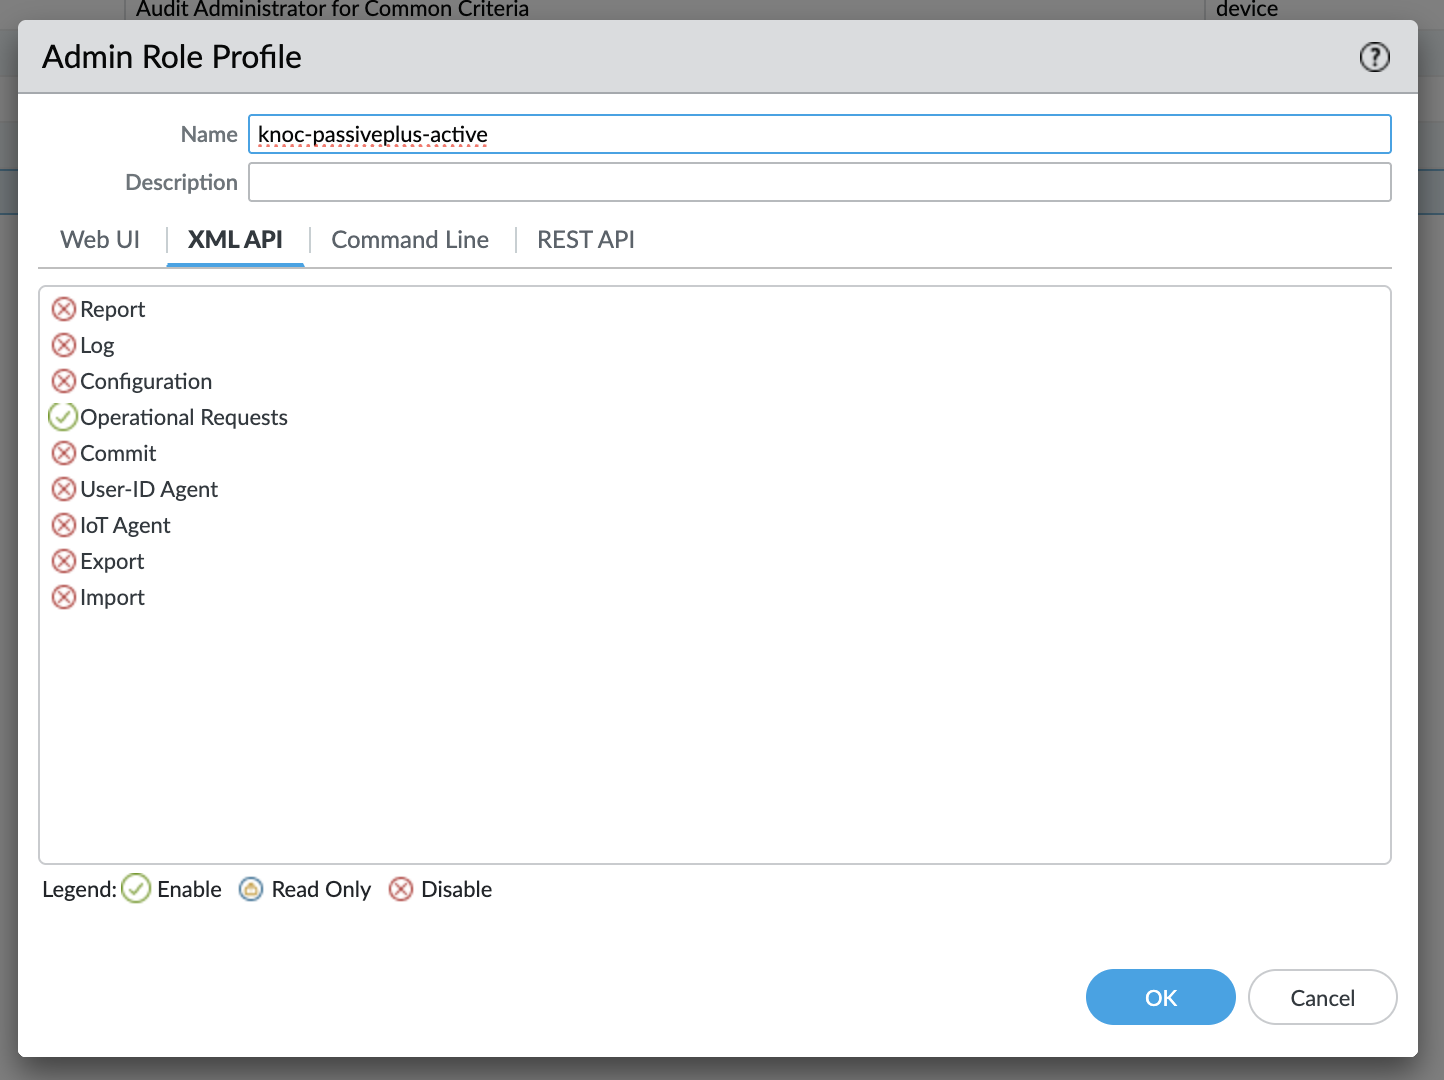
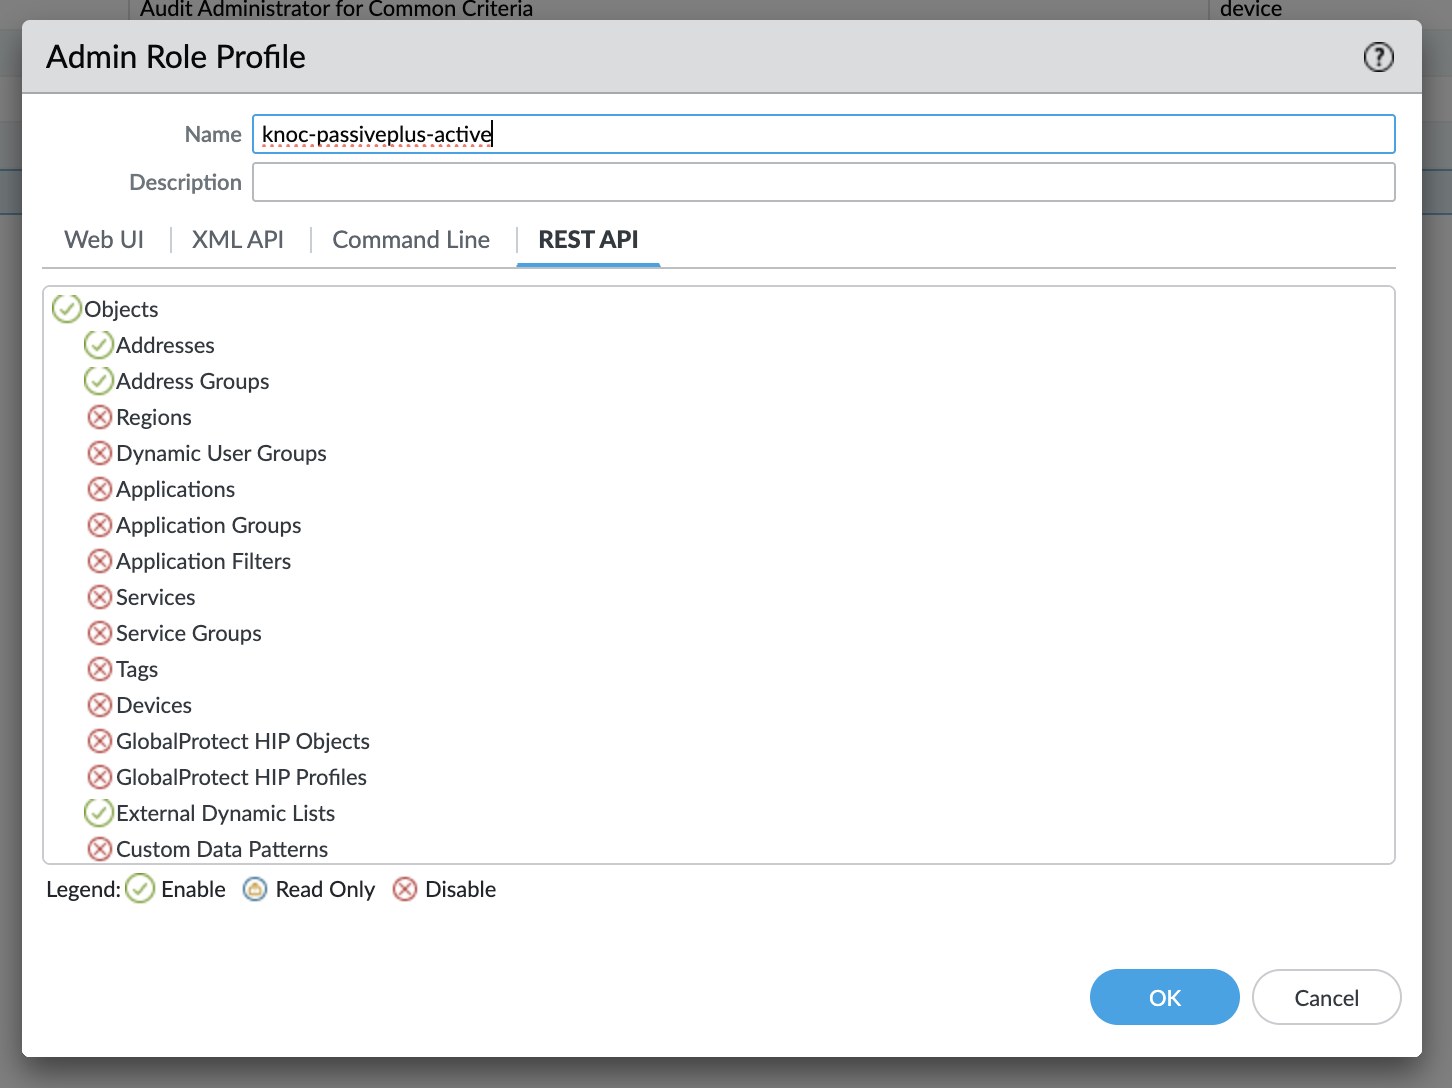
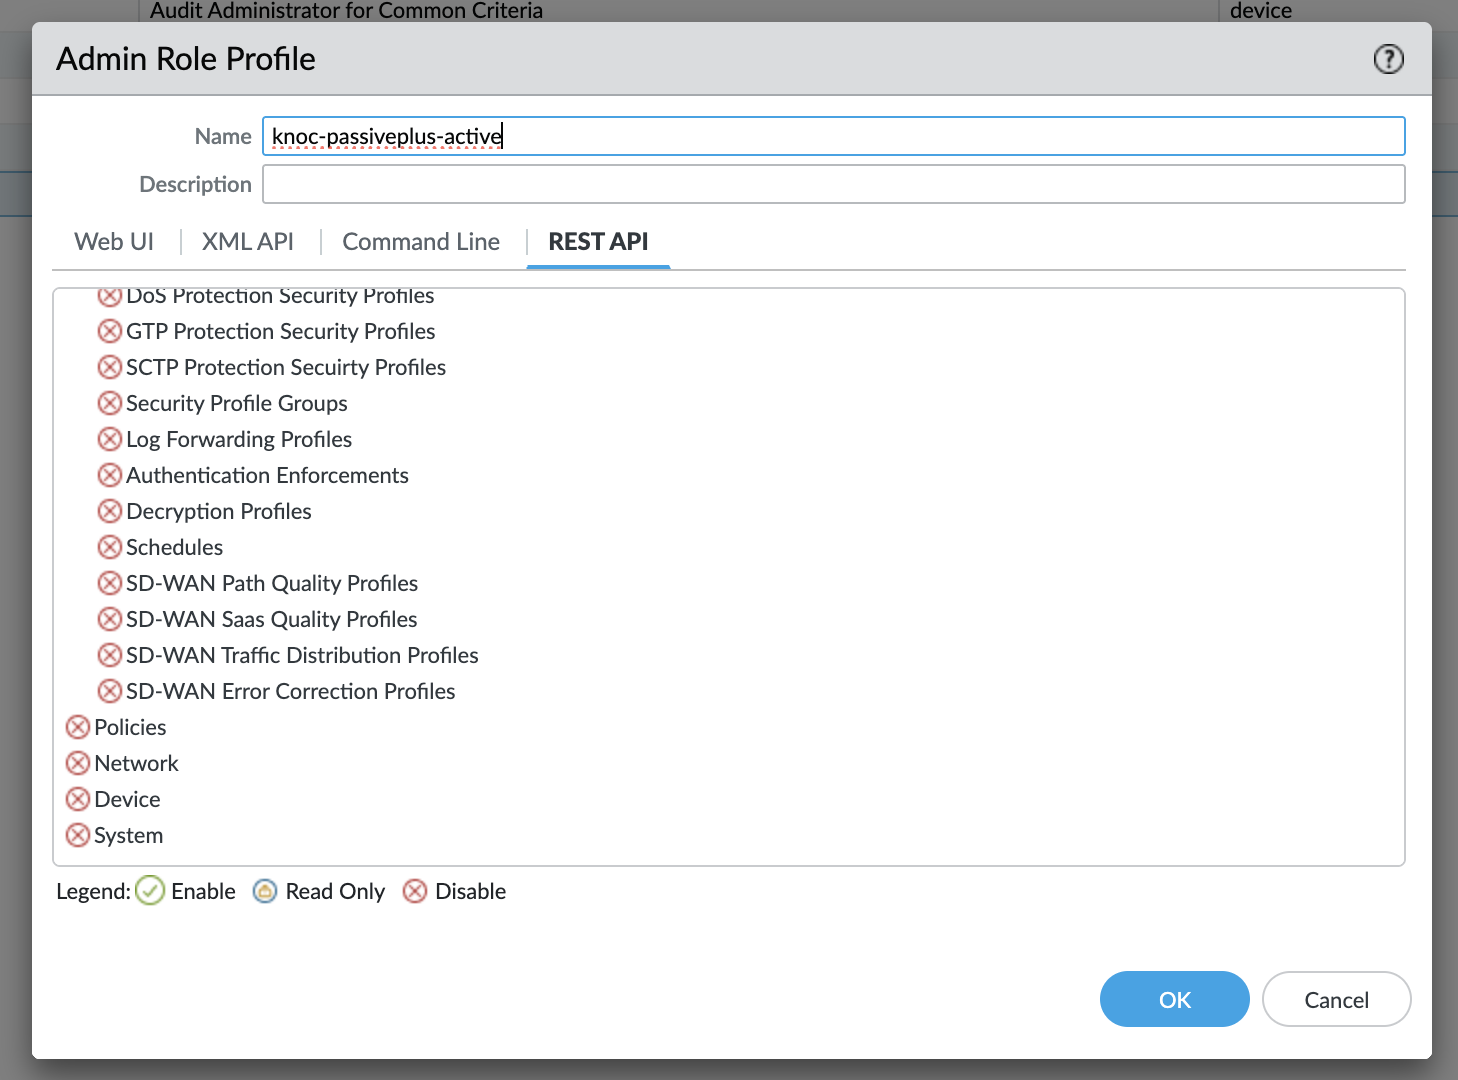
Using the Admin Role -> Profile, create a new profile and grant these permissions only
- XML API: Operational Requests
- REST API: Addresses, Address Groups, External Dynamic Lists