
SAML with OKTA
The following example assumes your Knocknoc instance is located at https://demo.knoc.cloud. Wherever you see that, please substitute it for your own instance URL.
Setting Up the IdP
Create an Application
- Click Create App Integration
- Select SAML 2.0
- Set an App name. (e.g Knocknoc)
- Optional: Upload a logo.
- Click Next.
- Click OK
- Enter the Single sign-on URL (e.g https://demo.knoc.cloud/api/saml/acs)
- Leave Use this for Recipient URL and Destination URL ticked.
- Enter the Audience URL (SP Entity ID URL e.g https://demo.knoc.cloud/api/saml/metadata)
- Leave Default Relay State blank
- Set Name ID Format as Persistent
- Set Application user as Okta Username
- Click Show advanced settings
- Upload your own certificate, one can be created on a Linux machine using the following command.
openssl req -new -x509 -days 3650 -nodes -subj /CN=Knocknoc/ -out user-demo-knoc-cloud.crt -keyout user-demo-knoc-cloud.key - Leave other options default
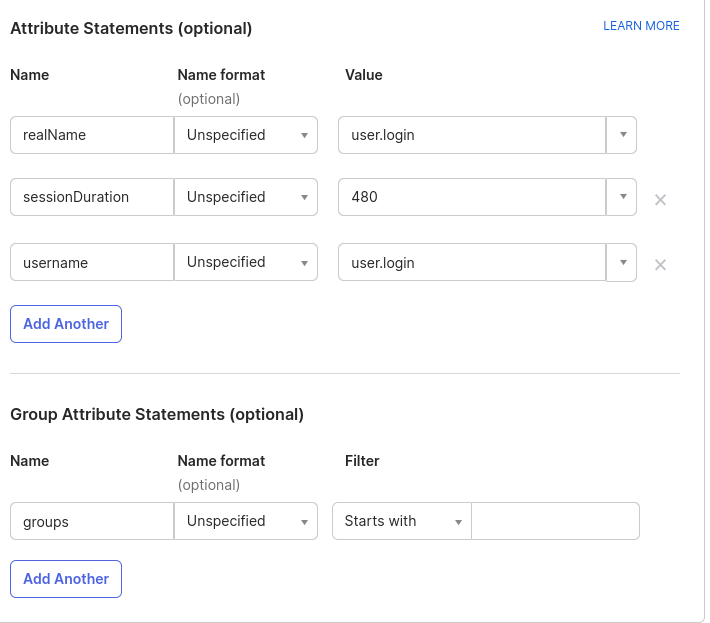
- Add an Attribute statement with the following settings
SAML Signing Certificates
- Delete the original certificate, it is likely SHA1 where the newly generated one is SHA2
- View the IDP metadata and save it as an XML file.
Assignments
- Assign the Application to your users.
- Enable the option to send Groups, to allow the users to be automatically assigned to the correct ACLs.
Knocknoc SAML Config
- Login In the Knocknoc admin interface.
- Click on Settings on the left.
- Under Public URL enter you knocknoc url. Note: do not add a / at the end of the URL.
- For the SAMLMetaDataFile, upload the xml file you downloaded from
EntraID.OKTA. - For the SAMLCertFile, upload the certificate (.crt) file you created in during the SAML Configuration.
- For the SAMLKeyFile, upload the key (.key) file you created in during the SAML Configuration.
- For the SAMLMetadataUrl, paste the Metadata Details, Metadata URL from the Okta control panel.
- Click Save.