
SAML with EntraID (Azure AD)
Create Application
The following assumes your knocknoc instance is located at https://demo.knoc.cloud. Wherever you see that, please substitute it for your own instance URL.
Assign Groups
Go to Step 1 and Assign a User or group. Ideally you should use a group, as Knocknoc maps Groups to Acls, and the names have to match.
Then go to Step 2, Single Sign-on and select SAML.
Here is where the fun begins!
In the Basic SAML section, set the Indentifier (Entity ID) to your knocknoc instance URL: https://demo.knoc.cloud
Reply URL (Assertion Consumer Service URL) (ACS)
Set this to https://demo.knoc.cloud/api/saml/acs
Leave the Optional Basic SAML Configuration options blank at this stage and click Save.
Claims and Attributes
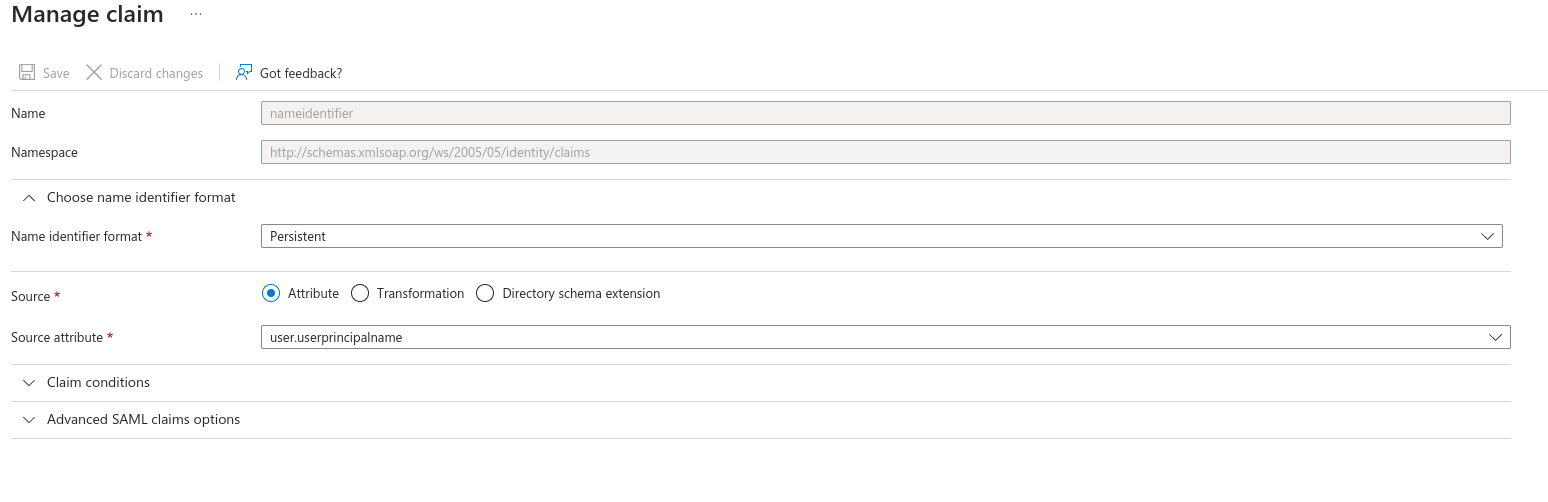
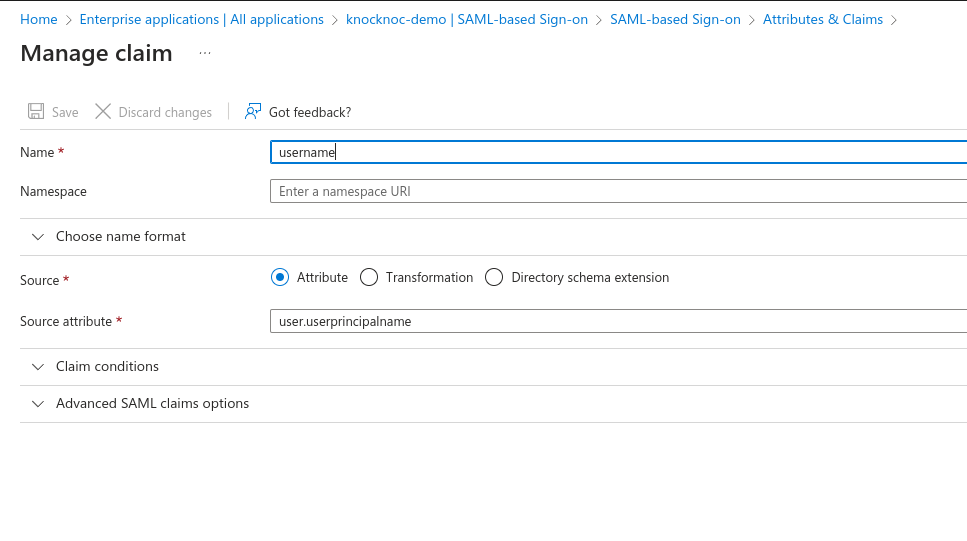
EditUpdate the AttributesRequired andClaim, Claims section now.In the Requires Claim section, edit the Unique User Identifier by clicking it.Forchanging the Name IdentifiedIdentifier Format choose:to Persistentand
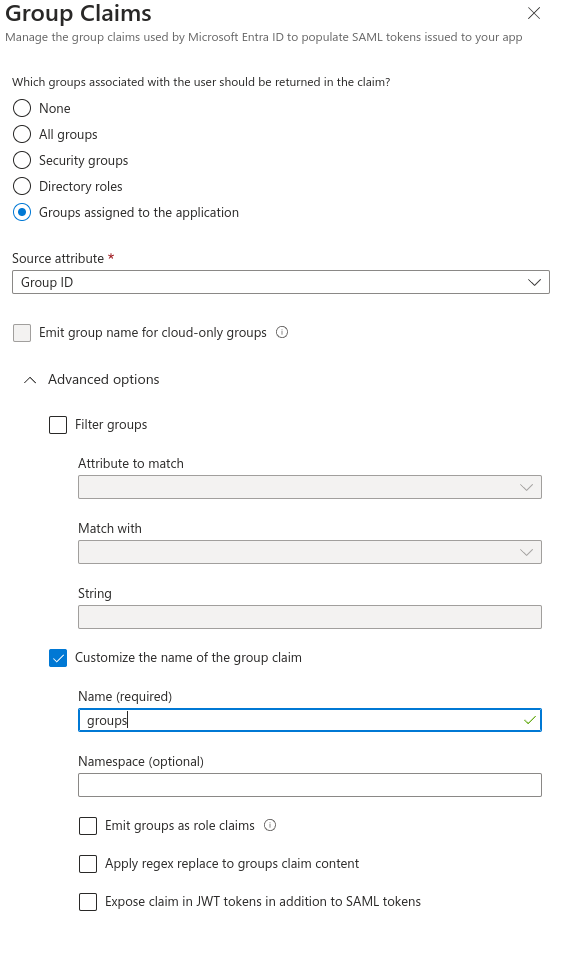
Add a group Claim, select Security Groups and Select Group ID for the Source Attribute. Select Save when done.
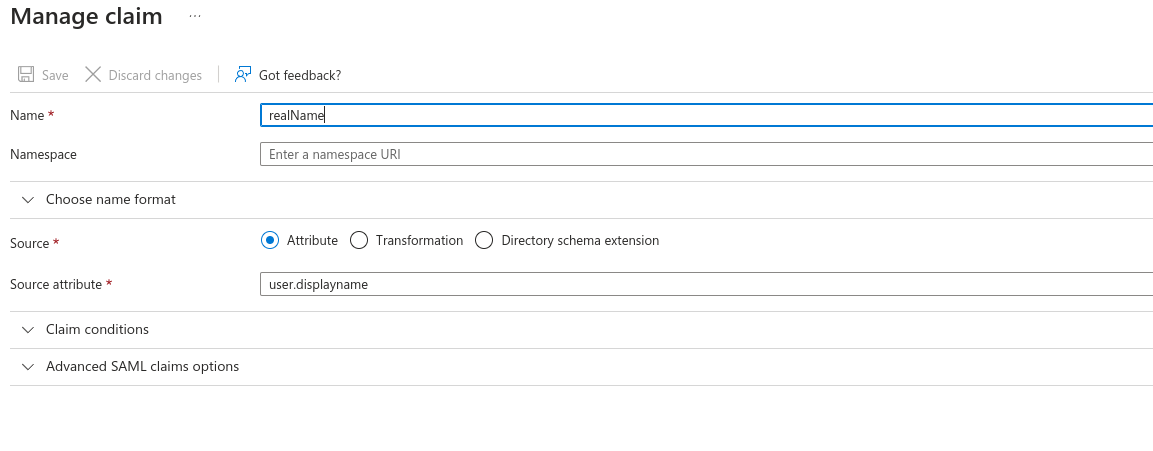
Remove the other Claims, and add back in the following:
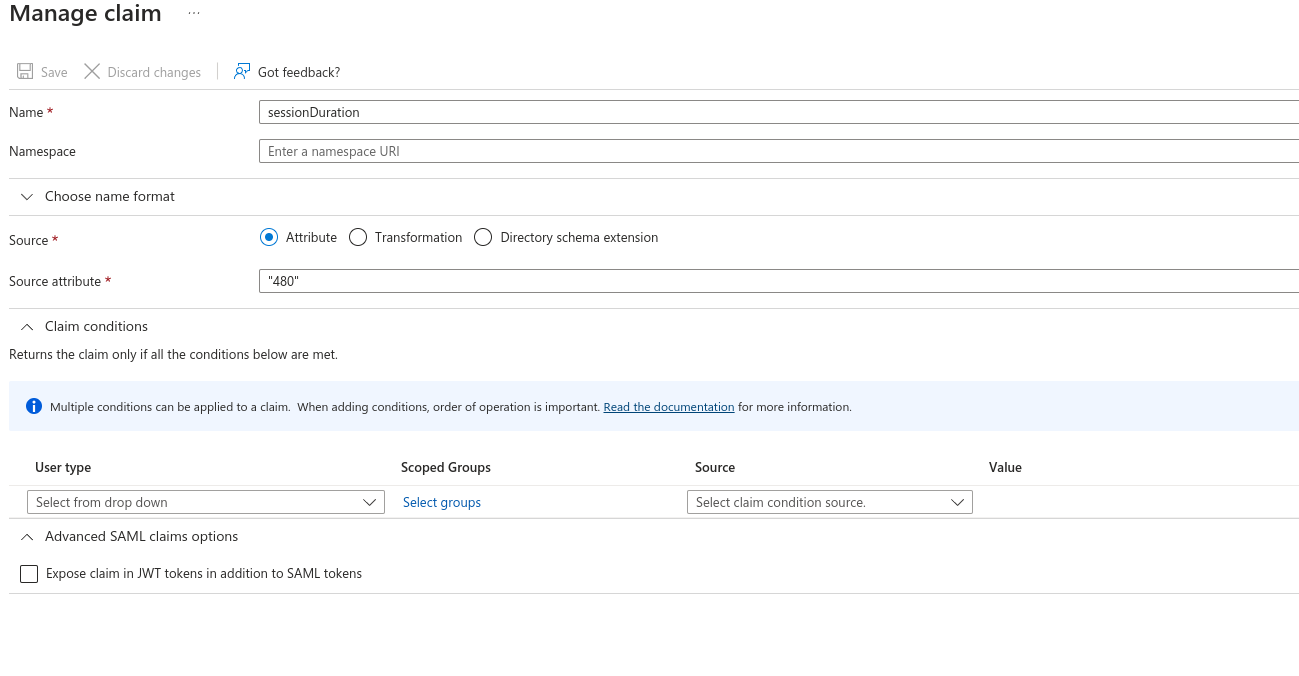
Set SessionDuration to whatever you want the default SessionsDuration to be. You can override this with a user attribute later.
SAML Certificates
NowUpload goyour backown certificate created like so:
On your own PC or similar:
Make a new cert and key:openssl req -new -x509 -days 3650 -nodes -subj /CN=Knocknoc/ -out user-demo-knoc-cloud.crt -keyout user-demo-knoc-cloud.key
Then convert the cert to pfx:openssl pkcs12 -export -out user-demo-knoc-cloud.pfx -inkey user-demo-knoc-cloud.key -in user-demo-knoc-cloud.crt
Enter a password and note it down.
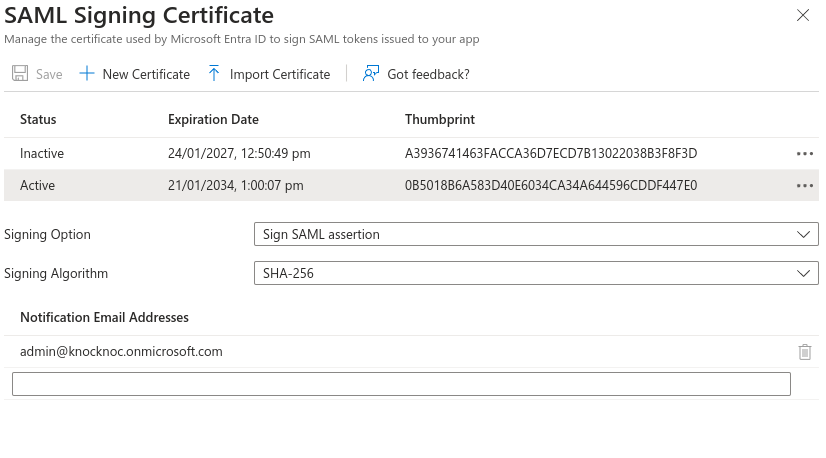
Import it to the SAMLtoken basedsigning Signoncertificate section,section and inmake sectionit 3active
SAML
the Certificate Raw
Then download the federation Metadata XML.
Knocknoc Config
In the admin section go to Settings, eg https://demo.knoc.cloud/admin/settings
Type in your PublicURL eg https://demo.knoc.cloud/
For the SAMLMetaDataFile, upload the xml file you downloaded from the previous step.
For the SAMLCertFile, upload the Certificate you downloaded in the previous step.
For the SAMLKeyFile, upload the Key you downloaded in the previous step.
Copy the Login URL from section 4 in the Entra Samp Sign section and paste it into SAMLMetadataUrl
Make a new cert and key:openssl req -new -x509 -days 3650 -nodes -subj /CN=Knocknoc/ -out user-demo-knoc-cloud.crt -keyout user-demo-knoc-cloud.key
Then convert the cert to pfx:openssl pkcs12 -export -out user-demo-knoc-cloud.pfx -inkey user-demo-knoc-cloud.key -in user-demo-knoc-cloud.crt
Enter a password and note it down.
Upload SAML Certificate
Back into Entra ID -> SAML Certificates - Edit. Import Certificate, select the pfx certificate you just created, and enter the password.
Click Add
Then make the new certificate Active, but clicking the dots menu on the right and choosing Make Certificate Active.