
Microsoft Entra
Overview
This integration is designed to manage named locations in Microsoft Azure Conditional Access policies via the Microsoft Graph API. It allows users to add, delete, or flush named locations related to specific IP addresses. This system can also be used to directly limit access to services (eg: outlook versus teams versus portal) through various conditional access policies, as opposed to a blanked policy over Microsoft 365 as a whole, which helps reduce exposure in the event of credential or token loss.
An example of a user's experience can be found below:
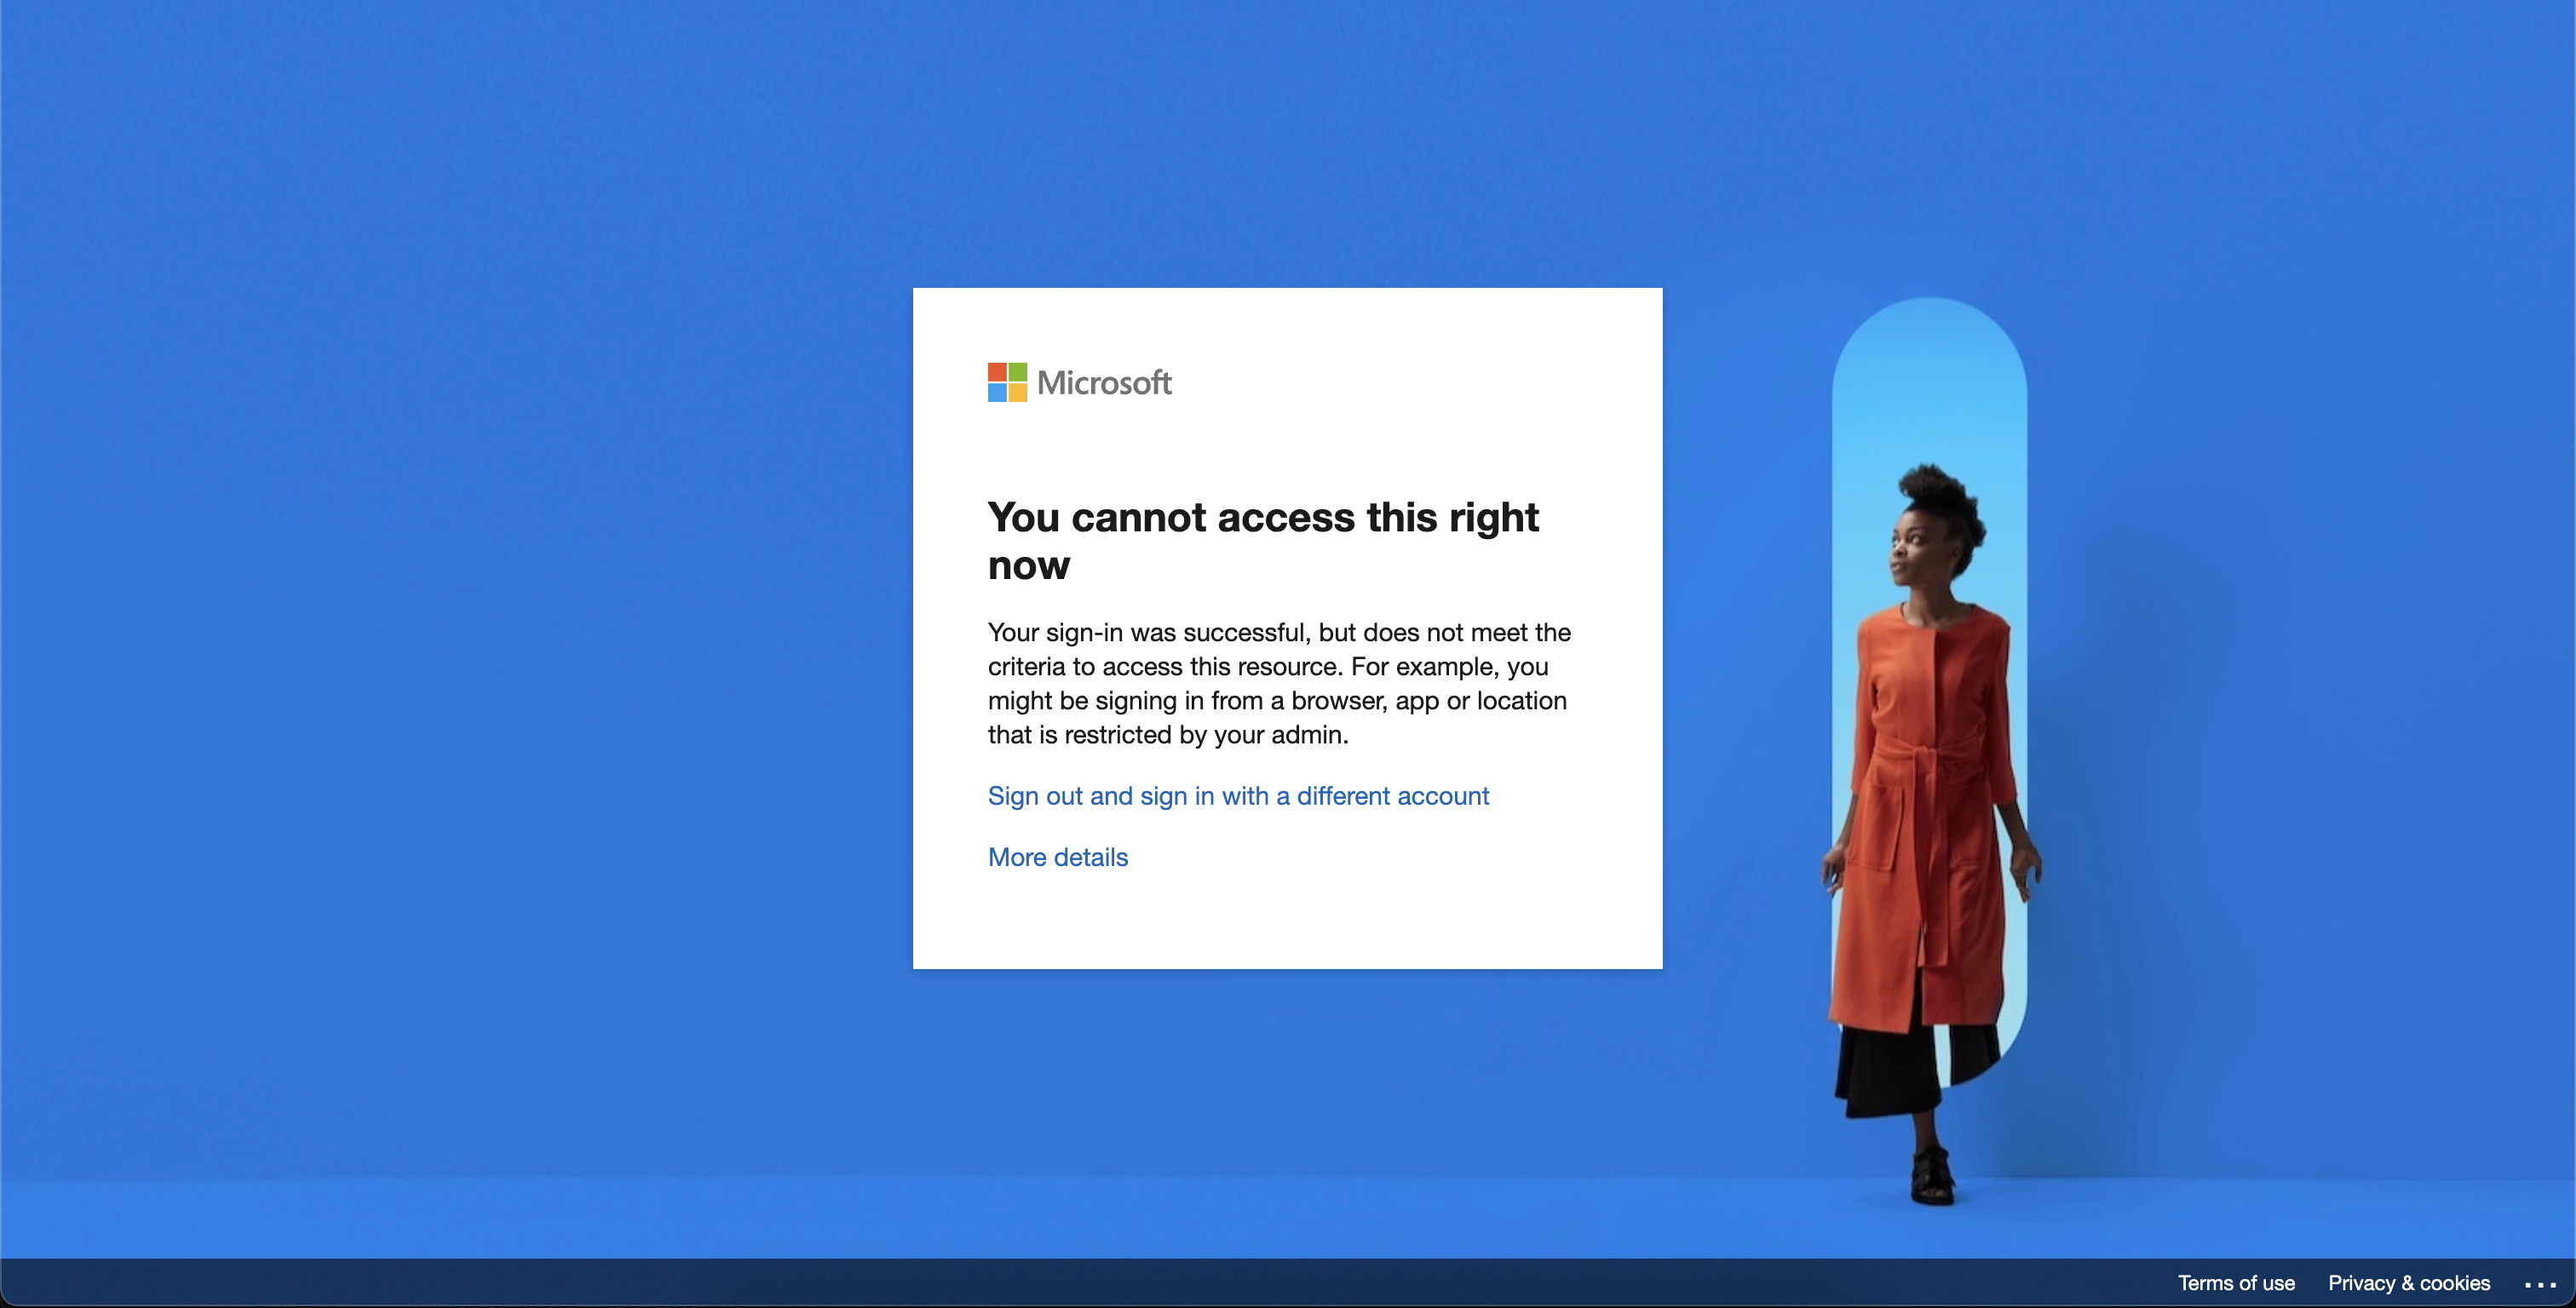
- User attempts to access Microsoft 365 services:

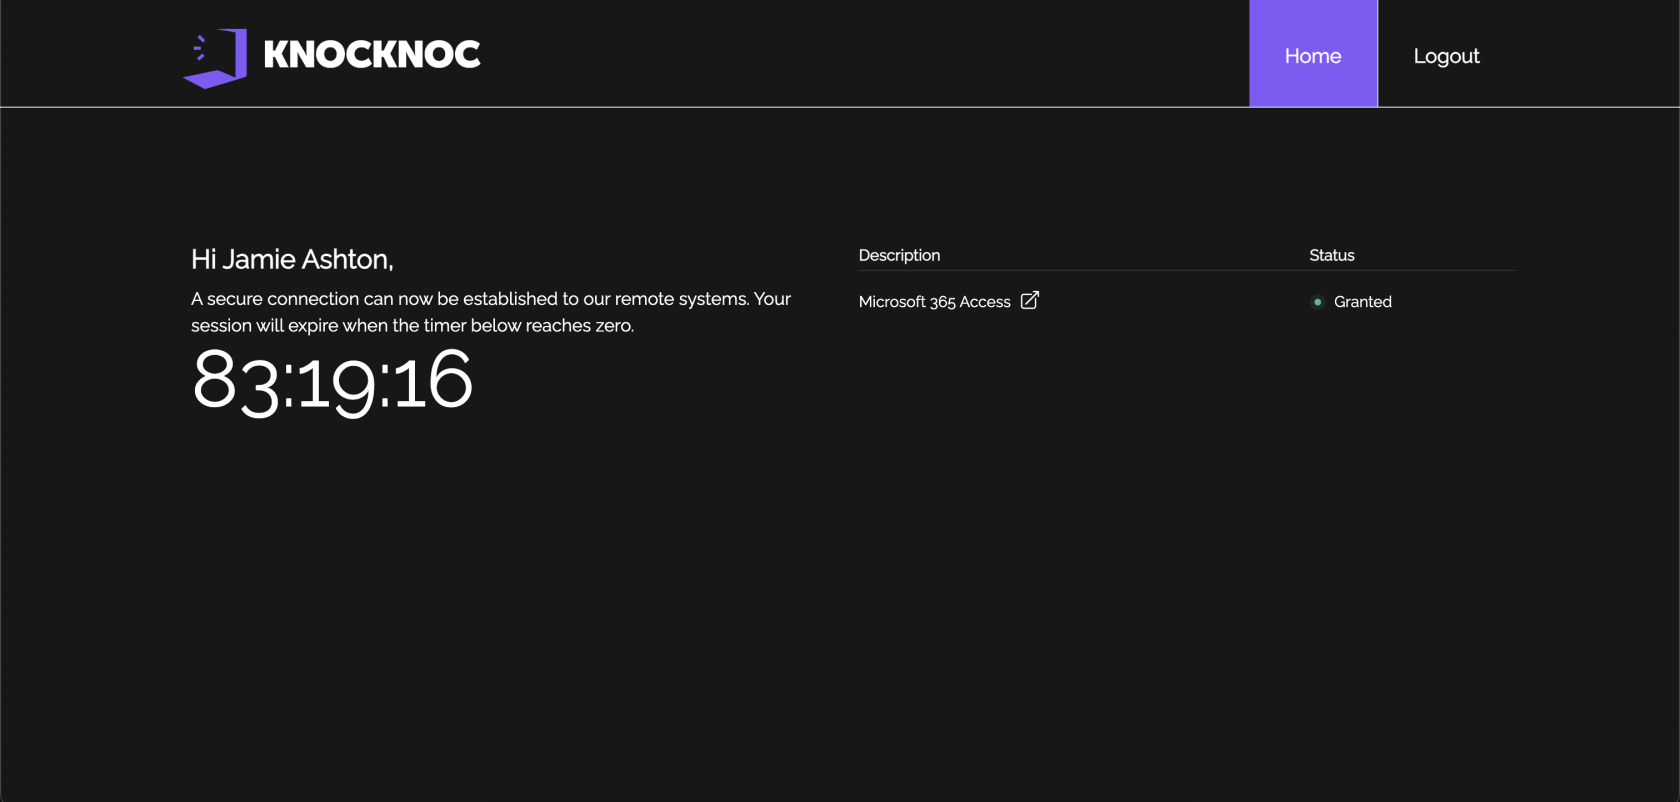
- User must authenticate with knocknoc and will see their granted ACL on the right hand side:
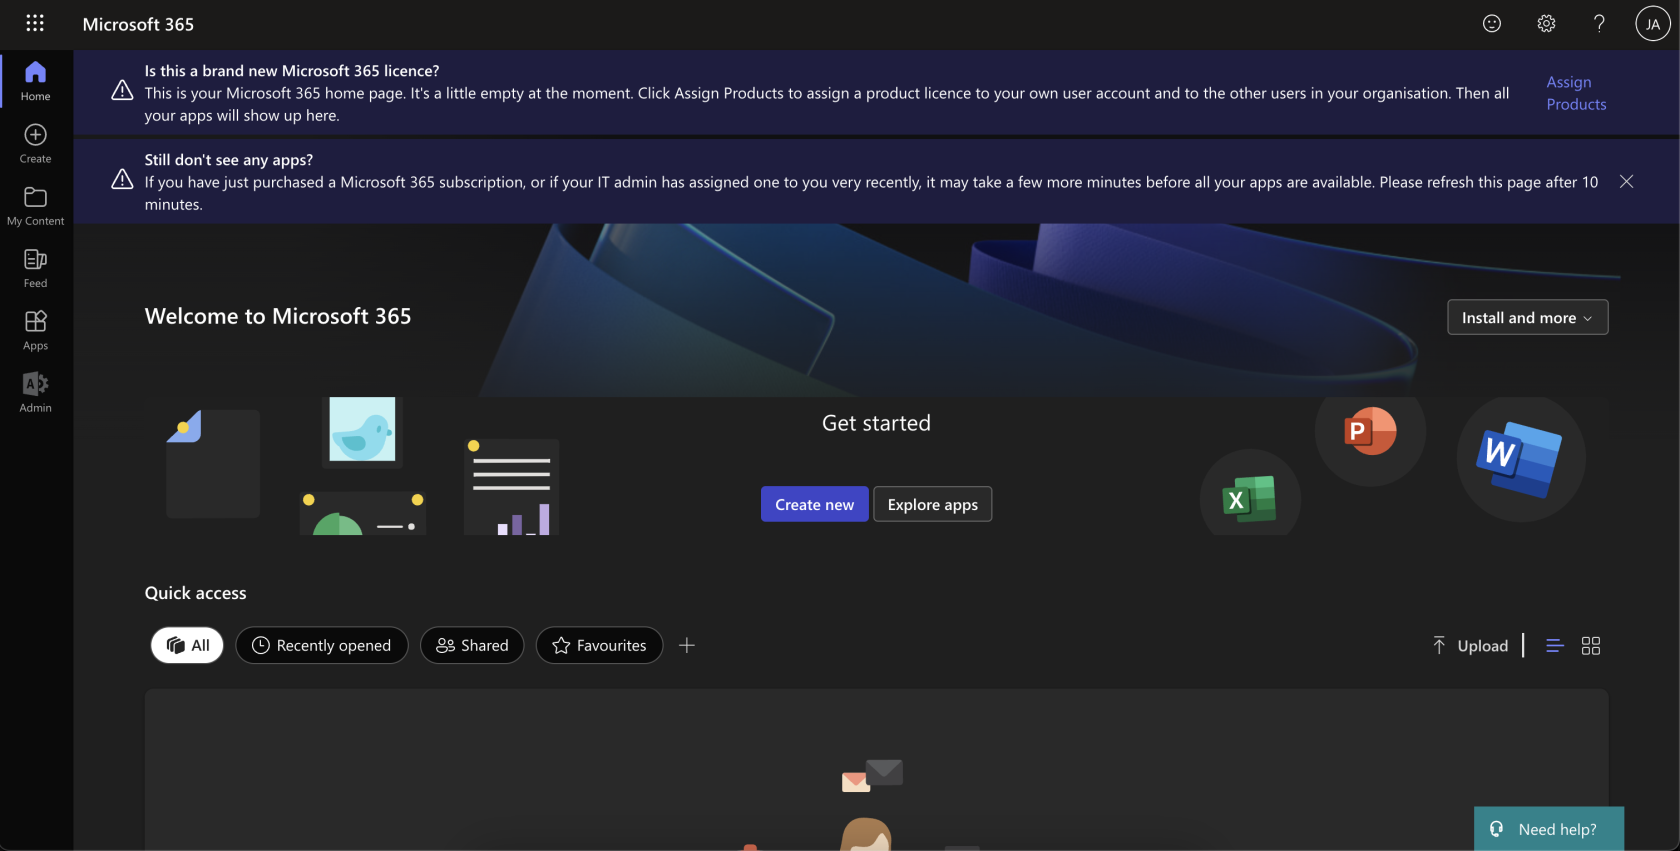
- User can now access Microsoft 365 services:


Prerequisites
Before running this script, ensure that you have the following prerequisites installed and configured:
- Powershell - Install the LATEST version of PowerShell on your system. For Debian, follow these steps:
# Update the list of packages sudo apt-get update # Install pre-requisite packages. sudo apt-get install -y wget # Download the PowerShell package file wget https://github.com/PowerShell/PowerShell/releases/download/v{latest-version}/powershell_7{latest-version}.deb_amd64.deb ################################### # Install the PowerShell package sudo dpkg -i powershell_{latest-version}.deb_amd64.deb # Resolve missing dependencies and finish the install (if necessary) sudo apt-get install -f # Delete the downloaded package file rm powershell_{latest-version}.deb_amd64.deb - Azure Enterprise Application: An enterprise application must be created to allow knocknoc to authenticate and change conditional access policies and named locations. Create an enterprise application, create a client secret, and copy the application's client id, azure tenant id and secret. You'll need these later.
Note: If you are also using Entra as your IdP, make sure this is clearly defined in the name of your enterprise applications. For example, your IdP app might be called "knocknoc-saml", and your ACL app might be called "knocknoc-conditionalaccess." -
Microsoft Graph API Permissions: Ensure that the application has the necessary permissions to access the Microsoft Graph API. For knocknoc to work as intended, only one graph API permission is required:
Keeping these permissions as restrictive as possible reduces your attack surface significantly, and prevents a major breach in the event that your application is compromised. Do not reuse/share another application for use with knocknoc. Create a dedicated application and set of credentials.
- Conditional Access Policy/Policies: Knocknoc needs to be able to distinguish between policies it can amend and policies it cannot. Therefore, knocknoc looks for a prepending "knocknoc_" ahead of the name of the ACL. For example, a conditional access policy might be named "knocknoc_financedepartment" with specific rules around applications and services that group can access. These must be created PRIOR to configuring anything in the knocknoc admin portal.
-
Credentials File: Ensure that a credentials file is present at
/opt/knocknoc-agent/etc/entra-credentials.shwith the following content:entra_clientid="" entra_tenantid="" entra_clientsecret=""You will need to input the necessary ClientID for your Azure Enterprise Application, your Azure Tenant ID and your application's client secret.
Admin Portal Configuration
To get this integration working in your knocknoc admin portal, there are a few simple steps to follow:
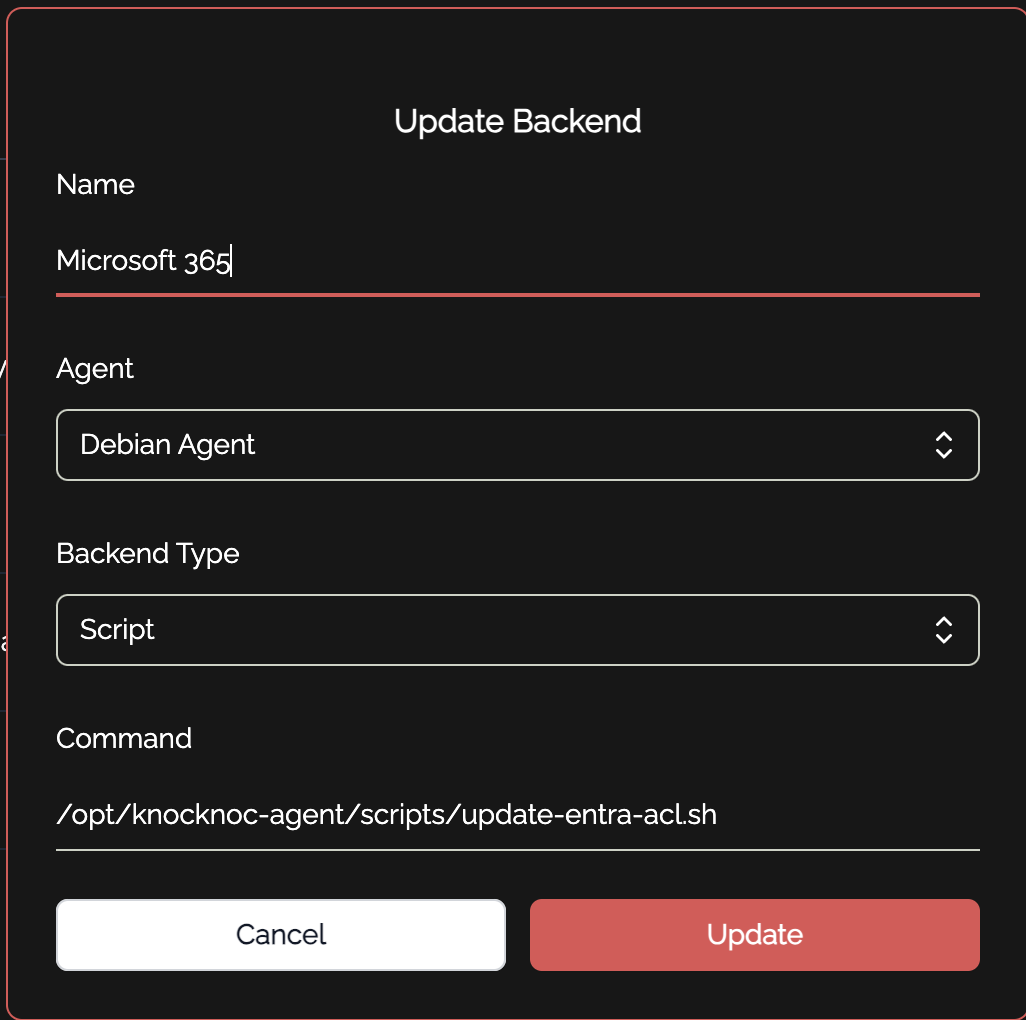
- Create a new backend for Microsoft 365. This is how knocknoc interacts with the scripts to make changes to conditional access policies. The shell script is located at
/opt/knocknoc-agent/scripts/update-entra-acl.shby default:

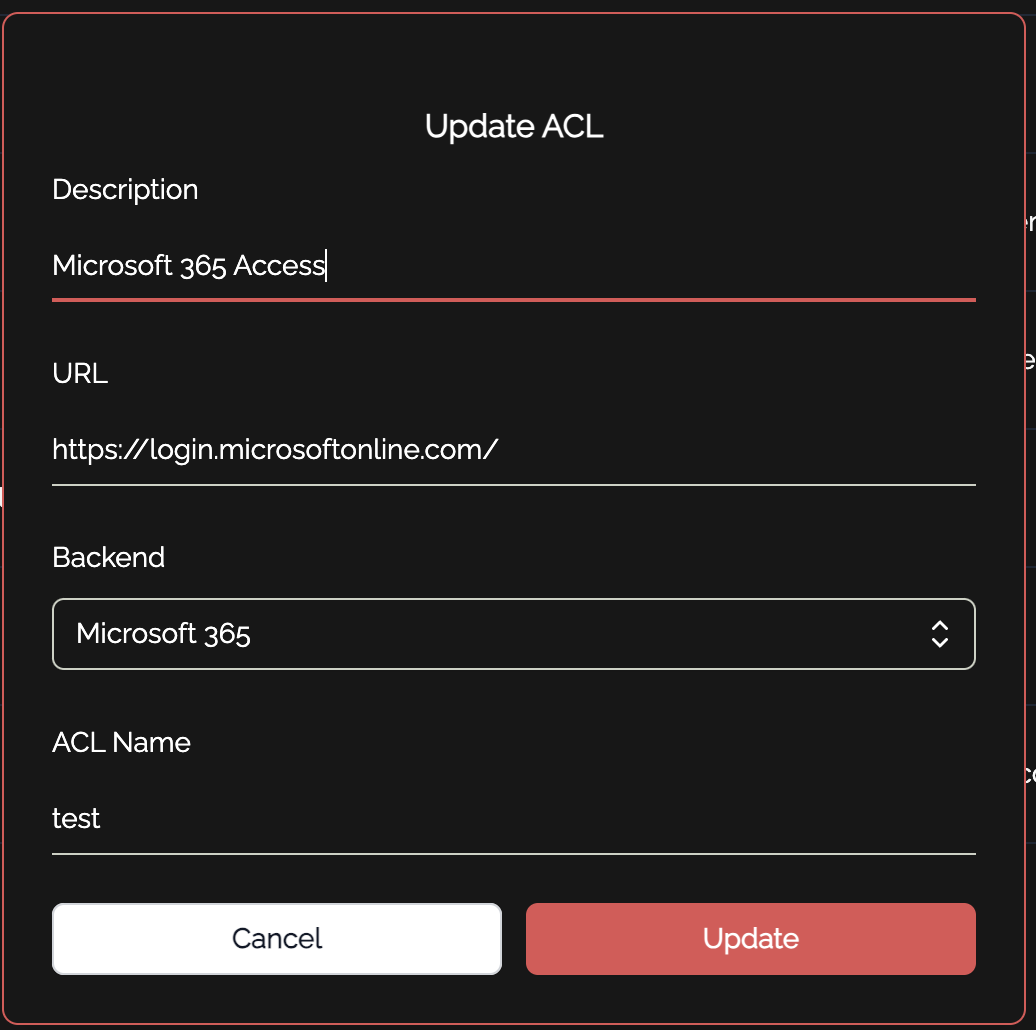
- Create one or more ACLs in knocknoc. These correspond to your various "knocknoc_acl" conditional access policies you made in entra earlier. You can add as many of these as you want, but make sure they are unique!
You also want to make sure your description is clear in showing the user what they are being given access to. For example, if this particular ACL is controlling access to the admin portal, you might have a description such as "Microsoft 365 Admin Portal." You must also place a URL, where they will be redirected to if they click on the ACL in their user portal. This should also be relevant to the service in which the ACL is granting access to.

- The final step is to assign the ACL and relevant users to a group:
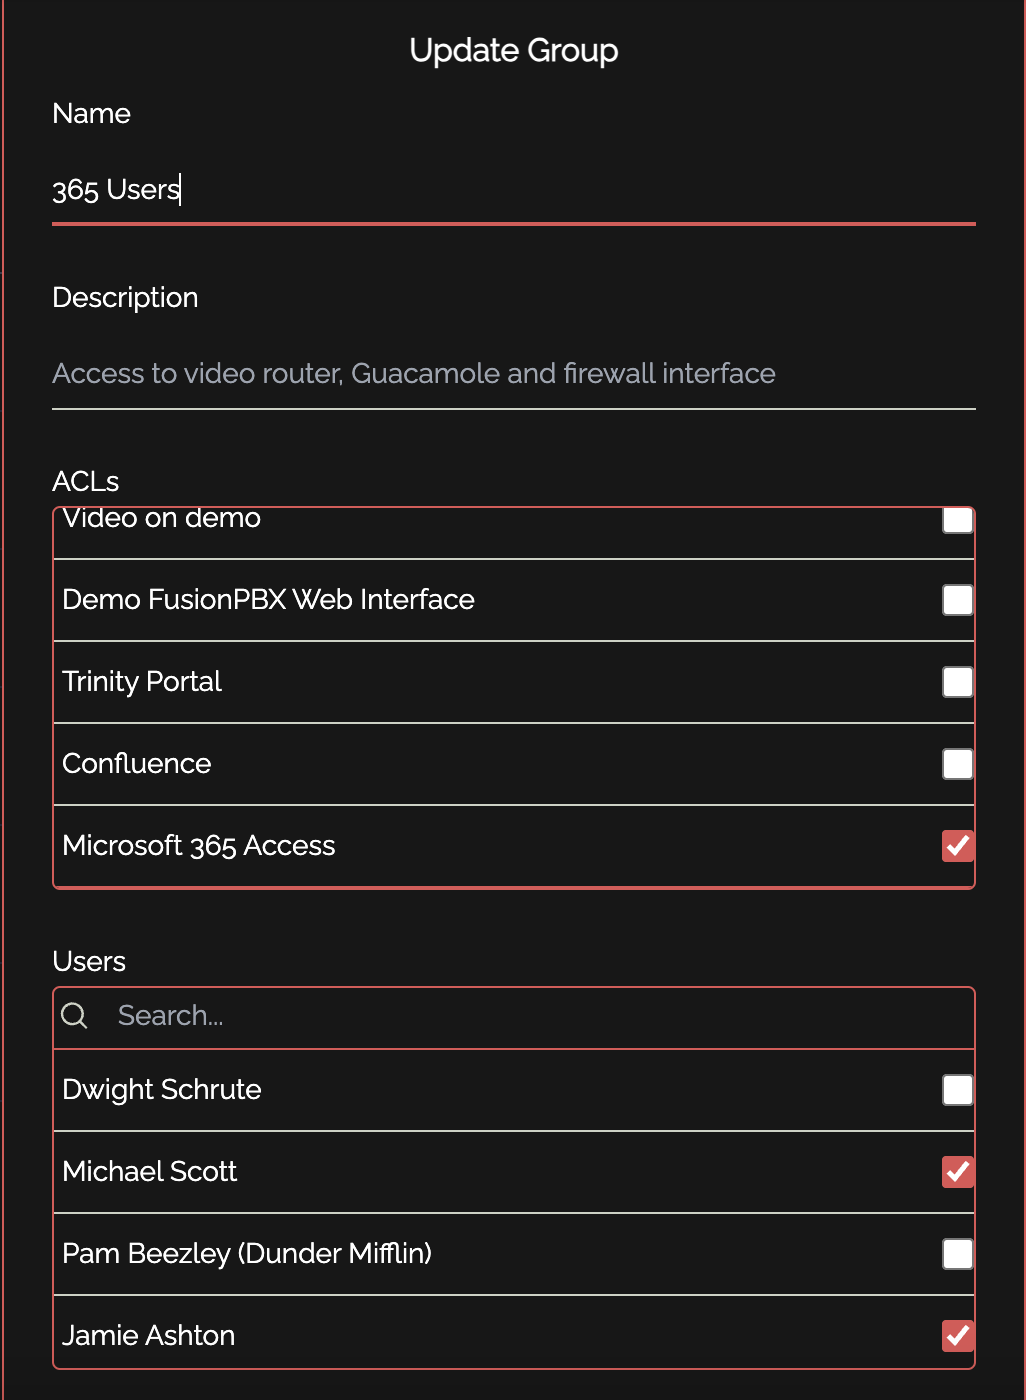

And you're done! This is all that is required to enable integration between knocknoc and Microsoft 365 for conditional access policies. If you get stuck, reach out and we wouldwill be glad togladly assist.